
包阅导读总结
1. 关键词:Kotlin DataFrame、Column Selection DSL、Nested Data、Predicate、Helper Functions
2. 总结:本文主要介绍了 Kotlin DataFrame 中增强的列选择 DSL,包括选择单个值、多个列、基于索引和谓词选择,处理嵌套数据,利用列顺序处理数据,以及一些辅助函数的使用。
3. 主要内容:
– Enhanced Column Selection DSL in Kotlin DataFrame
– Introduction:Kotlin DataFrame 库便于提取结构化数据的值,有多种 API 可用于此目的。
– Selecting individual values:通过示例展示了提取单个值的方法,并指出在实际场景中需要选择多列。
– Selecting multiple columns
– An initial example of selection:使用 and 运算符和 cols 函数选择多列。
– Selecting by index:可通过索引选择列,包括范围和单个索引。
– Selecting based on a predicate:通过 lambda 基于任意谓词选择列。
– Handling nested data:介绍处理嵌套数据的函数,解决列名重复问题。
– Processing data by column order:指出 DataFrame 中列的顺序在查询中有意义。
– Additional helper functions
– The valueCols function:只选择值列。
– The colsOfKind function:可选择不同类型的列组合。
– The colsOf function:基于列的数据类型选择列。
思维导图: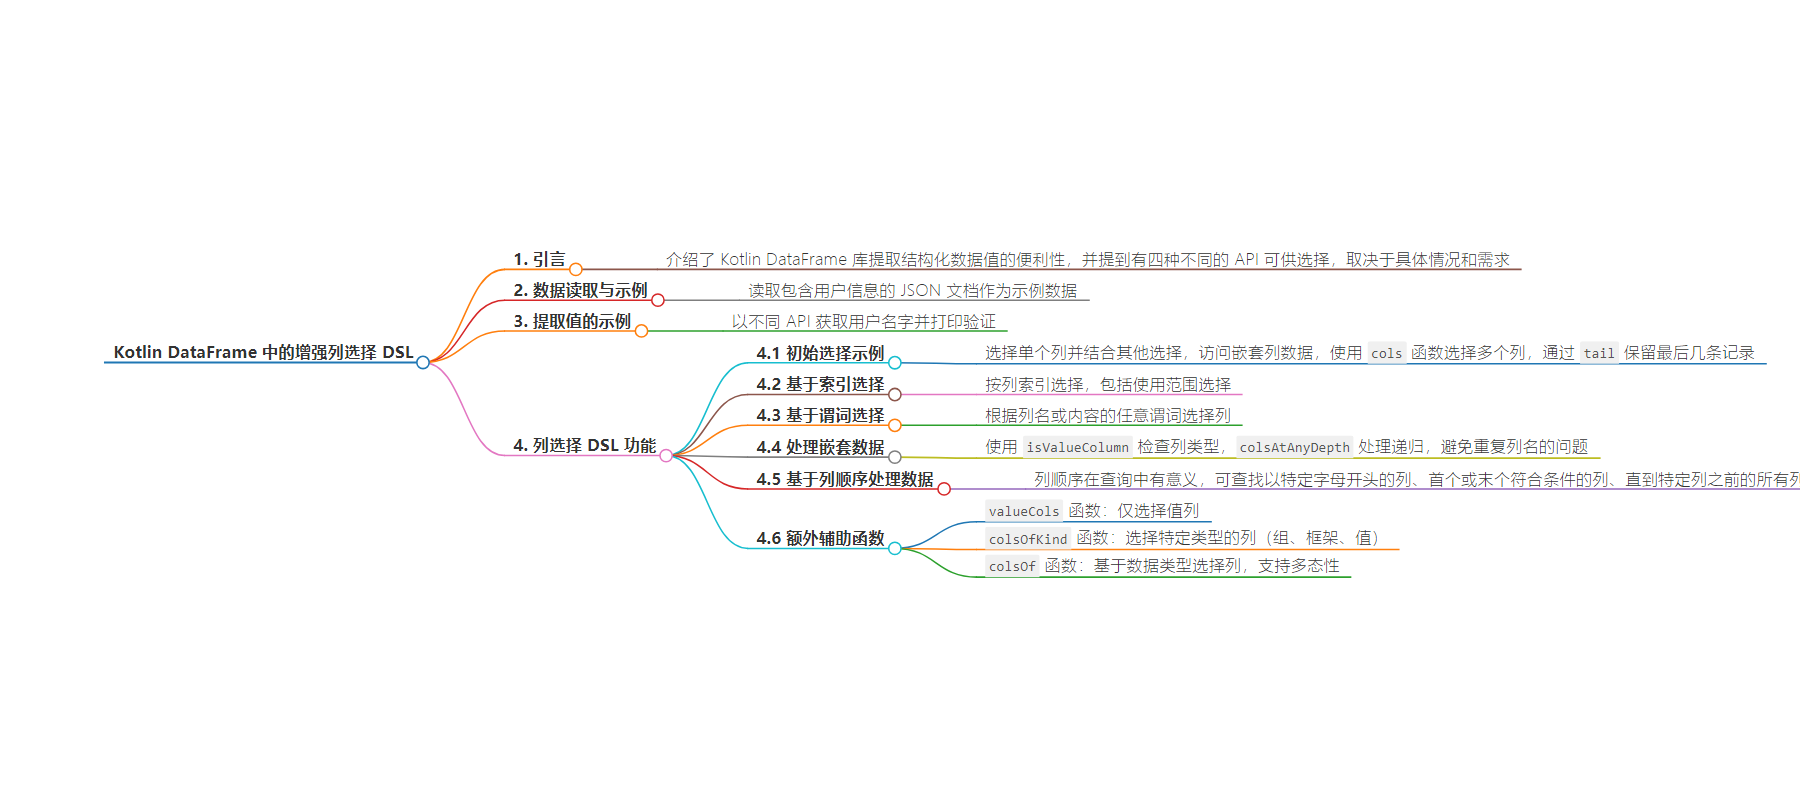
文章地址:https://blog.jetbrains.com/kotlin/2024/07/enhanced-column-selection-dsl-in-kotlin-dataframe/
文章来源:blog.jetbrains.com
作者:Garth Gilmour
发布时间:2024/7/9 15:26
语言:英文
总字数:1923字
预计阅读时间:8分钟
评分:85分
标签:Kotlin,数据框架,列选择,领域特定语言,结构化数据
以下为原文内容
本内容来源于用户推荐转载,旨在分享知识与观点,如有侵权请联系删除 联系邮箱 media@ilingban.com
Enhanced Column Selection DSL in Kotlin DataFrame
Introduction
The Kotlin DataFrame library makes extracting values from structured data an easy task. As discussed in our documentation, there are four separate APIs that can be used for this purpose, with the optimal choice depending on your individual situation and requirements.
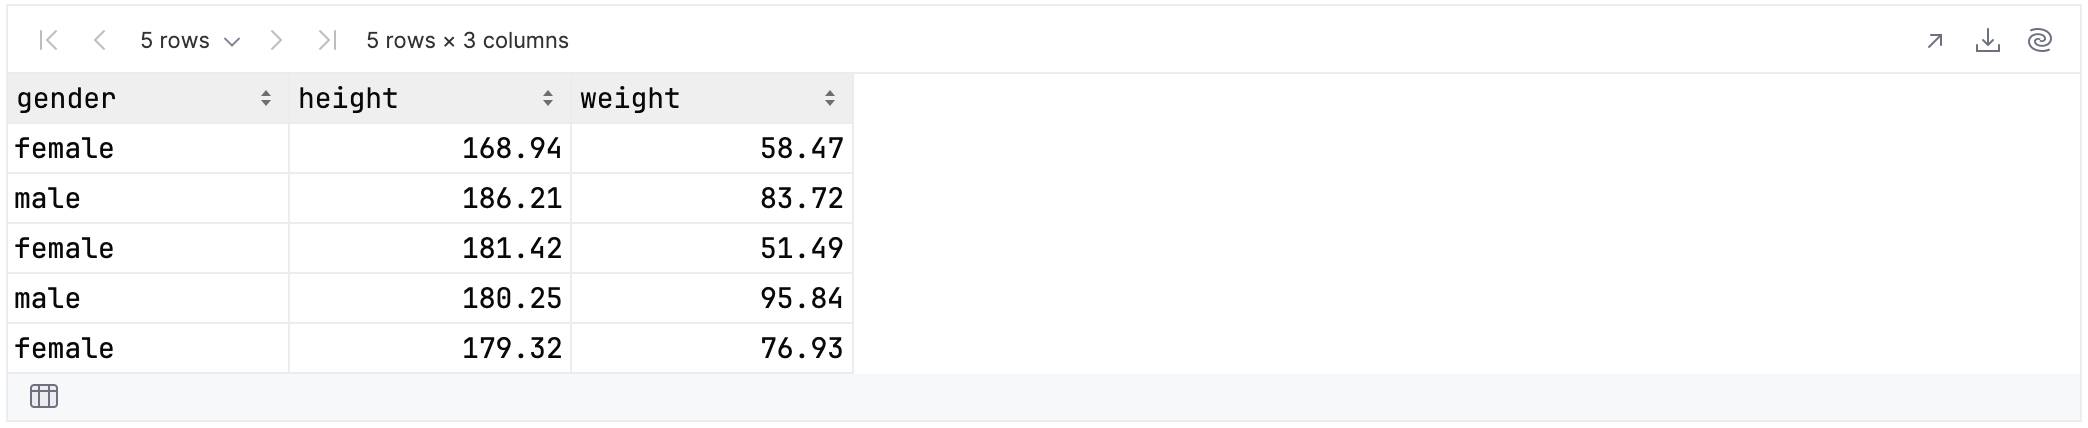
To demonstrate, let’s read in a JSON document containing information about users:
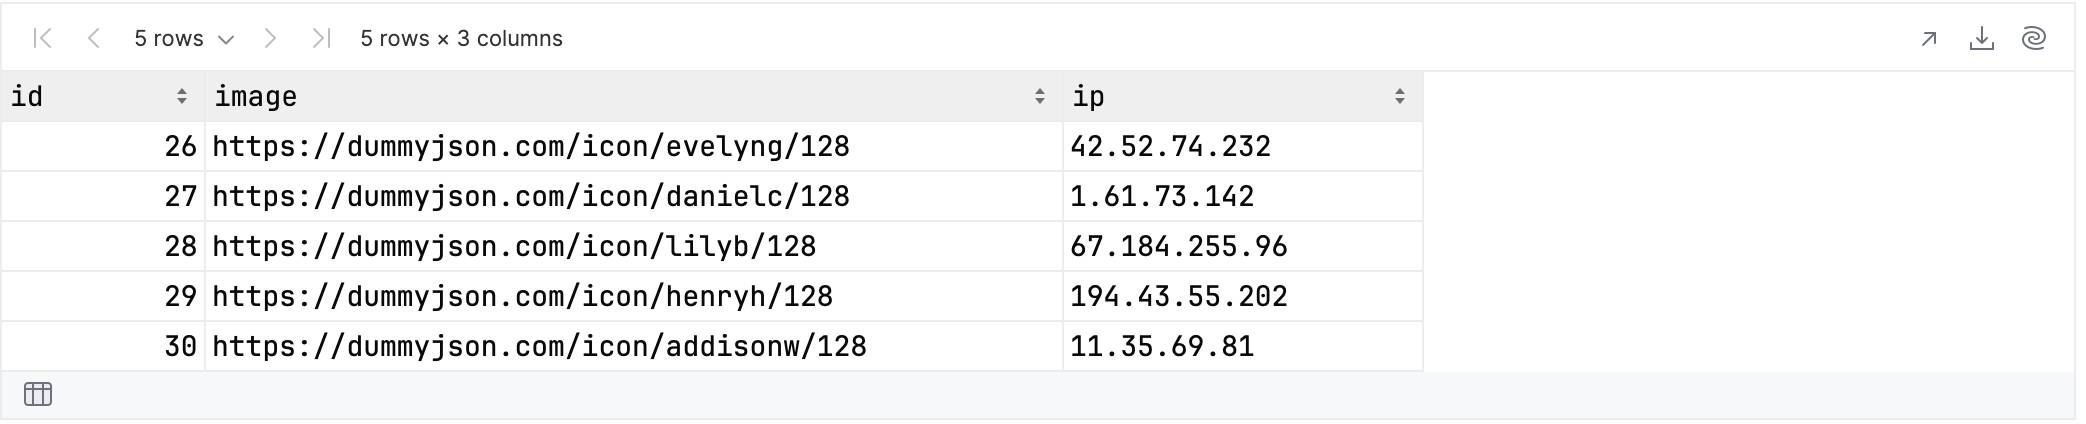
val rawUserData = DataFrame.read("https://dummyjson.com/users") .getFrameColumn("users") .first()rawUserData.select { cols(0..2) }.head(3)
The final line selects the first three columns from the first three rows (for illustration purposes only):

Don’t worry about how the final line works just yet – we’ll get to that later.
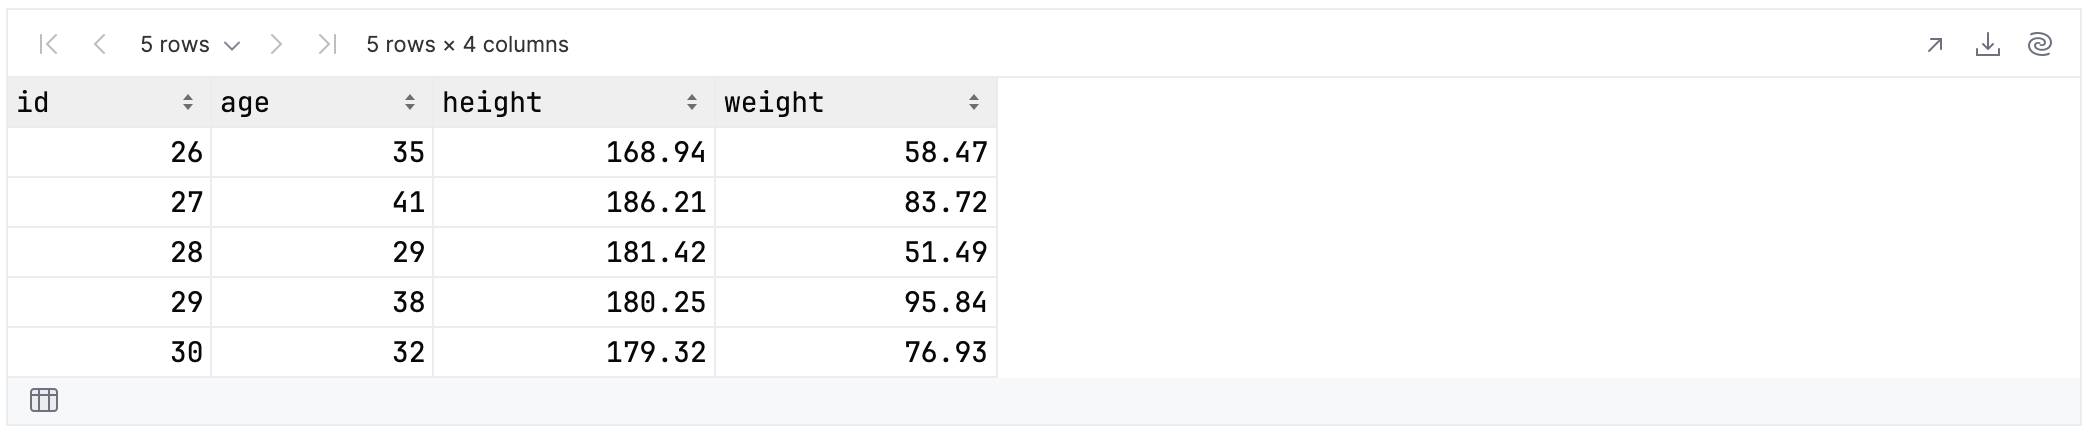
Having obtained our sample data, let’s now extract some values. In the example below, you:
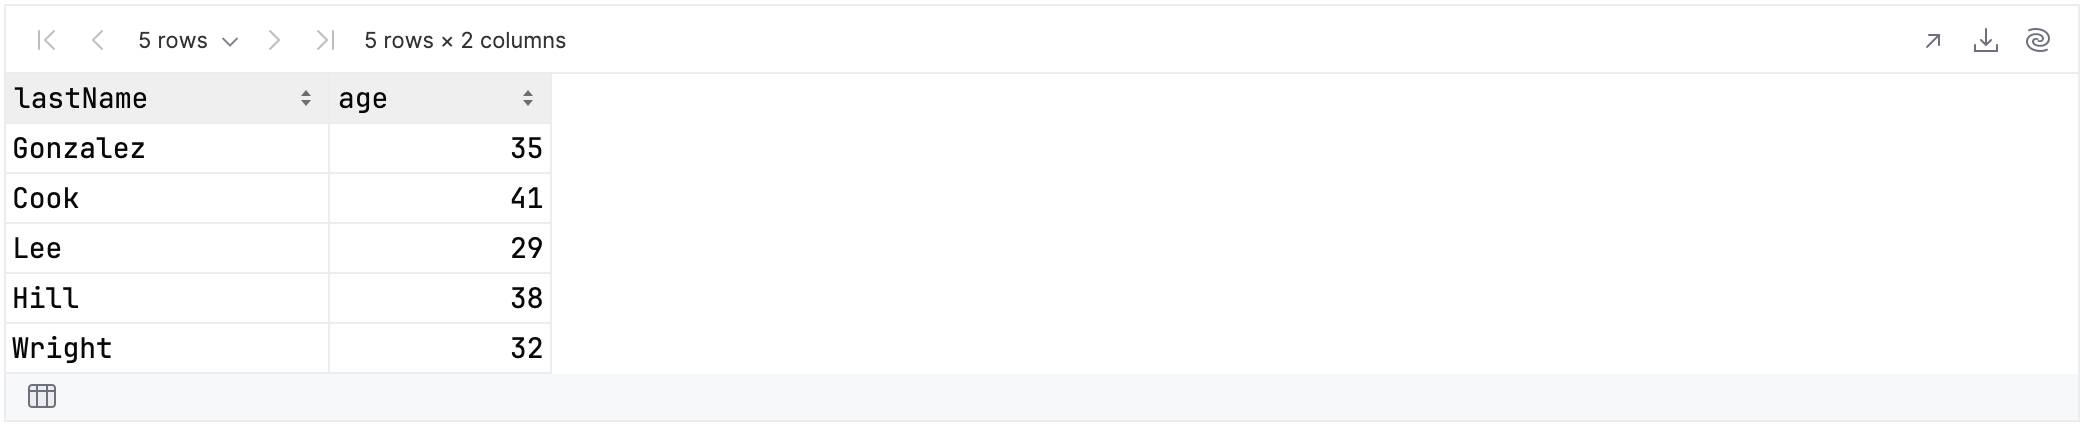
- Take the last five users as strongly typed
DataRowobjects, using the tail operation. - Capture each user’s name four times, using a different API each time.
- Print the captured values, so you can be sure that they’re identical.
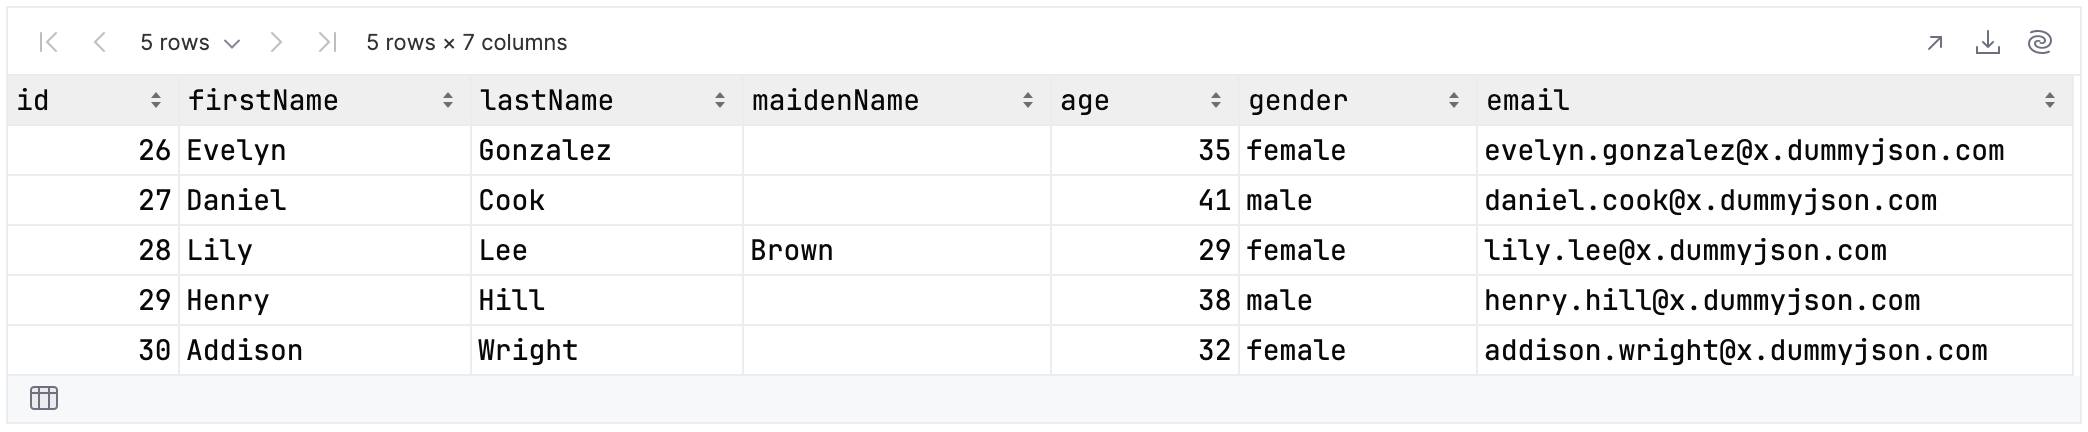
data class Person(val firstName: String)rawUserData.tail().forEach { val name1 = firstName // Extension Properties API val name2 = "firstName"<String>() // String API val firstName by column<String>() // Column Accessors API val nameRef = Person::firstName // KProperties API println("$name1 $name2 ${firstName()} ${this[nameRef]}")
This should be the resultant output:
Evelyn Evelyn Evelyn EvelynDaniel Daniel Daniel DanielLily Lily Lily LilyHenry Henry Henry HenryAddison Addison Addison Addison
Impressive as this is, selecting individual values is not enough for real world scenarios. When using functions like select, remove, or update, you will typically need to select values from multiple columns.
These columns might all be at the top level, but when dealing with hierarchical data (like JSON), you’ll need to select columns from within nested column groups. This functionality is provided by the Columns Selection DSL.
The DataFrame library has always had a DSL for selecting multiple (potentially nested) columns, but in this release, we’ve added new functions and improved the overall syntax and readability.
An initial example of selection
In the example below, you:
- Select the
firstNamecolumn. - Use the
andoperator to combine this column with further selections. - Access the nested data within the
addresscolumn. - Use the
colsfunction to select multiple columns from the nested data. - Only keep the final five records via tail.
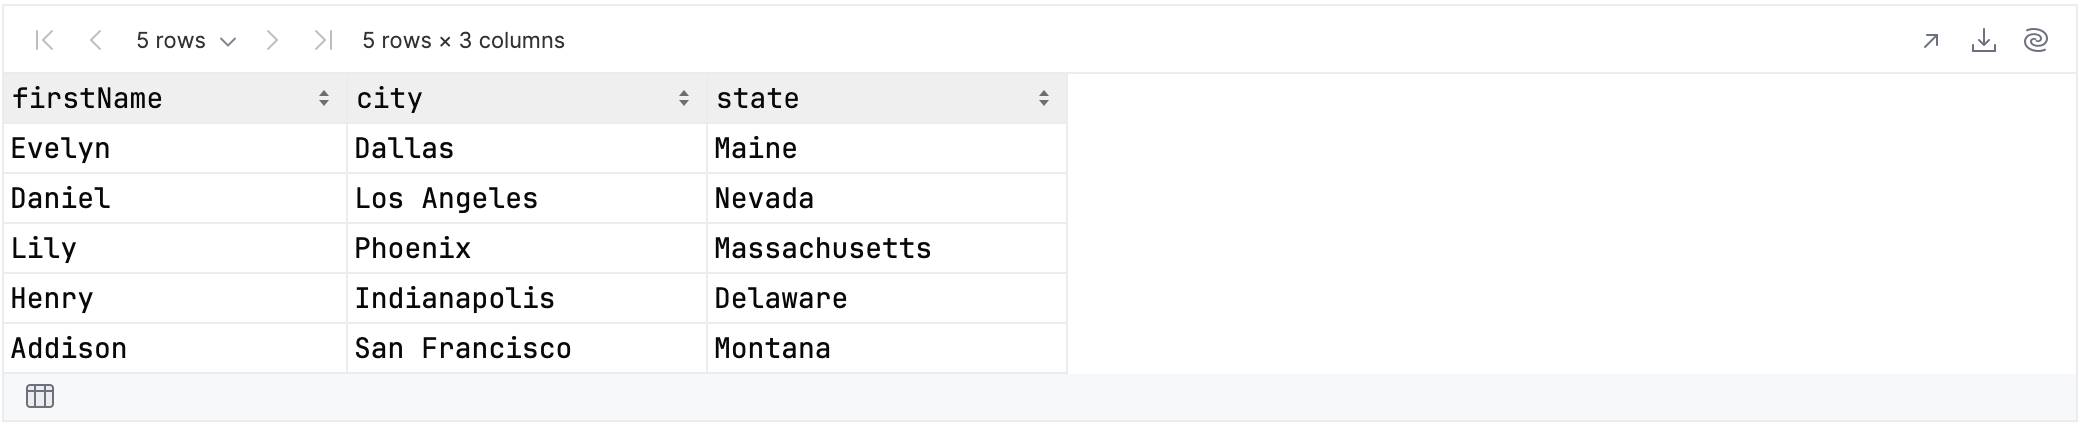
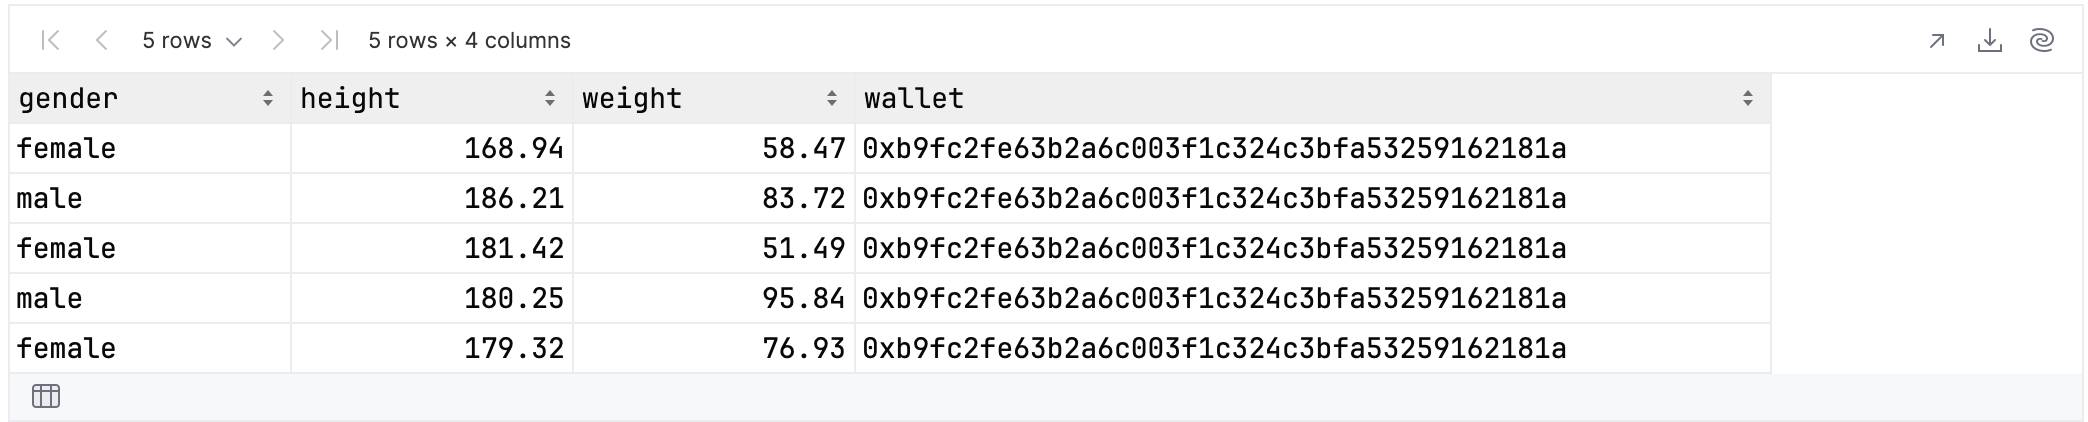
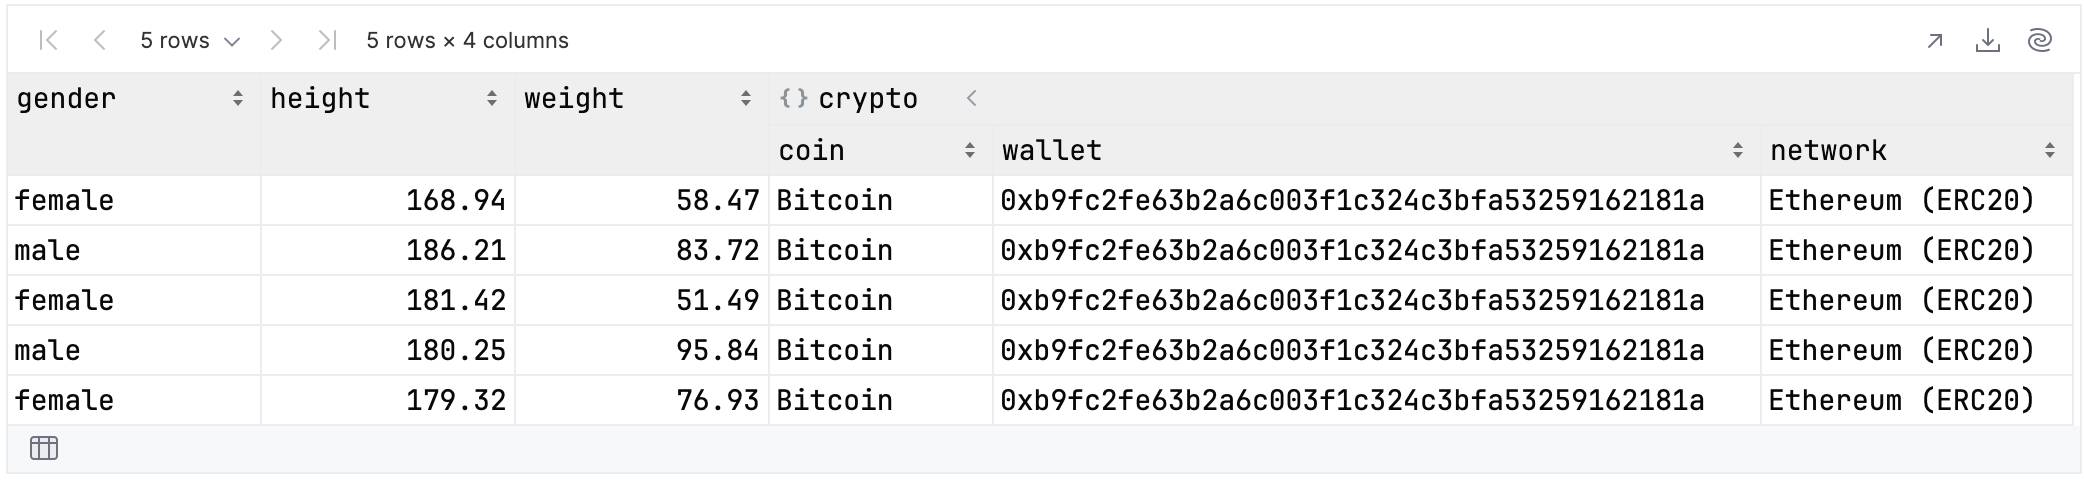
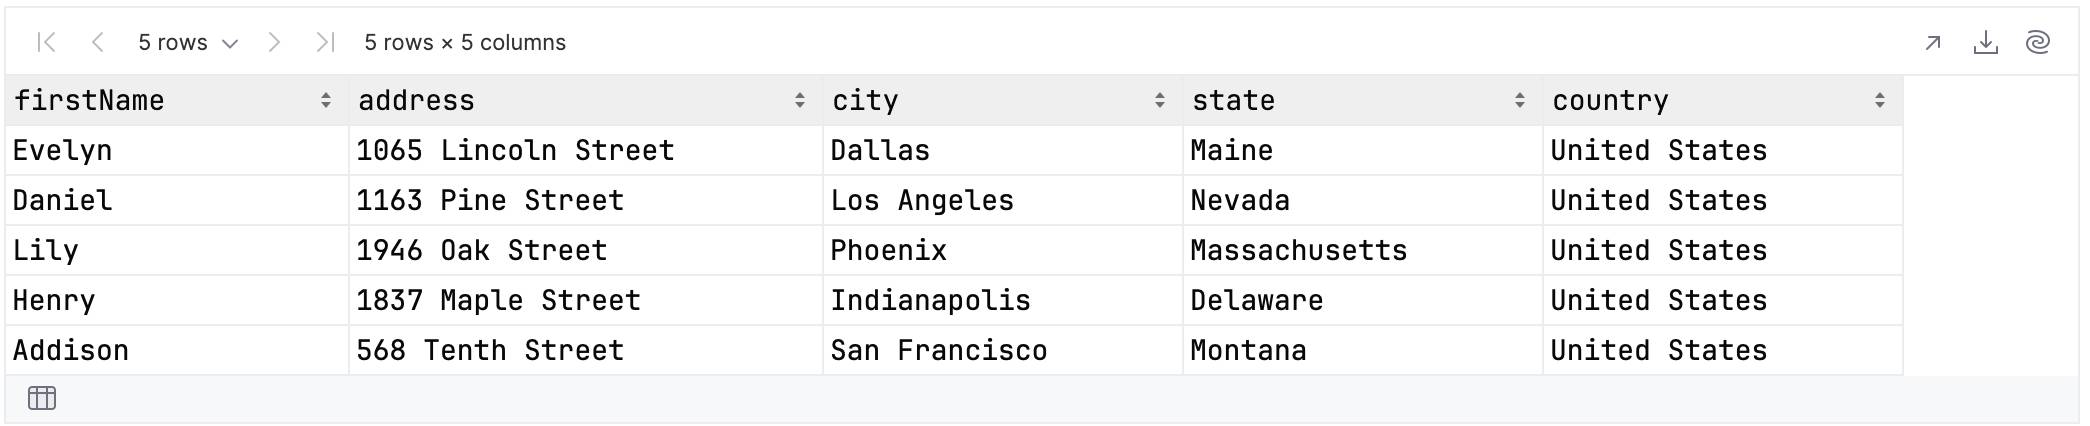
rawUserData.select { firstName and address.cols("city", "state")}.tail()
As you can see from the results, you can use the and operator to select multiple columns individually, and the cols function to select multiple columns in one go.
Selecting by index
Columns can also be selected by index, with the first column having an index of zero. The code below would give you the same result:
rawUserData.select { firstName and address.cols(1, 2)}.tail()
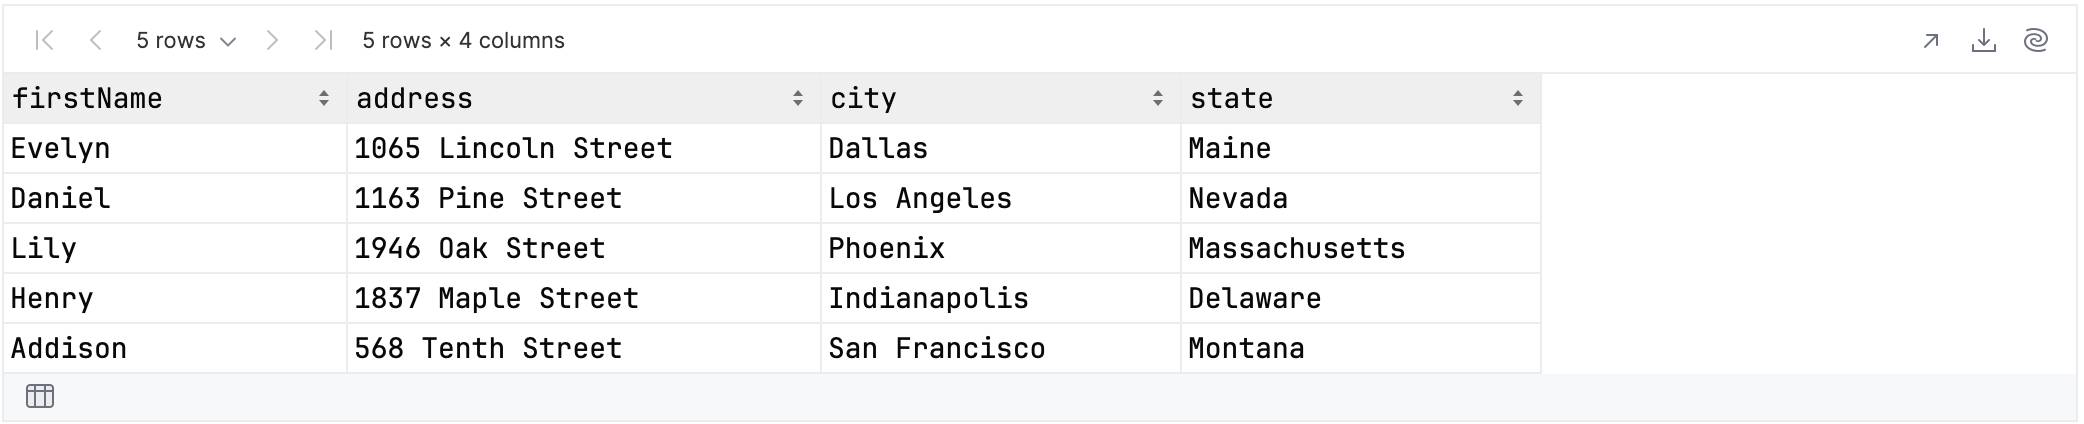
If you were to include the column with index zero, then the results would include the street number and name. You could list the three indexes individually, but a range is more convenient:
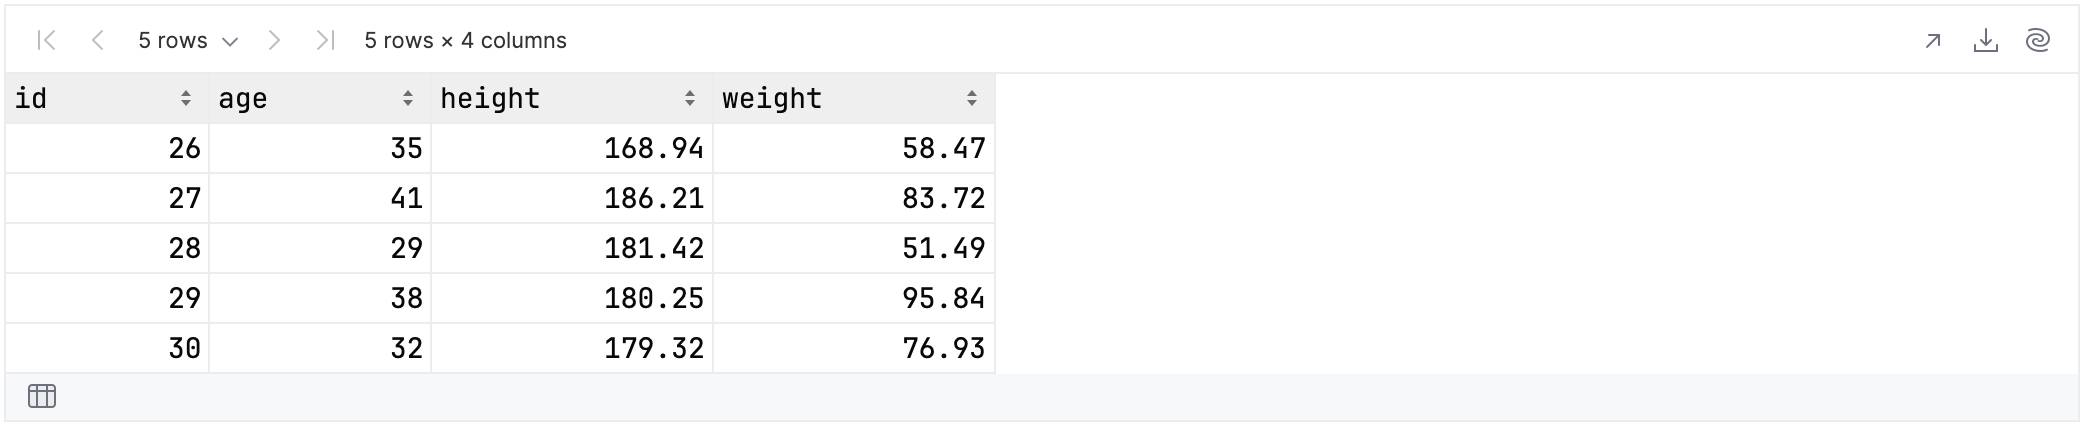
rawUserData.select { firstName and address.cols(0..2)}.tail()
These would be the results:
Selecting based on a predicate
The value passed to cols can also be a lambda. This allows you to select columns based on an arbitrary predicate – typically involving their name or content. Let’s look at two examples.
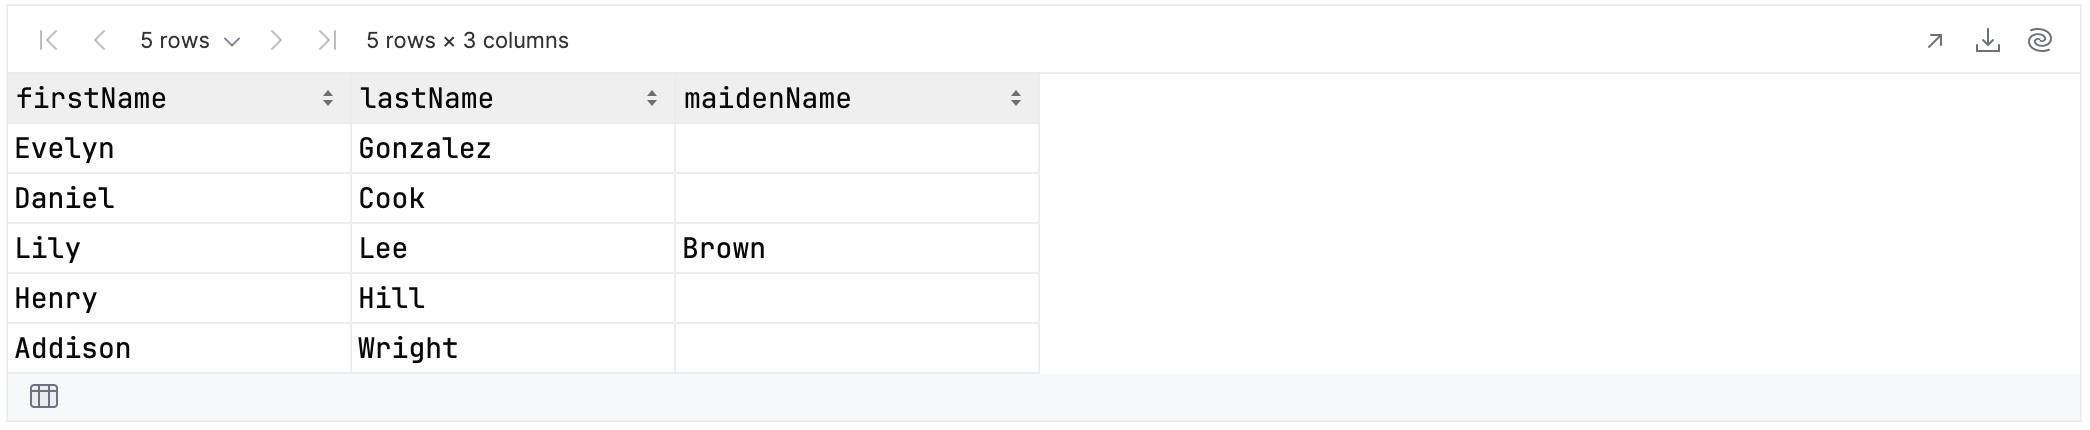
This first example selects all columns whose name ends with “Name”:
rawUserData.select { cols { it.name.contains(".+Name".toRegex()) }}.tail()
As you can see, this gives us three results:
The second example selects all columns whose values contain either the word “Lee” or the number 31.
rawUserData.select { cols { "Lee" in it.values() } and cols { 31 in it.values() }}.tail()
As is visible below, this gives us two columns:
Handling nested data
What if you want to search within nested data? The function isValueColumn returns true if a column contains regular data. Otherwise the column is a column group or a frame column.
This test can be repeated recursively to descend the hierarchy. That sounds like a lot of work, but fortunately the library provides a colsAtAnyDepth function that handles the recursion for you. Let’s look at some examples.
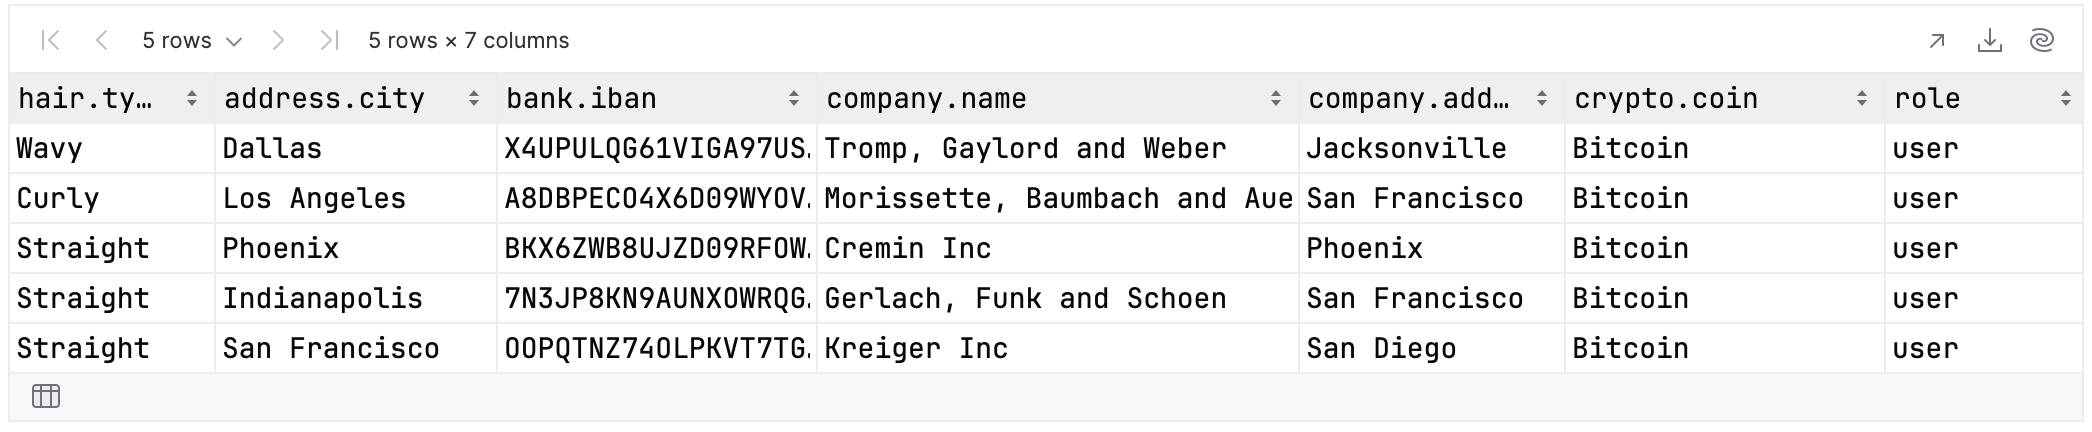
In the code below, you select columns from anywhere in the column group hierarchy that contain regular data and have a name of length six:
rawUserData.select { colsAtAnyDepth { it.name.length == 6 && it.isValueColumn() }}.tail()
These are the results:
Unfortunately, this code contains a bug. You cannot have multiple columns with the same name in the results. For example let’s say you search for columns of length four:
rawUserData.select { colsAtAnyDepth { it.name.length == 4 && it.isValueColumn() }}.tail()
The results will include two columns called “city” – one from the column group describing the user’s address, and the other from the column group describing the address of the company the user works for. This duplication will cause an exception to be raised:
Duplicate column names: [city]All column names: [type, city, iban, name, city, coin, role]org.jetbrains.kotlinx.dataframe.exceptions.DuplicateColumnNamesException: Duplicate column names: [city]
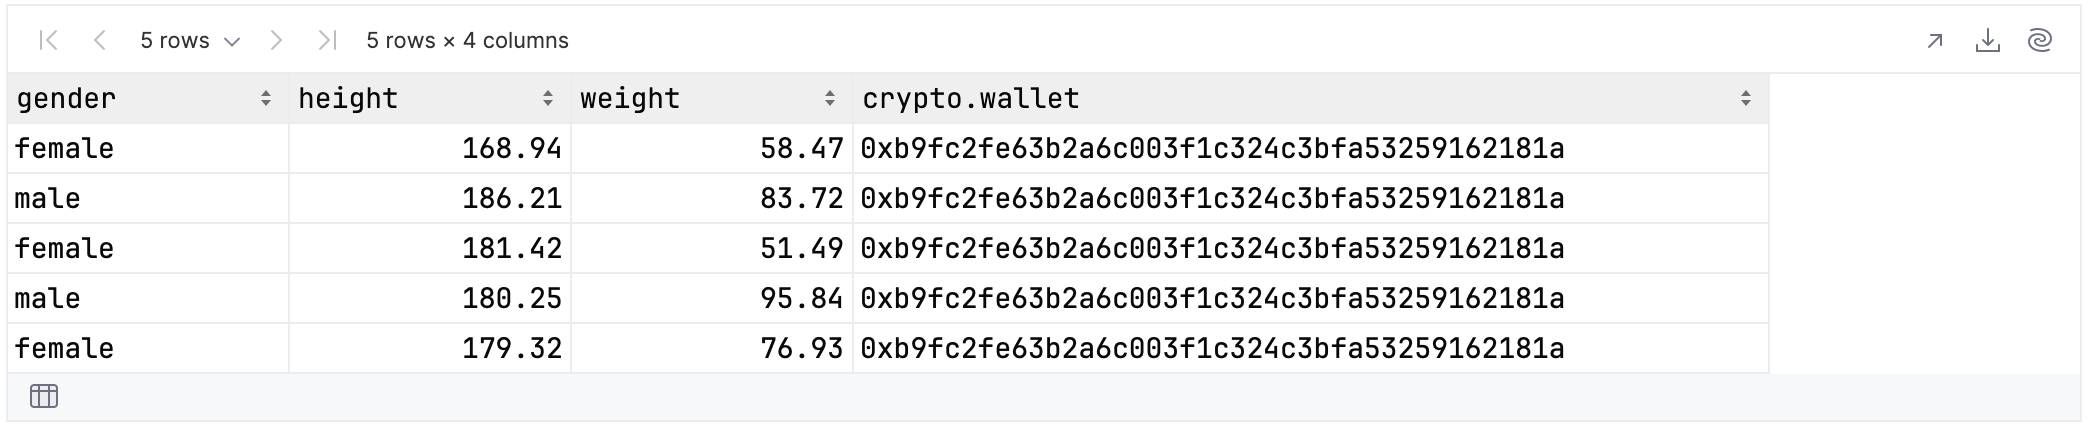
The solution is to create a new version of the data, where the column names encode the full path down the hierarchy:
val renamedUserData = rawUserData.rename { colsAtAnyDepth()}.into { it.path.joinToString(".") }
You can query this new data to see how the column names have changed:
renamedUserData.select { colsAtAnyDepth()}.columnNames().forEach(::println)
For example, these are the columns relating to the address of the user:
addressaddress.addressaddress.cityaddress.stateaddress.stateCodeaddress.postalCodeaddress.coordinatesaddress.coordinates.lataddress.coordinates.lngaddress.country
If you now select columns you will need to split up the column name:
renamedUserData.select { colsAtAnyDepth { val isLength6 = it.name.split(".").last().length == 6 isLength6 && it.isValueColumn() }}.tail()
The benefit is that searching by length 4 no longer produces an exception:
renamedUserData.select { colsAtAnyDepth { val isLength4 = it.name.split(".").last().length == 4 isLength4 && it.isValueColumn() }}.tail()
Note that colsAtAnyDepth replaces the dfs and recursively functions, which have now been deprecated and removed.
Processing data by column order
Most of the specificities of Column Selection DSL will be intuitive to folks who have experience with SQL. However, there is one area that might catch them off guard. Unlike in relational database theory (RDT), the order of the columns in a DataFrame is significant, and can be used in queries.
We already saw this with the example of indexing, but ordering can be used in many ways. Let’s try to find all of the top-level columns whose name begins with the letter “i”:
rawUserData.select { cols { it.name.startsWith("i") }}.tail()
You can see that there are three such columns:
Unlike in SQL, it’s meaningful to ask which column comes first:
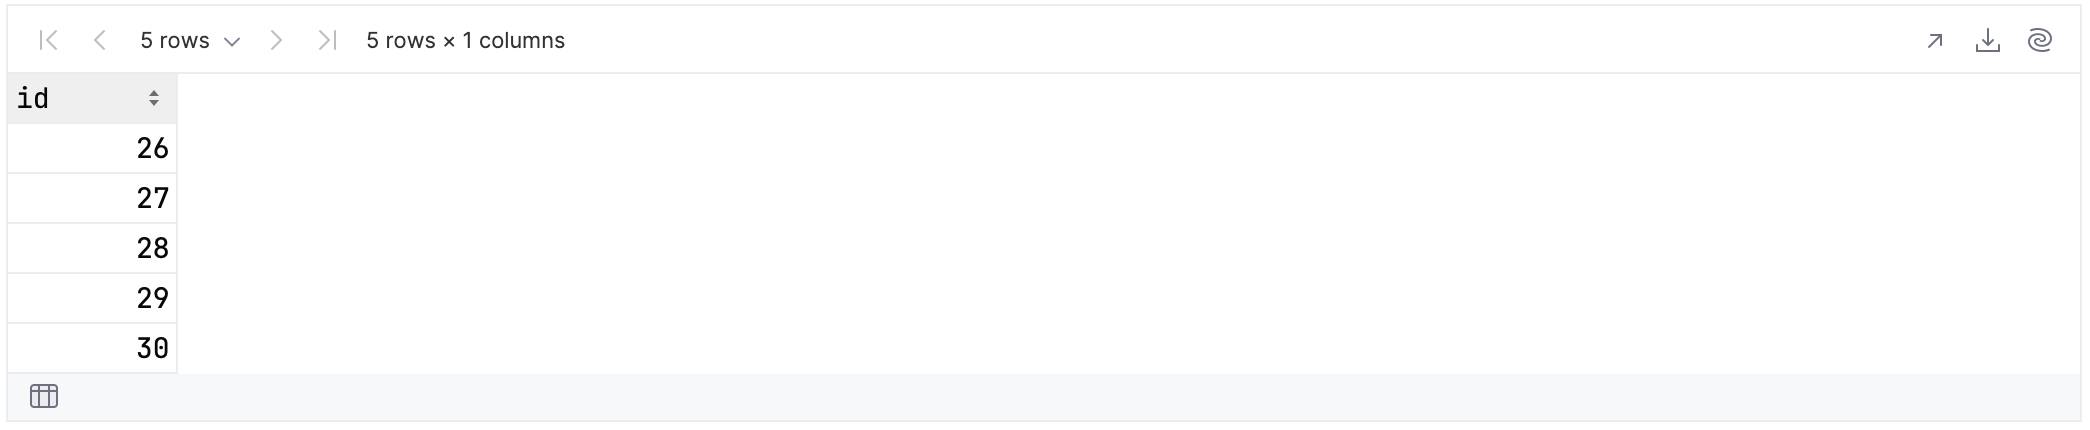
rawUserData.select { first { it.name.startsWith("i") }}.tail()
By that logic, it’s also meaningful to ask which column comes last:
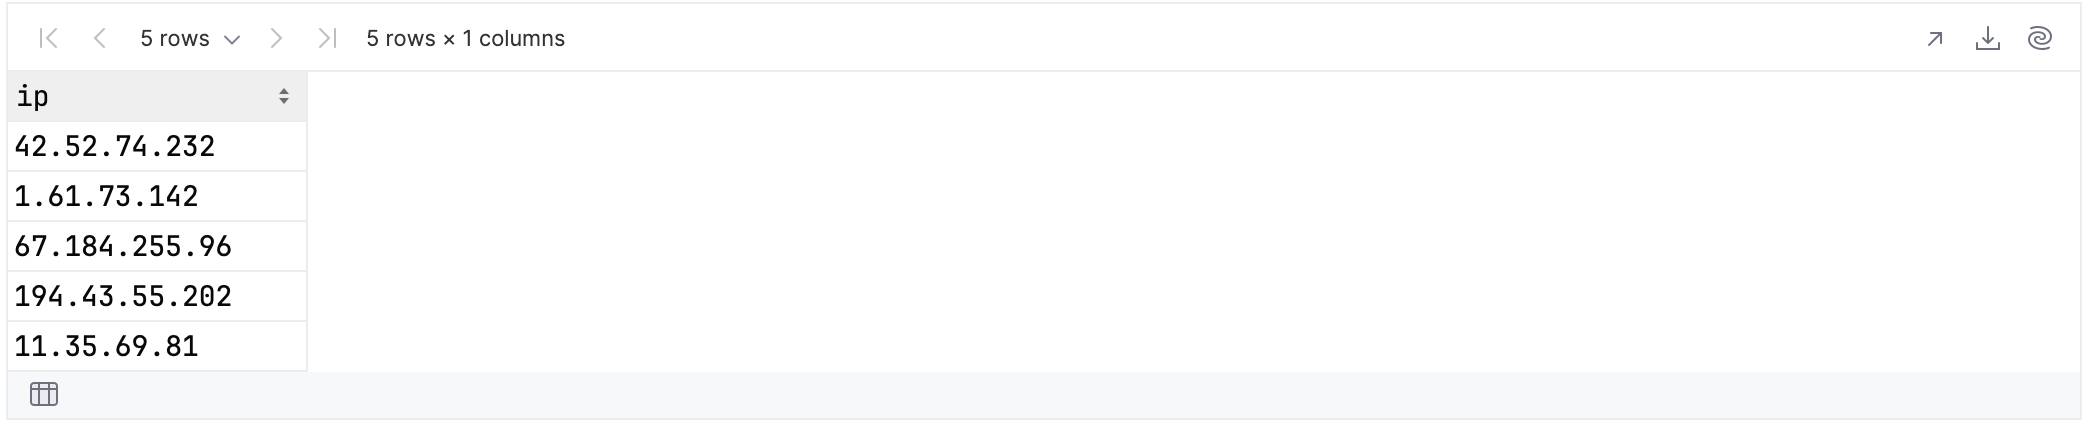
rawUserData.select { last { it.name.startsWith("i") }}.tail()
You can even traverse across the columns, selecting all columns until a specified one is reached or a condition is met. In the example below you select all columns until you encounter the first one whose name starts with “e”:
rawUserData.select { allUpTo { first { it.name.startsWith("e") } }}.tail()
In our sample data, this is the column named “email”:
Additional helper functions
There are a number of helper functions you can explore, which simplify common scenarios. Let’s explore three examples.
The valueCols function
This function only selects value columns. That means we can take this earlier example:
rawUserData.select { cols { it.name.length == 6 && it.isValueColumn() }}.tail()
And simplify it into:
rawUserData.select { valueCols { it.name.length == 6 }}.tail()
Both will produce the following results:
If you did not exclude nested data, then the users cryptocurrency information will be included as well:
rawUserData.select { cols { it.name.length == 6 }}.tail()
The colsOfKind function
This function lets you select any combination of group, frame, and value columns. If you only wanted to find the names of the group columns you could do this:
rawUserData.select { colsOfKind(ColumnKind.Group)}.first().run { columnNames().forEach(::println)}
In which case, the results are:
hairaddressbankcompanycrypto
Alternatively, you could select group and value columns like this:
rawUserData.select { colsOfKind(ColumnKind.Group, ColumnKind.Value)}.first().run { columnNames().forEach(::println)}
Because the scope of the query is wider, more results will be selected:
addressmacAddressuniversitybankcompanyeinssnuserAgentcryptorole
The colsOf function
In the DataFrame library every column created infers its type based on the data inside. This being the case, you can select columns based on the type of data they contain:
rawUserData.select { colsOf<Int>()}.tail()
In this example, the top level data contains two columns holding integer values:
The colsOf function is polymorphic, meaning that it will select columns whose data type is a subtype of the type you specify. For example, if you specify Number as the type, then columns containing both integer and floating-point values will be selected.
rawUserData.select { colsOf<Number>()}.tail()
In this case, that gives us an additional two columns:
If you wanted, you could create a new version of the data, where all numeric values were doubles. This could be achieved as follows:
val convertedUserData = rawUserData.convert { colsAtAnyDepth().colsOf<Number>()}.toDouble()
Now, selecting the integer columns would give us no results, whereas selecting all the doubles would give us four:
convertedUserData.select { colsOf<Double>()}.tail()
Operators and subtracting columns
The square brackets operator can be used as a shortcut for the cols function. Consider the following example:
rawUserData.select { bank.cols { it.name.startsWith("card") }}.tail()
This selects the nested data within the “bank” column, specifically all those columns whose name starts with “card”:
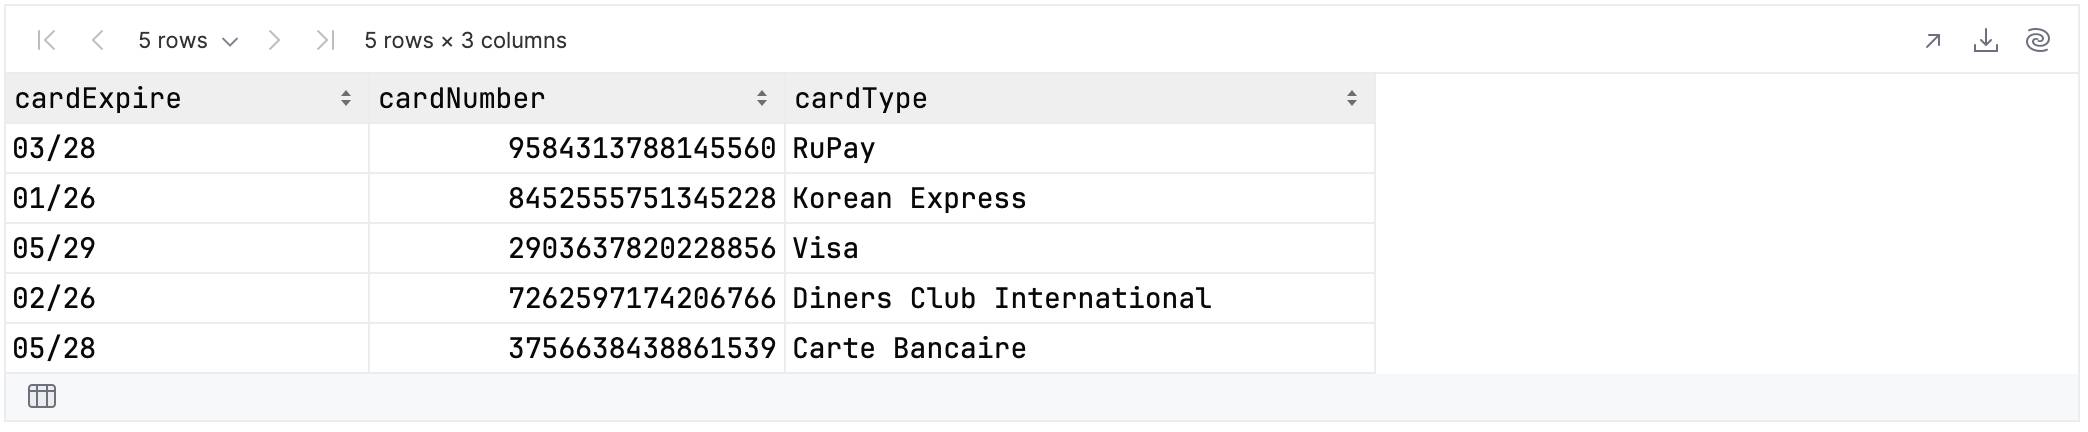
You can achieve the same result using the operator as follows:
rawUserData.select { bank[{ it.name.startsWith("card") }]}.tail()
Which syntax you prefer is a matter of personal preference, but consistency is recommended to avoid confusing your code’s maintainers.
It’s also possible to select columns by subtraction, rather than addition. To show this, let’s create a simpler data set:
val employeeData = rawUserData.mapToFrame { "name" from { "$firstName $lastName" } university into "education" "employment" from { "${company.title} at ${company.name}" } +birthDate +email}.tail()
This gives us the following values:

You already know how to specify which columns you want:
employeeData.select { cols(name, employment, birthDate)}
But it’s also possible to obtain the same result by specifying which columns you wish to leave out:
employeeData.select { allExcept(email, education)}.tail()
Both of these examples give the following result:

Subtraction can be used when working with nested data. In the example below, you return to the original data set and select the user’s first name and all elements of their address with three exceptions:
rawUserData.select { firstName and address.allColsExcept { cols(coordinates, stateCode, postalCode) }}.tail()
Interactive grammars
As you can see, there’s a huge amount of functionality within the Column Selection DSL. When you first encounter the library, it’s easy to be confused by both the number of operations and the different ways in which they can be combined.
To assist with this, we now provide grammars for each function in the associated KDocs. You might have encountered these grammars on the website already, but in KDocs, they’re fully interactive!
VIDEO
Conclusions
Hopefully this blog has given you some insight into the power and versatility of the Column Selection DSL. This latest (0.13.1) update brings a more organized and consistent way to select columns with detailed and interactive documentation. All examples from this article are available as a Kotlin Notebook on GitHub.
As always, we’re keen to receive feedback on our products, and what areas could be extended or improved. You can find more information about column selectors on this page of our Kotlin DataFrame documentation site. Each function is introduced with examples and explanations, which is a great way to get an overview of what’s possible. Happy coding!