
包阅导读总结
1.
关键词:NestJS、Multer、文件上传、配置、测试
2.
总结:
本文介绍了如何在 NestJS 中使用 Multer 实现文件上传功能,包括项目设置、创建资源、配置模块、控制器和服务,添加验证,以及使用 Postman 进行测试。
3.
主要内容:
– 如何在 NestJS 中使用 Multer 处理文件上传
– 前置条件
– Node.js(v14 及以上)
– Node 包管理器
– 对 Node.js 和 NestJS 的基本理解
– 代码编辑器(如 VS Code)
– NestJS CLI
– 设置项目
– 创建新的 NestJS 项目
– 安装相关依赖包
– 创建文件上传资源
– 使用 NestJS CLI 生成资源
– 配置文件上传资源
– 模块配置
– 控制器配置
– 服务配置
– 添加文件验证
– 测试文件上传
– 使用 Postman 进行测试
– 结论
– 总结设置成功,可进一步拓展功能
思维导图: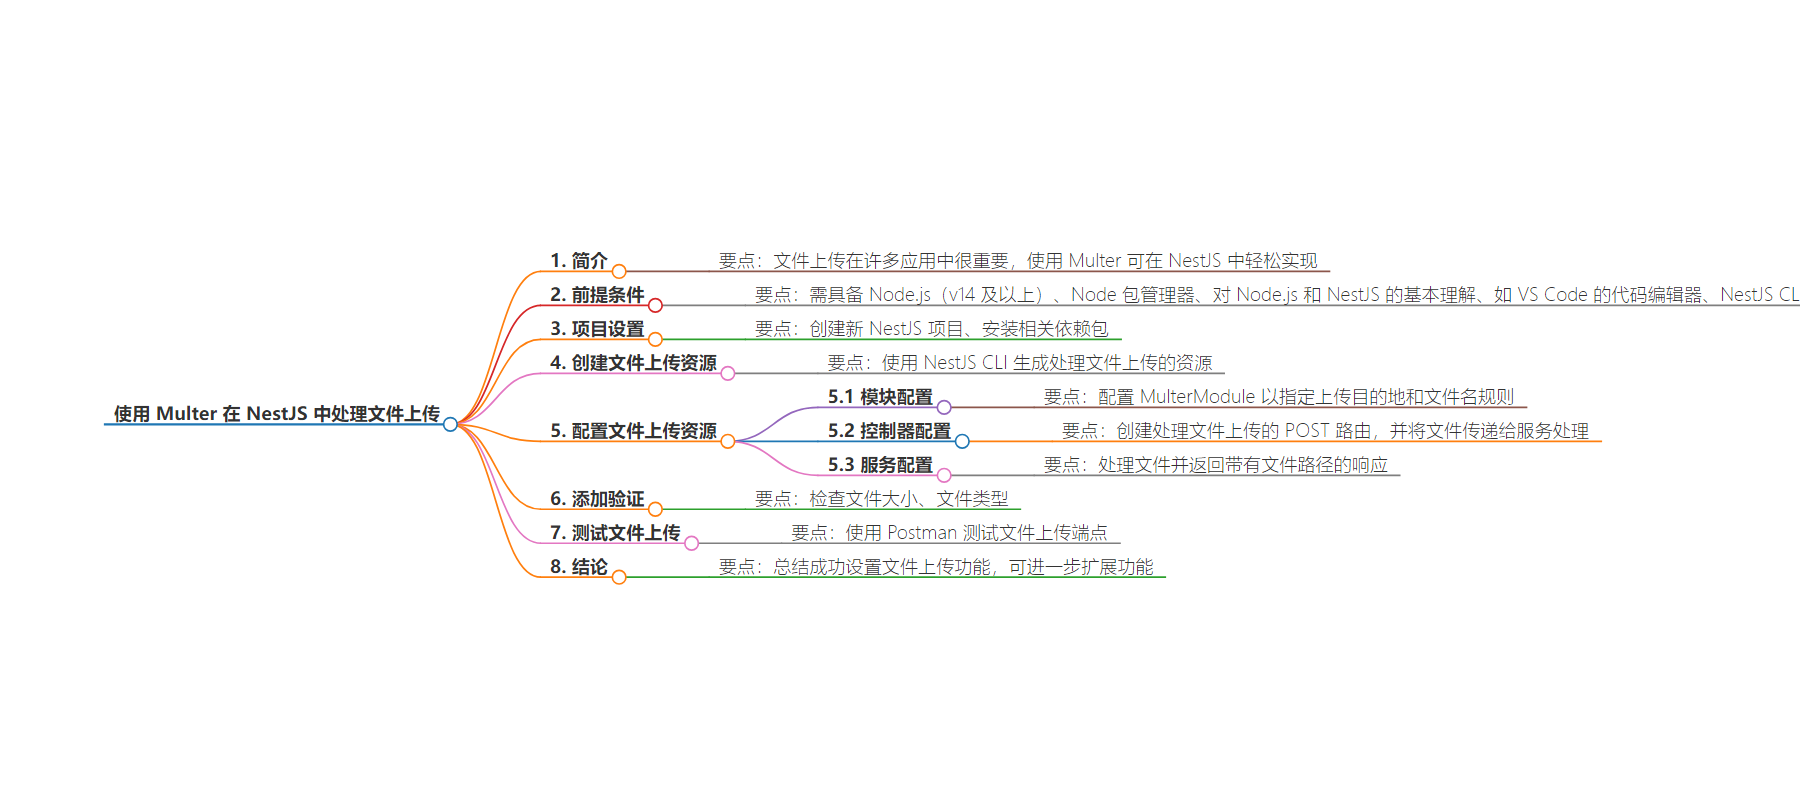
文章地址:https://www.freecodecamp.org/news/how-to-handle-file-uploads-in-nestjs-with-multer/
文章来源:freecodecamp.org
作者:Abimbola Adedotun Samuel
发布时间:2024/8/28 2:42
语言:英文
总字数:782字
预计阅读时间:4分钟
评分:82分
标签:NestJS,文件上传,Multer,Node.js,后端开发
以下为原文内容
本内容来源于用户推荐转载,旨在分享知识与观点,如有侵权请联系删除 联系邮箱 media@ilingban.com
Uploading files is an important need in many applications. Using Multer, you can set up a NestJS file upload feature in an easy and straightforward way.
In this guide, we’ll walk through the steps to create a resource dedicated to file uploads, ensuring that your application can easily manage user files. You’ll configure your application to handle files securely and seamlessly.
Prerequisites
This is a hands-on guide. To follow along, you must have the following things:
-
Node.js (v14 and above)
-
Node package manager
-
Basic understanding of Node.js and NestJS
-
A code editor, like VS Code
-
NestJS CLI. You can use the
npm install -g @nestjs/clicommand to install the CLI.
How to Set up the Project
Create a new NestJS project:
$ nest new file-upload-exampleThen navigate to your project directory and run:
$ cd file-upload-exampleNext, install the multer package—the middleware that will handle your file uploads:
$ npm install @nestjs/platform-express multerLastly, install the @types/express and @types/multer packages:
$ npm install -save-dev @types/express @types/multerWith the project set up and dependencies installed, let’s create the resource for the file upload feature.
How to Create a Resource for File Upload
Using the NestJS CLI, generate the resource to handle file uploads:
nest generate resource file-uploadThis command creates a resource file-upload in the src directory: module, controller and service, to manage file uploads.
file-upload.module.ts organizes the file upload logic, file-upload.controller.ts handles incoming file upload requests, and file-upload.service.ts handles the file upload operations. With the resource created, let’s configure the module, service and controller.
How to Configure the File Upload Resource
In this section we’ll configure the file-upload.module.ts, file-upload.controller.ts and file-upload.service.ts files.
Module configuration:
import { Module } from '@nestjs/common';import { FileUploadService } from './file-upload.service';import { FileUploadController } from './file-upload.controller';import { MulterModule } from '@nestjs/platform-express';import { diskStorage } from 'multer';@Module({ imports: [ MulterModule.register({ storage: diskStorage({ destination: './uploads', filename: (req, file, cb) => { const filename = `${Date.now()}-${file.originalname}`; cb(null, filename); }, }), }), ], controllers: [FileUploadController], providers: [FileUploadService],})export class FileUploadModule {}Above is the file-upload.module.ts file, where we configured the MulterModule to specify the upload destination and how it should name the file.
Controller configuration:
import { Controller, Post, UseInterceptors, UploadedFile,} from '@nestjs/common';import { FileInterceptor } from '@nestjs/platform-express';import { FileUploadService } from './file-upload.service';@Controller('file-upload')export class FileUploadController { constructor(private readonly fileUploadService: FileUploadService) {} @Post('upload') @UseInterceptors(FileInterceptor('file')) uploadFile(@UploadedFile() file: Express.Multer.File) { return this.fileUploadService.handleFileUpload(file); }}Is the file-upload.controller.ts file above, a POST route is created to handle file uploads. The route listens for file uploads and passes the file to the service for processing
Service configuration:
import { Injectable } from '@nestjs/common';@Injectable()export class FileUploadService { handleFileUpload(file: Express.Multer.File) { return { message: 'File uploaded successfully', filePath: file.path }; }}The service processes the file and returns a response with the file’s path.
Now that the module, service and controller has been configured, we can now add some validation to check the file size and file type.
import { BadRequestException, Injectable } from '@nestjs/common';@Injectable()export class FileUploadService { handleFileUpload(file: Express.Multer.File) { if (!file) { throw new BadRequestException('no file uploaded'); } const allowedMimeTypes = ['image/jpeg', 'image/png', 'application/pdf']; if (!allowedMimeTypes.includes(file.mimetype)) { throw new BadRequestException('invalid file type'); } const maxSize = 5 * 1024 * 1024; if (file.size > maxSize) { throw new BadRequestException('file is too large!'); } return { message: 'File uploaded successfully', filePath: file.path }; }}We have done the necessary configurations to test the file upload.
How to Test the File Upload
Testing is an important part of building features, in this section we’ll test the file-upload feature using Postman, but you can use any similar tool to test the file upload endpoint. Let’s see our API in action!
Post an image file with the /file-upload/upload endpoint:
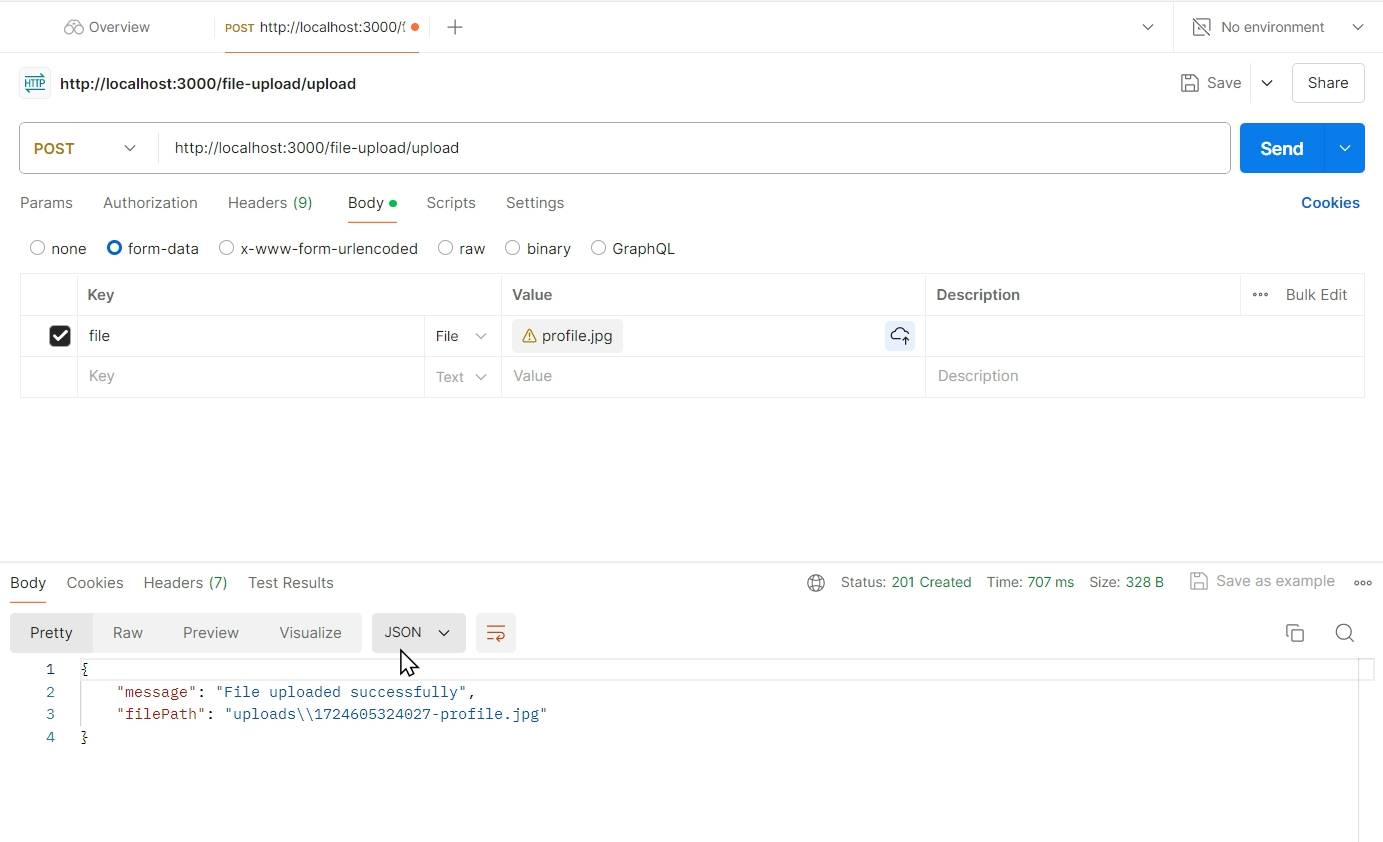
After sending the request, check your response to ensure the file was uploaded successfully. And to further confirm the upload, check the file-upload-example and you’ll see the uploads directory already created with the file you uploaded.
Conclusion
Congratulations to you now that you’ve successfully set up a file upload feature with Multer and NestJS. You configured the module, controller, and service to handle the files securely, and tested the endpoint.
You should understand that these are basic and essential steps to uploading files. You can add to these by building more complex features like handling multiple file uploads, storage in cloud services, and so on.
I really enjoyed working on this demo, and I hope you also find it helpful. For your convenience, the project repository is avalilable on Github. You can also connect with me on Twitter. I’d love to hear from you.