
包阅导读总结
1. 关键词:Python、PyInstaller、可执行文件、代码分发、依赖安装
2. 总结:本文介绍如何使用 PyInstaller 将 Python 代码创建为可执行文件,以便更高效地分发和使用应用,包括所需准备、安装步骤、创建捆绑文件夹和单文件可执行文件的方法。
3. 主要内容:
– 为何创建 Python 可执行文件
– 传统分享 Python 代码方式效率低且对用户要求高
– 可执行文件方便用户运行和分发
– 创建所需准备
– 安装 Python 的机器和示例代码
– 在 Ubuntu 22.04 演示,其他系统需调整 Pip 安装过程
– 安装相关工具
– 确认 Pip 安装
– 安装 PyInstaller
– 捆绑代码
– 创建捆绑文件夹
– 创建单文件可执行文件
– 分发方式
思维导图: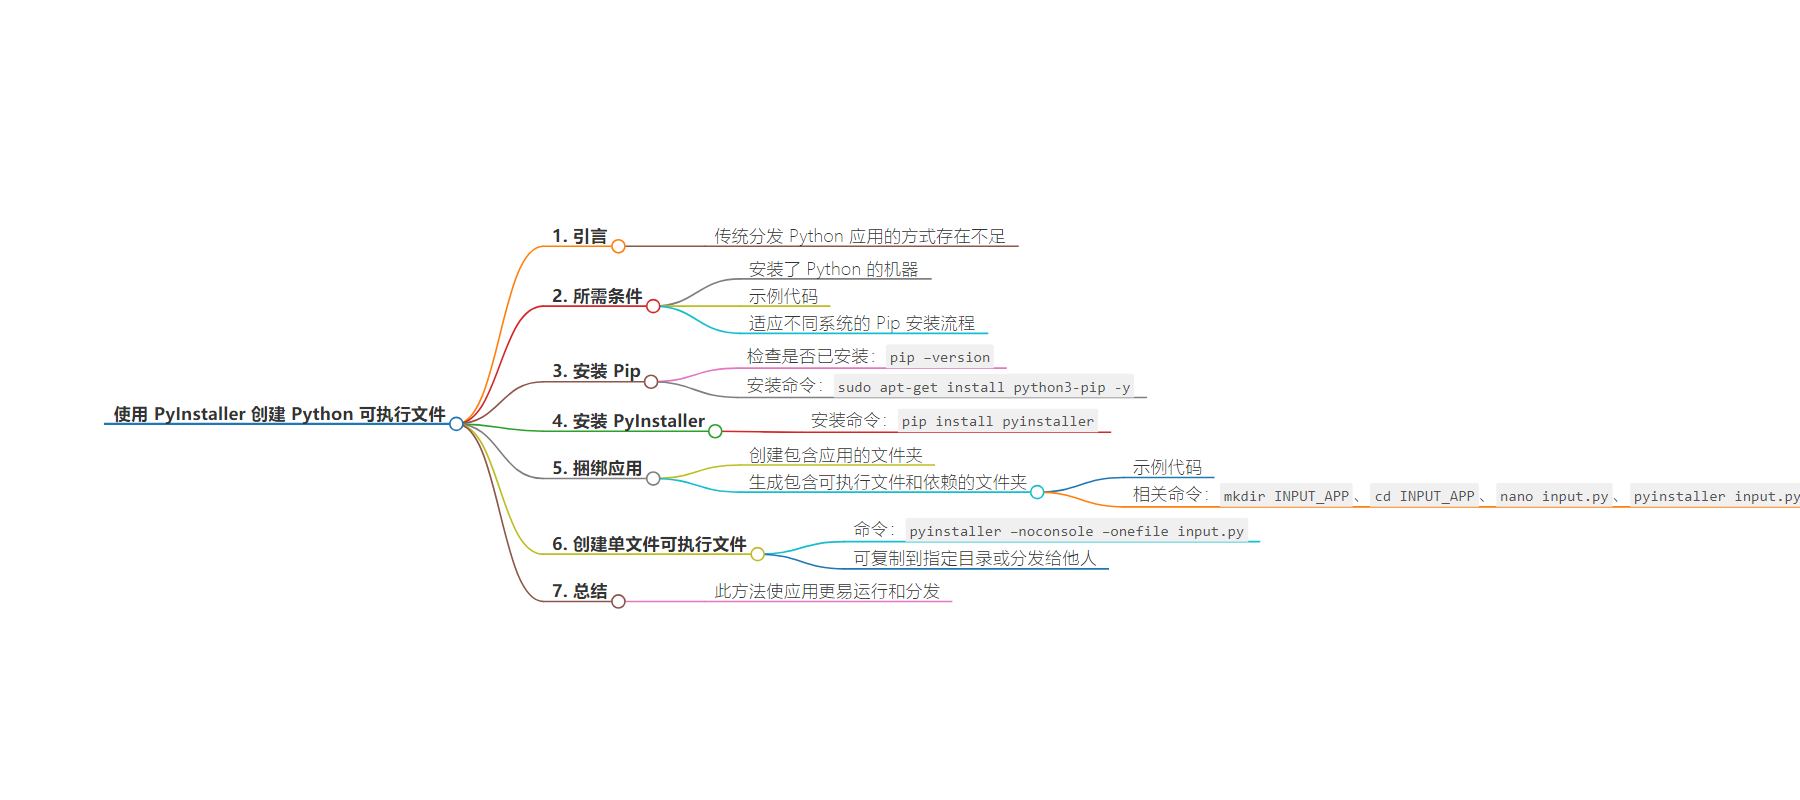
文章地址:https://thenewstack.io/how-to-create-a-python-executable-file-with-pyinstaller/
文章来源:thenewstack.io
作者:Jack Wallen
发布时间:2024/7/9 15:43
语言:英文
总字数:1028字
预计阅读时间:5分钟
评分:81分
标签:Python,PyInstaller,代码分发,可执行文件创建,Linux
以下为原文内容
本内容来源于用户推荐转载,旨在分享知识与观点,如有侵权请联系删除 联系邮箱 media@ilingban.com
You’ve spent the time creating a Python app that you want to make use of or you want to distribute it to people who could benefit from its awesomeness. You might think the only way to do that is to send the code to them, make sure they have Python installed on their machine (and any dependencies required for the code), and instruct them to run the code with the command python3 appname.py.
Sure, that would work, but it’s not exactly efficient. And if you’re sharing an app with someone who might not exactly know the ins and outs of Python, that can be problematic. Or, even if they do know their way around Python, you certainly don’t want to have to send them your code and expect them to run it from the command line.
Instead, why not create an executable file from your Python code, so all the user has to do is either double-click on it to run the app, or copy the file into a directory in their $PATH and run the command from anywhere in the filesystem hierarchy.
That’s what I’m going to show you how to do today. We’ll use the code from our previously created Python app (for taking a user’s input and writing it to a file with the help of a GUI) and create a handy executable from it.
This is a great way to create a portable app from your Python code. The only requirement a destination machine will need is to have Python installed (which is a fairly simple hurdle to overcome).
Right. Let’s get to the process.
What You’ll Need
To make this work, you’ll need a machine with Python installed and the sample code we created last time around. I’ll add the code here, so you don’t have to search for it. I’ll demonstrate this on Ubuntu 22.04 but the process will work on any Linux distribution (or any OS that supports Python). If you’re using a different distribution or operation system, you’ll need to adapt the Pip installation process accordingly.
Installing Pip
To install PyInstaller, you must first make sure Pip (the Python package manager) is installed. You can check to see if Pip is installed with the command:
pip –version
If you see the version number printed in the console, you’re good to go. If you get an error, you’ll need to install Pip, which is done with the command:
sudo apt-get install python3-pip -y
When the above command completes, you’re ready to continue.
Installing PyInstaller
Next, we need to install PyInstaller, which reads your Python code, discovers every module and library your app needs to run, collects everything necessary (including the Python interpreter), and combines them with your code into a single folder or a single, executable file.
To install PyInstaller, issue the following command:
pip install pyinstaller
That’s it. You’re ready to go.
Bundling Everything Together
The first thing I’ll do is show you how to use PyInstaller to create a bundle for your app. This will all be housed in a folder that includes an executable file and a folder containing the dependencies.
Remember our code for the input GUI looks like this:
|
1 2 3 4 5 6 7 8 9 10 11 12 13 14 15 16 17 18 19 20 21 22 23 24 25 26 27 28 29 30 31 32 33 34 35 36 |
import sys
from PyQt5.QtWidgets import QApplication, QWidget, QLabel, QLineEdit, QPushButton, QVBoxLayout
class UserInputApp(QWidget): def __init__(self): super().__init__() self.init_ui()
def init_ui(self): self.setWindowTitle(‘User Input App’) self.setGeometry(100, 100, 400, 200)
self.label = QLabel(‘Enter text:’) self.text_input = QLineEdit() self.save_button = QPushButton(‘Save to File’) self.save_button.clicked.connect(self.save_to_file)
layout = QVBoxLayout() layout.addWidget(self.label) layout.addWidget(self.text_input) layout.addWidget(self.save_button)
self.setLayout(layout)
def save_to_file(self): text = self.text_input.text() with open(‘user_input.txt’, ‘a+’) as file: file.write(text + ‘\n’) print(‘Text saved to file.’)
if __name__ == ‘__main__’: app = QApplication(sys.argv) window = UserInputApp() window.show() sys.exit(app.exec_()) |
Let’s create a new directory with:
mkdir INPUT_APP
Change into that directory with the command:
cd INPUT_APP
Create the Python file with:
nano input.py
Paste the code above into that file and then save/close it. You can then create the bundled folder with the command:
pyinstaller input.py
When the command finishes, change in the dist directory with:
.
In this folder, you’ll find a sub-folder named input, which contains the executable, and a folder named _internal. Change into the input folder with cd input and you can then run your app with the command:
./input
The input GUI will open and you can use the app.
If you want to distribute the app like this, you’d copy the INPUT_APP/dist/input folder to whoever needed it and they could run it the same way you did (as long as they had Python installed on their machine).
There’s an easier way.
Creating a Single File Executable
The best way to do this is to use PyInstaller to create a single file executable file. The only difference here is the command you run (within the INPUT_APP folder), which is:
pyinstaller –noconsole –onefile input.py
The –noconsole option instructs PyInstaller to suppress the terminal window that will inevitably open with the app and the –onefile tells PyInstaller to create a single file executable.
When this command completes, you’ll find the single file executable in the dist/input directory. You can then copy that file to a directory in your $PATH (such as /usr/local/bin) or copy it to anyone who needs the app.
And that’s all there is to creating an executable file from your Python code. With this handy method, your app is not only easier to run but easier to distribute to other users.
YOUTUBE.COM/THENEWSTACK
Tech moves fast, don’t miss an episode. Subscribe to our YouTubechannel to stream all our podcasts, interviews, demos, and more.