
包阅导读总结
1. 关键词:jlink、Java 应用、运行时图像、自定义、优化
2. 总结:
本文主要介绍了 Java 9 中用于创建自定义运行时图像的工具 jlink。阐述了其基本概念、命令结构,包括如何创建最小运行时图像、高级用法、创建模块化应用、优化图像大小等方面,还提及了其他如安全、性能、与构建工具集成及故障排除等相关内容。
3. 主要内容:
– 理解 jlink
– 核心概念和术语
– 基本命令结构
– 创建最小运行时图像
– 识别必要模块
– 使用 –add-modules 选项
– 配置运行时图像
– 高级 jlink 用法
– 自定义运行时图像
– 优化图像大小
– 使用配置文件
– 创建模块化应用
– 模块化应用的好处
– 创建步骤
– 示例
– 优化图像大小
– 压缩
– 移除不必要组件
– 模块化
– 性能分析
– 其他方面
– 安全考虑
– 性能优化
– 与构建工具集成
– 高级配置选项
– 故障排除
思维导图: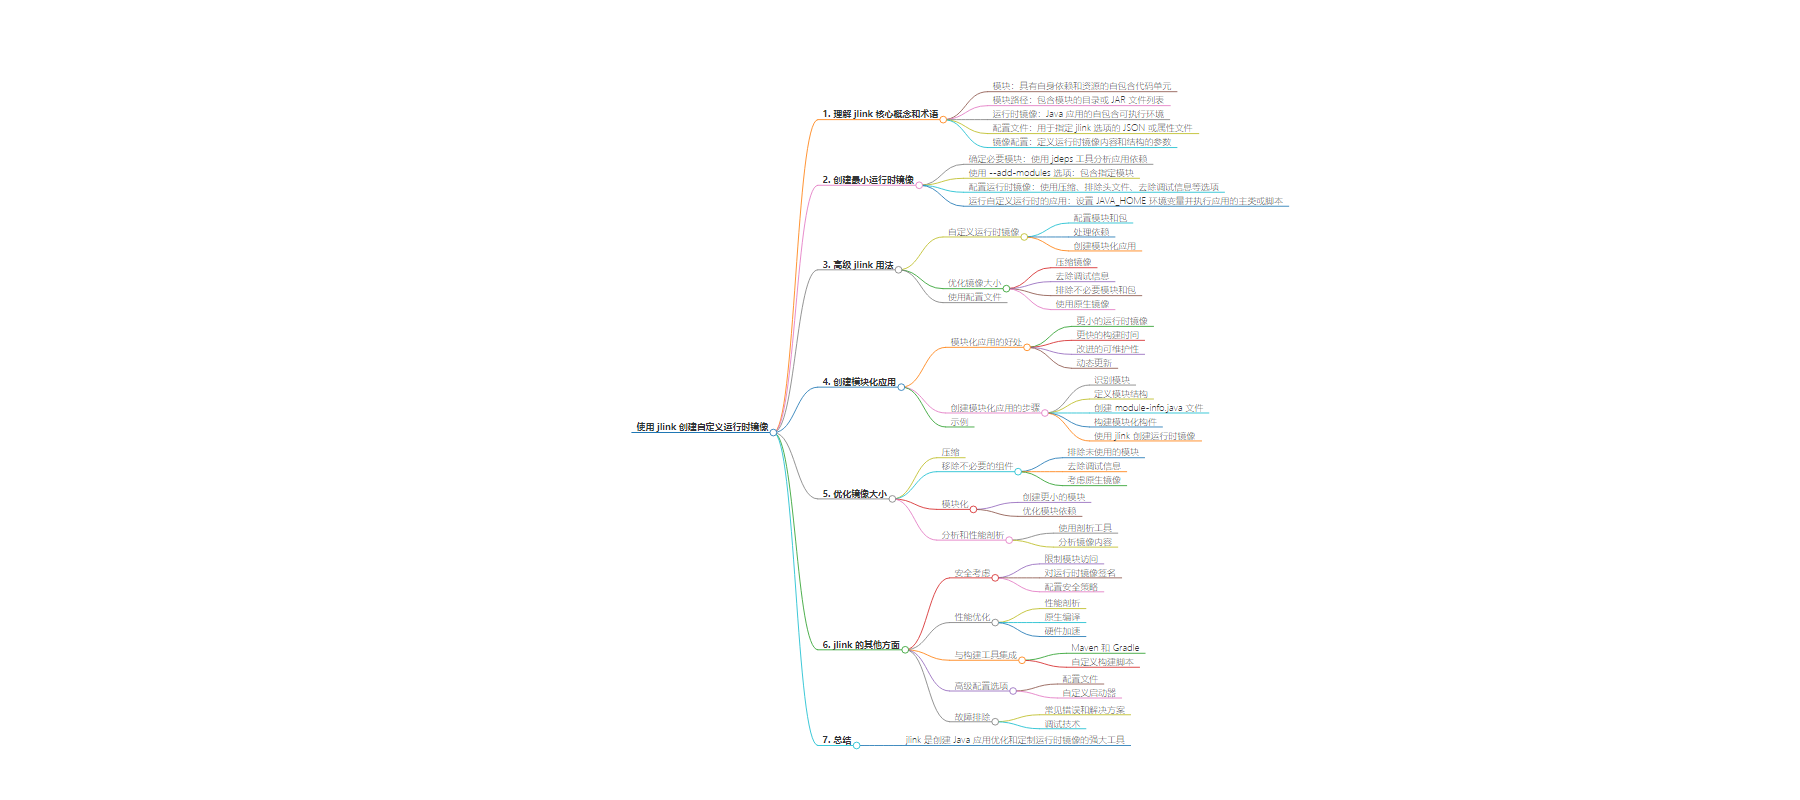
文章地址:https://www.javacodegeeks.com/2024/08/creating-custom-runtime-images-with-jlink.html
文章来源:javacodegeeks.com
作者:Eleftheria Drosopoulou
发布时间:2024/8/8 12:49
语言:英文
总字数:1394字
预计阅读时间:6分钟
评分:87分
标签:Java,jlink,运行时镜像,模块化,部署优化
以下为原文内容
本内容来源于用户推荐转载,旨在分享知识与观点,如有侵权请联系删除 联系邮箱 media@ilingban.com
Java applications, particularly those designed for deployment in resource-constrained environments or with specific security requirements, benefit greatly from reduced runtime footprints. This is where jlink, a powerful tool introduced in Java 9, comes into play. By allowing developers to create custom runtime images containing only essential modules, jlink significantly optimizes application deployment.
In this comprehensive guide, we will delve into the intricacies of using jlink to craft tailored runtime images. From understanding the basic concepts to advanced techniques, we will explore how to effectively leverage this tool to streamline your application deployment process.
1. Understanding jlink
Core Concepts and Terminology
Before diving into the specifics of jlink, it’s crucial to grasp some fundamental concepts:
- Module: A self-contained unit of code with its own dependencies and resources.
- Module Path: A list of directories or JAR files containing modules.
- Runtime Image: A self-contained executable environment for a Java application.
- Configuration File: A JSON or properties file used to specify jlink options.
- Image Configuration: A set of parameters defining the contents and structure of the runtime image.
jlink is inherently tied to Java’s modularity system. It leverages the module graph to determine which modules are required for an application to run. By understanding how modules are defined and depend on each other, you can effectively create optimized runtime images.
Basic jlink Command Structure
The core jlink command follows this general structure:
jlink --output <output-directory> \ --module-path <module-path> \ --add-modules <module-names> \ [other options]
- –output <output-directory>: Specifies the directory where the runtime image will be created.
- –module-path <module-path>: Sets the path to the modules that will be included in the image.
- –add-modules <module-names>: Lists the modules to be included in the image.
Additional options can be used to customize the runtime image, such as:
- –compress: Compresses the image for smaller size.
- –no-header-files: Excludes header files from the image.
- –strip-debug: Removes debugging information.
This basic command provides a foundation for creating simple runtime images. However, to build more complex and optimized images, we’ll explore additional options and techniques in the following sections.
2. Creating a Minimal Runtime Image
Let’s dive into the practical aspects of using jlink by creating a basic runtime image.
Identifying Necessary Modules
The first step is to determine which modules are essential for your application. You can use the jdeps tool to analyze your application’s dependencies:
jdeps -summary <your-application.jar>
This command provides a list of required modules. However, it’s often necessary to include additional modules for proper runtime behavior.
Using the --add-modules Option
Once you’ve identified the necessary modules, you can use the --add-modules option in the jlink command to include them in the runtime image. For example:
jlink --output my-runtime-image \ --module-path modules \ --add-modules app,java.base,java.desktop
This command creates a runtime image named my-runtime-image, including the modules app, java.base, and java.desktop. Adjust the module names and paths according to your project.
Configuring the Runtime Image
You can further customize the runtime image using additional options:
- –compress: Enables compression for smaller image size.
- –no-header-files: Excludes header files.
- –strip-debug: Removes debugging information.
Example:
jlink --output my-runtime-image \ --module-path modules \ --add-modules app,java.base,java.desktop \ --compress --no-header-files
Running the Application with the Custom Runtime
To execute your application using the created runtime image, you typically need a launcher script or executable. The exact mechanism depends on the platform and your application’s structure. Generally, you’ll set the JAVA_HOME environment variable to point to the runtime image directory and then execute your application’s main class or script.
By following these steps, you’ll create a basic runtime image containing the essential modules for your application. However, for more complex scenarios, you might need to delve into advanced jlink features.
3. Advanced jlink Usage
Customizing the Runtime Image
While creating a basic runtime image is useful, you often need more granular control over the included components. jlink provides several options to customize the image:
- Configuring modules and packages:
- Use the
--module-pathand--add-modulesoptions to specify the modules to include. - Employ the
--patch-moduleoption to modify module contents. - Exclude specific packages using the
--exclude-packagesoption.
- Use the
- Handling dependencies:
- Ensure all required dependencies are included in the module path.
- Use the
--requires-runtimeoption to specify additional runtime requirements. - Consider transitive dependencies and their impact on image size.
- Creating modular applications:
- Design your application as a modular structure.
- Use jlink to create smaller, specialized runtime images.
Optimizing Image Size
Reducing the runtime image size is often critical. Here are some techniques:
- Compress the image: Use the
--compressoption to apply compression. - Strip debug information: Remove debugging symbols with the
--strip-debugoption. - Exclude unnecessary modules and packages: Carefully analyze your application’s dependencies.
- Consider using native images: Explore tools like GraalVM for further optimization.
Using Configuration Files
For complex configurations, using a configuration file can be beneficial. jlink supports JSON and properties files. You can specify modules, options, and other settings in the configuration file and pass it to the jlink command using the --configuration-file option.
Example configuration file (JSON):
{ "module-path": "modules", "add-modules": ["app", "java.base", "java.desktop"], "compress": true, "strip-debug": true}
Using the configuration file:
jlink --output my-runtime-image --configuration-file config.json
By mastering these advanced techniques, you can create highly optimized and tailored runtime images that meet your specific requirements.
4. Creating Modular Applications
Creating modular applications is a cornerstone of effective jlink usage. By breaking down your application into smaller, self-contained modules, you can tailor runtime images precisely to specific needs.
Benefits of Modular Applications
- Smaller runtime images: By including only necessary modules, you reduce the image size.
- Faster build times: Modular builds can be more efficient.
- Improved maintainability: Modular structure enhances code organization.
- Dynamic updates: Modules can be updated independently.
Steps to Create Modular Applications
- Identify modules: Analyze your application’s components and dependencies.
- Define module structure: Create a modular project structure.
- Create module-info.java files: Define module dependencies and exports.
- Build modular artifacts: Compile and package modules into JAR files.
- Use jlink to create runtime images: Tailor images based on specific requirements.
Example
Consider a web application with components for UI, business logic, and data access. Each component can be a separate module. By using jlink, you can create different runtime images for different deployment environments, such as a minimal web server image or a full-featured development environment image.
Example jlink command:
jlink --output web-server-image \ --module-path modules \ --add-modules ui,core,data-access
5. Optimizing Image Size
Optimizing image size is crucial for efficient deployment and distribution. Here are some techniques:
Compression
- Use
--compressoption: This applies compression to the image. - Experiment with compression levels: Different levels might impact performance.
Removing Unnecessary Components
- Exclude unused modules: Identify and remove modules not required for the application.
- Strip debug information: Use
--strip-debugto remove debugging symbols. - Consider native images: Explore GraalVM for further optimization.
Modularization
- Create smaller modules: Break down large modules into smaller ones.
- Optimize module dependencies: Reduce transitive dependencies.
Profiling and Analysis
- Use profiling tools: Identify performance bottlenecks and optimize accordingly.
- Analyze image contents: Examine the image structure to find potential optimizations.
Example
To create a smaller image:
jlink --output optimized-image \ --module-path modules \ --add-modules core,ui \ --compress --strip-debug
By combining these techniques, you can significantly reduce the size of your runtime image without compromising functionality.
6. Other Aspects of jlink
Security Considerations
- Restricting permissions: Use the
--limit-modulesoption to control module access. - Signing the runtime image: Enhance security by digitally signing the image.
- Configuring security policies: Define security policies for the runtime environment.
Performance Optimization
- Profiling: Use profiling tools to identify performance bottlenecks.
- Native compilation: Consider GraalVM for native image generation.
- Hardware acceleration: Leverage hardware-specific optimizations.
Integration with Build Tools
- Maven and Gradle: Learn how to integrate jlink with popular build tools.
- Custom build scripts: Create custom scripts for complex scenarios.
Advanced Configuration Options
- Configuration files: Explore advanced configuration options using JSON or properties files.
- Custom launchers: Create custom launchers for specific deployment environments.
Troubleshooting
- Common errors and solutions: Address common issues encountered during jlink usage.
- Debugging techniques: Effective methods for diagnosing jlink problems.
7. Wrapping Up
link is a powerful tool for creating optimized and tailored runtime images for Java applications. By understanding its core concepts and mastering its features, developers can significantly improve application deployment and performance.
From crafting minimal runtime images to fine-tuning advanced configurations, jlink offers flexibility and control over the application’s execution environment. By carefully considering factors like module structure, image size, and security, you can create efficient and secure deployments.