
包阅导读总结
1. 关键词:`Linux`、`SSHFS`、`远程目录`、`安装`、`挂载`
2. 总结:本文介绍了在 Linux 系统中使用 SSHFS 挂载远程目录的方法,包括所需条件、安装步骤、创建目录、临时和永久挂载方式等,强调了其安全性和便利性。
3. 主要内容:
– 介绍 SSHFS 可利用 SSH 协议和 SFTP 协议安全挂载远程目录
– 所需条件:至少两台 Linux 机器,具有 sudo 权限的用户
– 安装 SSHFS:在服务器和本地机器上根据不同的发行版安装
– 创建挂载目录:在服务器上创建并设置所有权
– 临时挂载目录:使用命令进行临时挂载,并输入远程用户密码
– 永久挂载目录:生成 SSH 密钥对,复制到服务器,测试连接,修改 `/etc/fstab` 文件,重启后需手动挂载
– 提醒永久挂载在启动时可能失败,需重启后手动挂载
思维导图: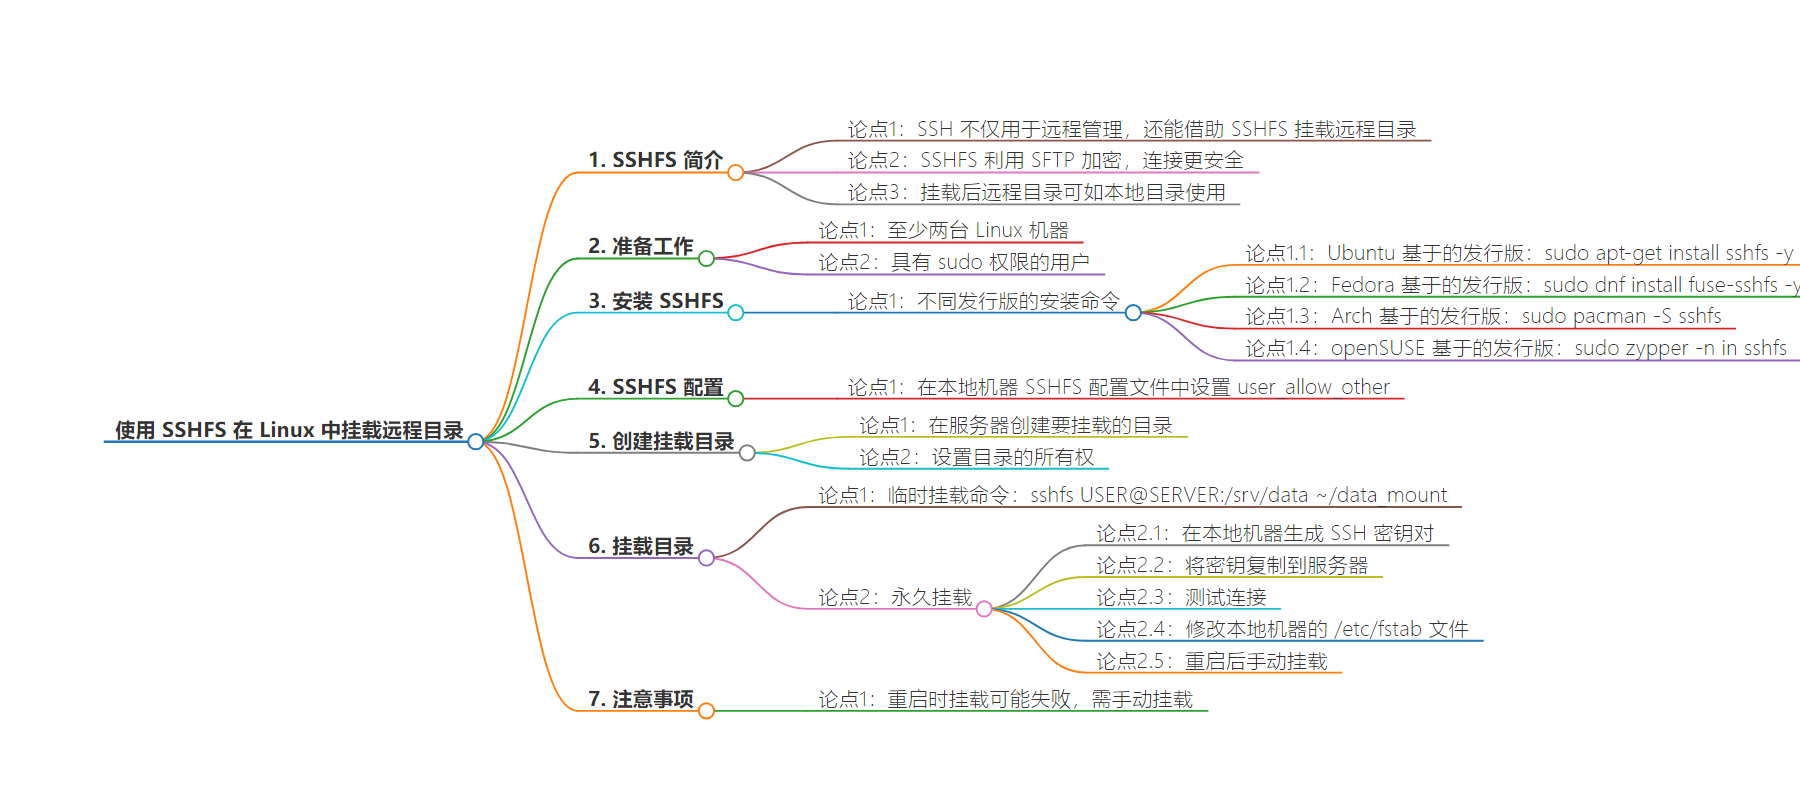
文章地址:https://thenewstack.io/linux-mount-remote-directories-with-sshfs/
文章来源:thenewstack.io
作者:Jack Wallen
发布时间:2024/8/2 18:38
语言:英文
总字数:1064字
预计阅读时间:5分钟
评分:78分
标签:SSHFS,Linux,安全文件传输,网络共享,SFTP
以下为原文内容
本内容来源于用户推荐转载,旨在分享知识与观点,如有侵权请联系删除 联系邮箱 media@ilingban.com
The Secure Shell (SSH) isn’t just about allowing you to remote into servers to tackle admin tasks. Thanks to this secure networking protocol, you can also mount remote directories with the help of the SSH File System (SSHF).
SSHFS uses SFTP (SSH File Transfer Protocol) to mount remote directories to a local machine using secure encryption, which means the connection is far more secure than your standard FTP. As well, once a remote directory is mounted, it can be used as if it was on the local machine.
Consider SSHFS to be a more secure way of creating network shares, the only difference is you have to have SSHFS installed on any machine that needs to connect to the share (whereas with Samba, you only have to have it installed on the machine hosting the share).
Let’s walk through the process of getting SSHFS up and running, so you can securely mount remote directories to your local machine.
What You’ll Need
To make this work, you’ll need at least two Linux machines. These machines can be Ubuntu or Fedora-based, because SSHFS is found in the standard repositories for most Linux distributions. You’ll also need a user with sudo privileges.
Installing SSHFS
Since SSHFS is found in the standard repositories, the installation is quite simple. Log into the server (which will house the directory to share) and install SSHFS with one of the following commands:
- Ubuntu-based distributions –
sudo apt-get install sshfs -y - Fedora-based distributions –
sudo dnf install fuse-sshfs -y - Arch-based distributions –
sudo pacman -S sshfs - openSUSE-based distributions –
sudo zypper -n in sshfs
Next, log into your local machine and install the package as well.
Once installed, you’ll need to set user_allow_other in the SSHFS config file on the local machine. For that, open the file with:
In that file, locate the line:
Change that to:
Save and close the file.
Creating a Directory for Mounting
Back on the server, we must create a directory that will be mounted on the client machines. We’ll place our new directory in /srv with the command:
With the new directory created, we need to give it ownership, such that either a user or group can access it. If you only have one user who needs to access it, you can change the ownership with the command:
|
sudo chown –R USERNAME:USERNAME /srv/data |
If you want to allow more than one user to access the directory, you’d need to first create a group with the command:
Where GROUP is the name of the new group.
Next, add the necessary users to the group (one at a time) with the command:
|
sudo usermod –aG GROUP USERNAME |
Where GROUP is the name of the group and USERNAME is the name of the user to be added.
You would then need to change the ownership of the new directory to the new group with:
|
sudo chown –R USERNAME:GROUP /srv/data |
On the local machine, you’ll have to create a directory that will house the mounted remote directory. We’ll create this in a user’s home directory with:
Mount the Directory
It’s now time to mount our remote directory. Remember, we’re mounting the remote directory /srv/data to the local directory ~/data_mount. This is done with the command:
|
sshfs USER@SERVER:/srv/data ~/data_mount |
Where USER is the remote username and SERVER is the IP address of the remote server. You’ll be prompted for the remote user’s password. On successful authentication, the remote directory will be mounted to the local directory and you can access it as if it were native to the local machine. If you save or edit a file in ~/data_mount, it will be reflected in /srv/data on the remote machine.
This method of mounting is temporary. Let’s make it permanent.
Permanently Mount the Remote Drive
To permanently mount the SSHFS drive, you have to jump through a few hoops before it’ll work. First, you must create an SSH key pair (on the local machine) with the command:
Make sure to give the key a strong/unique password.
Once the key is generated, copy it to the server with the command:
Where USER is the remote user name and SERVER is the IP address of the remote server.
Let’s test the connection to ensure it’s working properly. From the local machine, SSH to the server with:
Where USER is the remote username and SERVER is the IP address of the remote server. You should be prompted for the SSH key password and not your user password. Once you’ve successfully authenticated, exit from the connection with the exit command.
To make this mount permanent, you need to modify the /etc/fstab file on the local machine. Open that file for editing with:
At the bottom of the file, paste the following line:
|
USER1@SERVER:/srv/data /home/USER1/data_mount fuse.sshfs x–systemd.automount,_netdev,user,idmap=user,transform_symlinks,identityfile=/home/USER2/.ssh/id_rsa,allow_other,default_permissions,uid=USER_ID_N,gid=USER_GID_N 0 0 |
Where USER1 is the remote username, SERVER is the IP address of the server, USER2 is the username on the local machine, and USER_ID and GROUP_ID are unique to the local machine. You can locate the IDs with the command:
You should see entries like this:
|
uid=1000(jack) gid=1000(jack) |
In the above example, the user ID is 1000 and the group ID is also 1000.
Save the file and test the mount with:
If you receive no errors, all is well.
There is one caveat to this. During the boot process, the mount will fail because it will be attempted before networking is brought up. Because of this, after a reboot on the local machine, you’ll have to open a terminal window and mount the SSHFS directory with the command:
Once you’ve done that, you’re ready to use the remote directory as if it were local.
YOUTUBE.COM/THENEWSTACK
Tech moves fast, don’t miss an episode. Subscribe to our YouTubechannel to stream all our podcasts, interviews, demos, and more.