
包阅导读总结
1. 关键词:Google Photos、AI 编辑、Magic Editor、工具使用、图像修复
2. 总结:Google Photos 的 AI 编辑工具将面向所有用户,团队努力确保其在多设备运行。专家 Selena 分享使用这些工具的技巧,包括分层编辑、不同场景下选择合适的擦除工具等。
3. 主要内容:
– 谷歌宣布 Google Photos 的 AI 编辑工具面向所有用户,无需订阅
– 包括 Magic Editor、Magic Eraser、Photo Unblur 和 Portrait Light
– 深受用户期待,团队确保其在多种设备上运行
– 专家 Selena 的使用技巧
– 利用 AI 和传统工具分层编辑获取理想照片
– 不同擦除工具在不同场景效果佳
– Magic Eraser 适合照片小部分的快速修复
– Magic Editor 对复杂和占比较大的对象擦除更有效
– 综合使用发挥工具潜力
思维导图: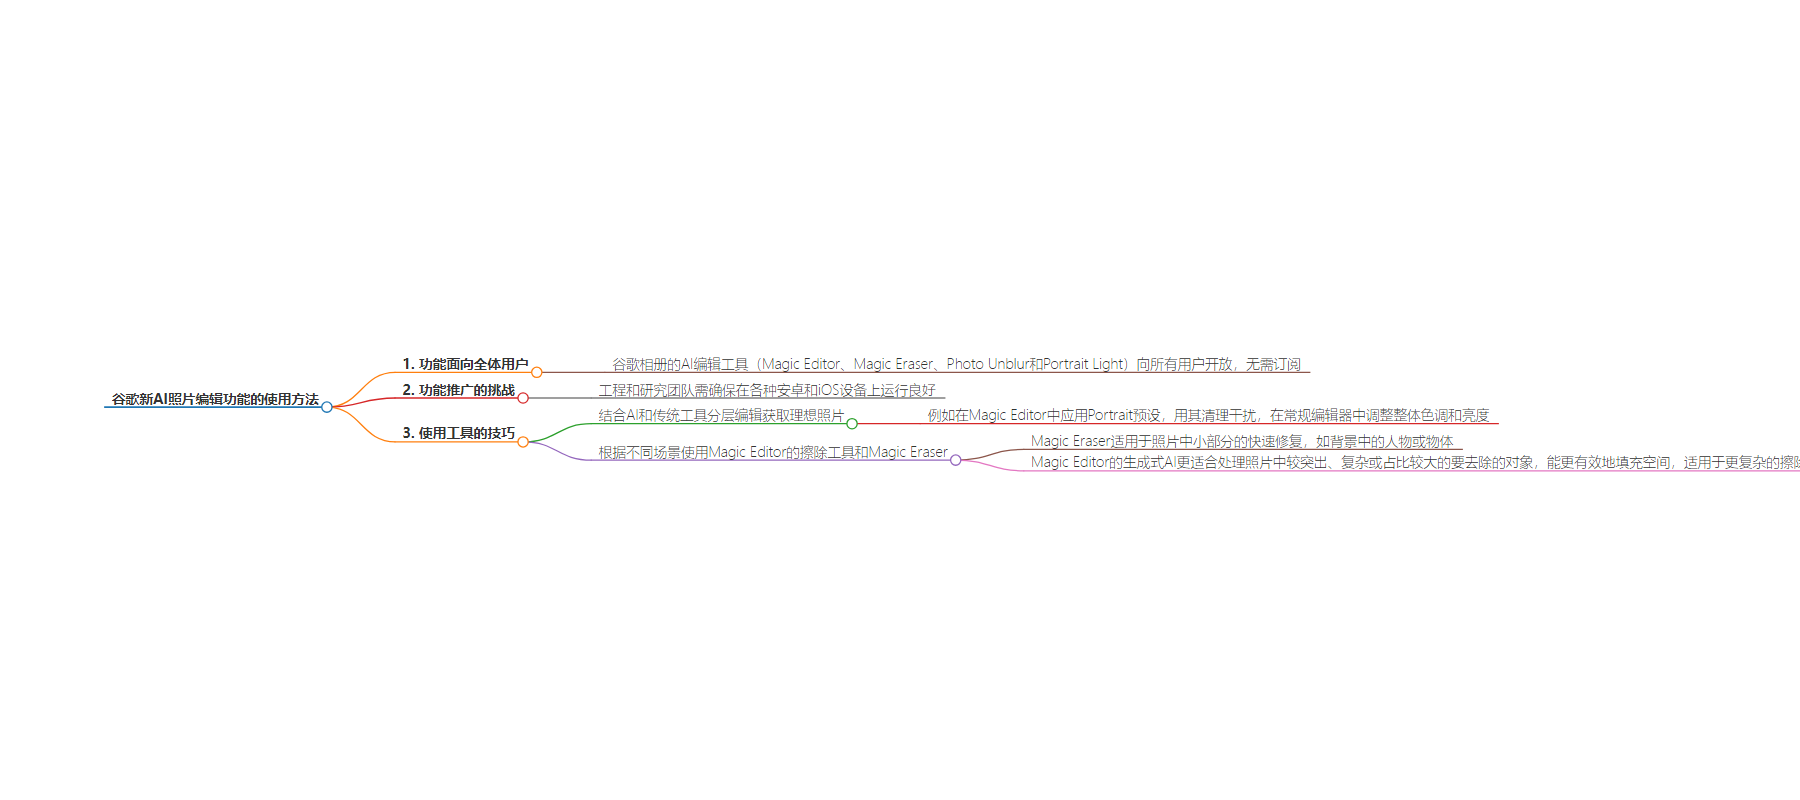
文章地址:https://blog.google/products/photos/google-ai-photo-editing-features-tips/
文章来源:blog.google
作者:Molly McHugh-Johnson
发布时间:2024/7/30 16:01
语言:英文
总字数:676字
预计阅读时间:3分钟
评分:80分
标签:AI 照片编辑,Google Photos,移动编辑工具,Magic Editor,Magic Eraser
以下为原文内容
本内容来源于用户推荐转载,旨在分享知识与观点,如有侵权请联系删除 联系邮箱 media@ilingban.com
We recently announced that Google Photos’ AI editing tools – Magic Editor, Magic Eraser, Photo Unblur and Portrait Light – are coming to all Google Photos users, no subscription required. These powerful features have been incredibly popular and highly anticipated by our wide community of Google Photos users. “It’s really exciting that so many more people will be able to use these tools,” says Google Photos senior product manager Selena Shang. The expansion was no easy feat. Our engineering and research teams worked to ensure that these features worked across a wide array of Android and iOS devices so that Google Photos’ suite of AI editing tools work well no matter what device you’re using. “It was definitely a challenge,” Selena says, “but worth it!”
Since Selena is an expert on the Google Photos AI editing suite and so many more people now have access to it, we asked for her top tips on using these tools.
1. Layer edits with AI — and traditional — tools to get the photo you want
“Some of the best edits I’ve made are those where I’ve layered edits both within Magic Editor and outside of it,” Selena says. For example, she’ll apply the Portrait preset within Magic Editor, clean up additional distractions after that using Magic Editor and finally adjust the overall tone and brightness of the photo in the regular editor. “Using the full range of tools at my disposal lets me unlock the potential in all of my photos,” Selena says.
2. Magic Editor’s Erase tool and Magic Eraser work best in different scenarios
Magic Editor has a suite of features, one of them being a generative AI-powered Erase tool. Both Magic Editor’s Erase feature and Magic Eraser can help you remove unwanted items from an image, but they each excel in different ways. “Magic Eraser works best for quick fixes on smaller portions of the photo,” Selena says. For example, landscape shots with people or objects in the background are great candidates for using Magic Eraser, and it’s faster. If you have more prominent, complex foreground objects, or objects that take up a larger portion of the photo in general that you want to remove, Magic Editor’s generative AI is going to be more effective at filling the space, Selena explains. In general, it’s better at performing more complex erases.