包阅导读总结
1. `Node.js`、`Azure`、`部署`、`云计算`、`后端应用`
2. 本文是关于在 Azure 平台部署 Node.js 后端应用的初学者指南,介绍了所需知识和条件,包括云计算理解、JavaScript 知识、VS Code 等,还讲解了设置 Azure 账户、创建后端应用及部署的过程,最后提及了一些进阶探索领域。
3.
– 云计算与现代计算服务
– 云计算带来便利,开发者需了解其工作原理
– 部署 Node.js 应用于 Azure 的准备
– 基本要求:云计算理解、JavaScript 知识、VS Code
– Azure 平台介绍
– 由微软开发,可部署和托管多种服务
– 注册账号并熟悉相关服务
– Azure 部署选项
– 多种方式,本教程使用 Azure 门户服务和 VS Code 集成
– 后端应用创建
– 用 Node.js 通过命令行和 VS Code 初始化和安装框架,粘贴示例代码
– 应用部署
– 通过 VS Code 扩展部署,创建云应用,选择语言和服务,完成部署并获取成功消息和链接
– 附加信息
– 提及进阶探索领域,如应用监控、网络、数据库集成、无服务器函数部署等
思维导图: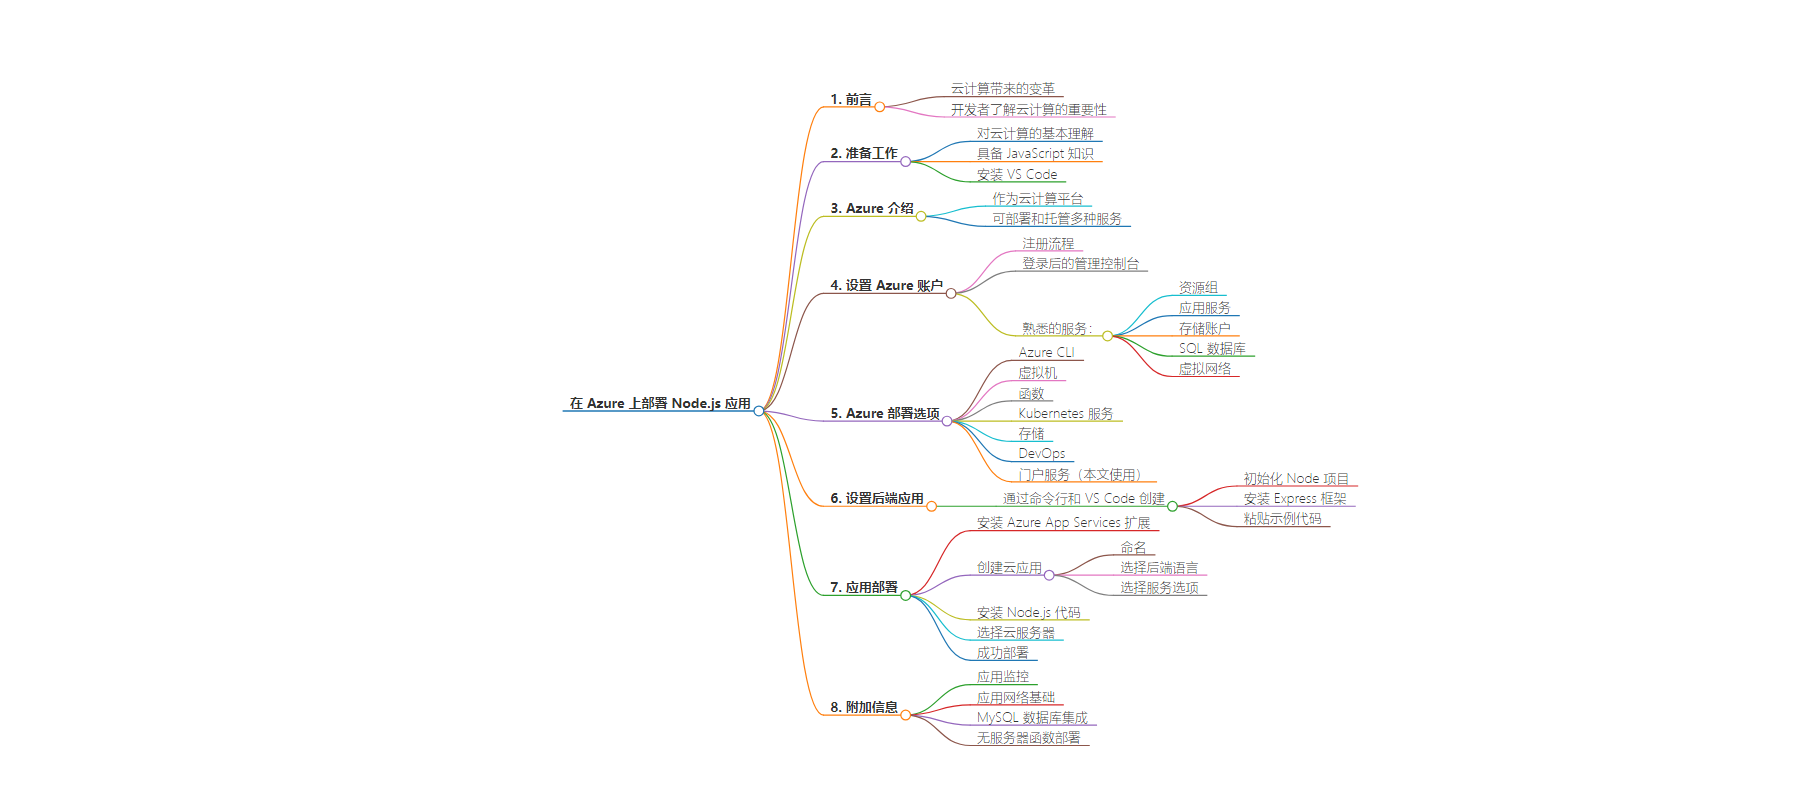
文章地址:https://www.freecodecamp.org/news/how-to-deploy-node-js-app-on-azure/
文章来源:freecodecamp.org
作者:oluwatobi Joshua
发布时间:2024/7/17 18:20
语言:英文
总字数:879字
预计阅读时间:4分钟
评分:77分
标签:Node.js,Azure,云计算,部署,VS Code
以下为原文内容
本内容来源于用户推荐转载,旨在分享知识与观点,如有侵权请联系删除 联系邮箱 media@ilingban.com
The advent of cloud computing marked a turning point in the field of technology. It provides easier access for users across the globe to web and mobile applications and services.
Modern-day computing services also provide a wide range of features which make web apps easier to use and more efficient. So it’s important for developers to have a basic understanding of how the cloud works.
This article is a beginner’s guide to deploying backend applications to the cloud. We’ll use the Azure platform as our cloud infrastructure and Node.js/Express for the backend web application. Before we go on, here are a few requirements:
- Basic understanding of cloud computing (you can check out this article to learn more about that).
- Knowledge of JavaScript.
- VS Code.
With that, let’s get started.
Introduction to Azure
Azure is a cloud computing platform developed by Microsoft that acts as a server for deploying and hosting web applications, databases, file storage, and so on.
Compared to other cloud computing services, it is quite beginner-friendly and has an actively growing user base. Let’s explore the Azure portal.
How to Set Up Azure Account
Signing up on the Azure platform is the first step to hosting your application. First, navigate to the website and complete the signup process.
 Azure sign in page
After signing up, you’ll have access to the management console of the Azure application where all our activities can be carried out.
Before we go on, here are some of the services we’ll be getting familiar with on this platform.
- Azure Resource groups
- Azure app services
- Storage accounts
- SQL databases
- Virtual networks
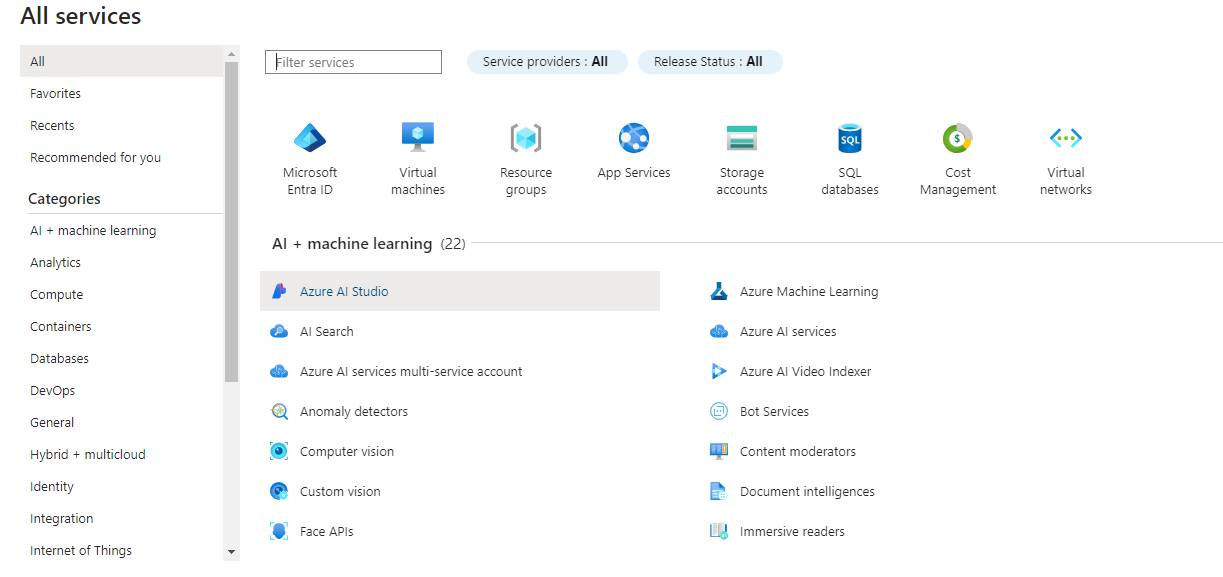 Azure services
Congratulations on successfully creating your Azure account.
Deployment Options on Azure
As a cloud computing platform, Azure boasts of its wide versatility. Depending on your skill level or preference, you can deploy web applications to Azure via the following options:
- Azure CLI
- Azure Virtual machines
- Azure Functions
- Azure Kubernetes Service
- Azure Storage.
- Azure DevOps
- Azure portal service
We’ll utilize the Azure portal service for this tutorial and use its VS Code integration to deploy a simple Node.js application to the Azure cloud.
How to Set Up the Backend Application
We’ll create our web application using Node.js via the command line and Visual Studio Code.
Firstly, navigate to the folder where your app will be created and initialize a Node project by executing npm init
Next, initialize the app by installing the Express framework. This can be done via npm i express.
Go on and paste the sample code for this tutorial:
const express = require("express");const app = express();app.use(express.json());app.get("/", (req, res) => { res.send("Hello, World");});app.listen(process.env.PORT || 5000, () => { console.log("Server is running on port " + (process.env.PORT || 5000));});The code above outputs Hello World whenever it is executed.
Application Deployment
The backend code we wrote in the preceding paragraph will be deployed to Azure via the use of Azure’s VS Code extension.
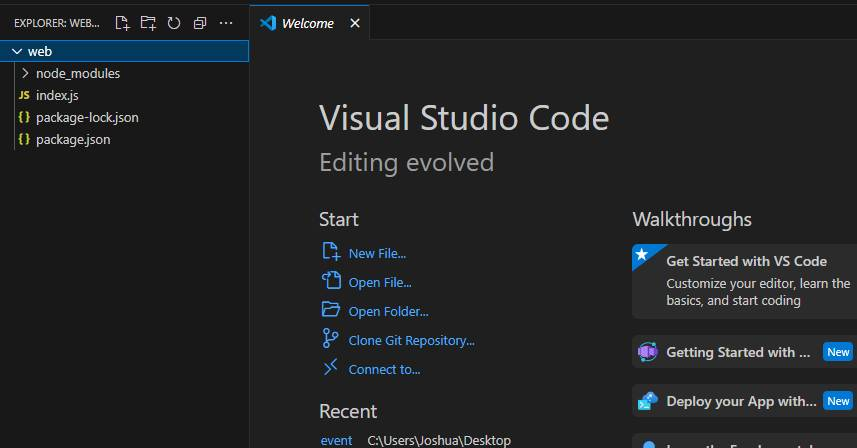 VS Code homepage
Navigate to the Extensions tab, search for Azure App Services and install the extension. On successful installation, an Azure widget will appear on your taskbar where you can sign in to the Azure cloud.
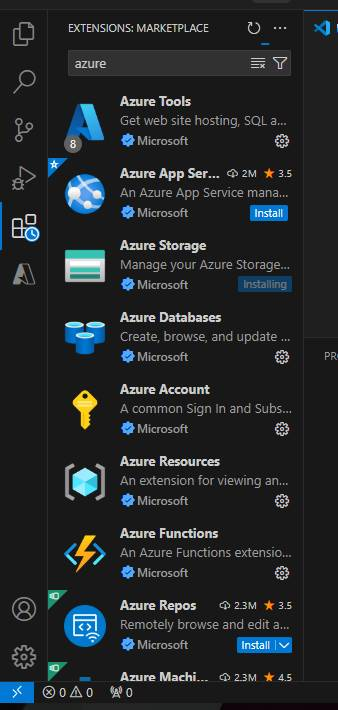 Extensions marketplace
Subsequently, we’ll be creating a cloud-based web application in which our Node.js code will later be deployed.
On the Azure resources tab, clicking the plus icon will display a drop-down menu where various development options can be seen. We’ll be clicking on the Azure app services option.
 Azure drop down menu
After clicking that, a prompt will pop up asking for a unique name for the cloud application. In my case, I went with newApp777.
 creating a web application
However, you can use any other name you so wish. Subsequently, you will need to select the backend language of your choice. Any version of Node.js will be compatible with our application.
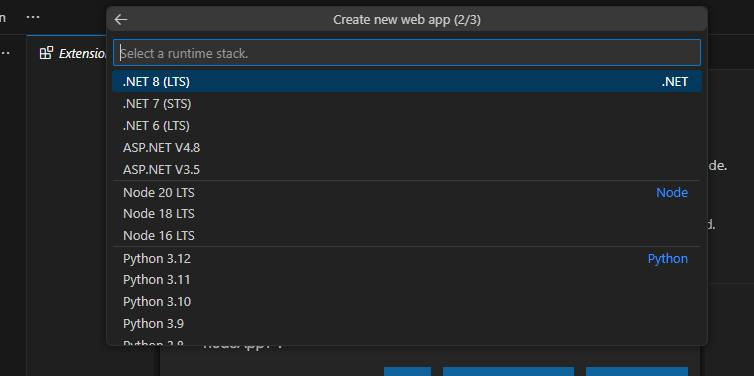 web stacks available
Also, the F1 service option will be used for this tutorial. However, you can pick anyone you so desire.
 Various Azure tiers
On successful completion, your application will be created on the Azure portal.
Now to the crux of the matter. Let’s install our Node.js code on this web application.
We’ll click on the code folder which provides us with options to automatically deploy our code to an Azure web app service.
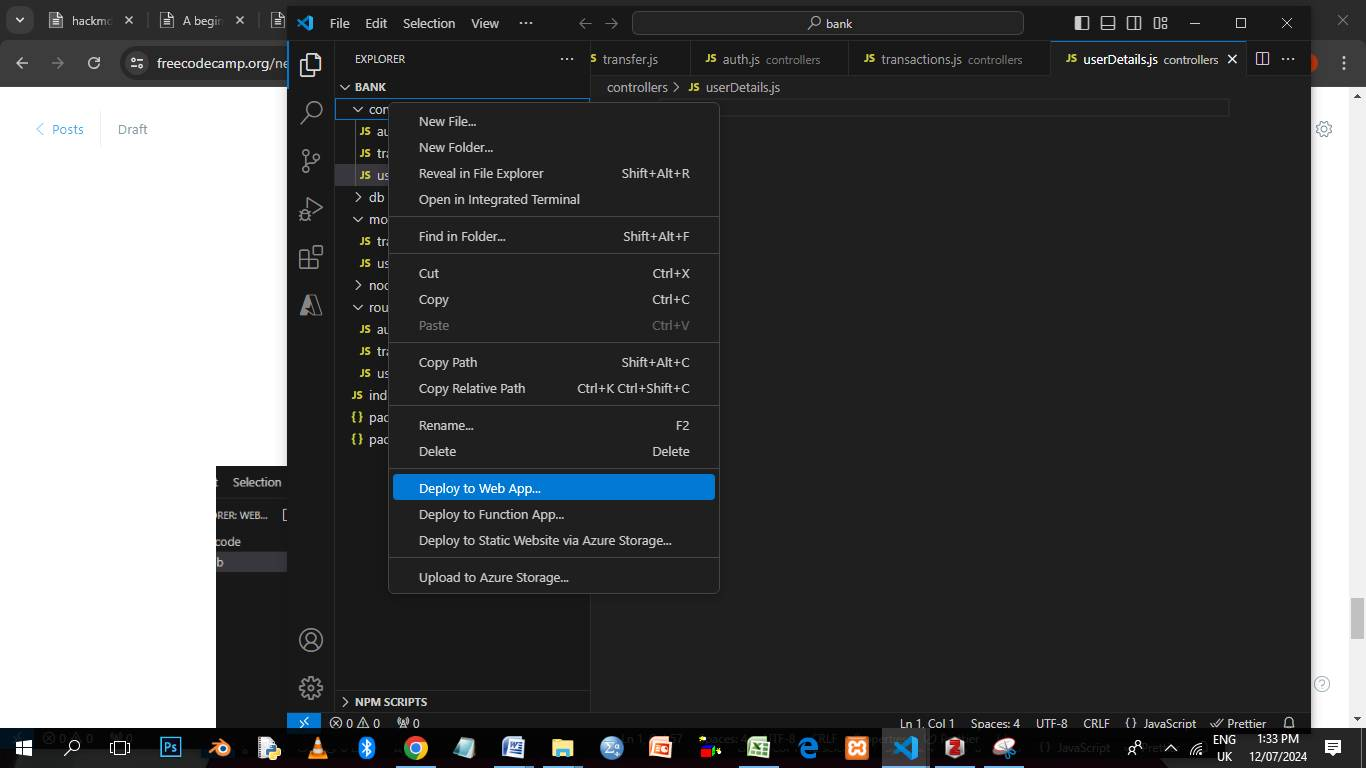 Deployment dropdown menu
As soon as this is done, the list of the cloud servers on your Azure account will be shown. You can then select the new app we just created.
 app deployment
Your backend code should then be deployed on the NewApp cloud server we created. On successful completion, you’ll receive a success message with a link to your cloud application.
 command prompt interface
Congratulations, you have successfully hosted your first web application. Navigate here to see the hosted application.
 The application webpage
Additional Information
So far, we have covered the basics of deploying an application via the use of VS code extensions on Azure portal services. As you progress in the field of cloud computing, other interesting fields can also be explored such as:
- App monitoring with Azure Monitor.
- Azure app networking essentials.
- Azure MySQL database integration.
- Node JS serverless functions deployment.
You can also interact with me on my blog and check out my other articles here. Till next time, keep on coding!
