
包阅导读总结
1.
关键词:Vue Vine、Vue 组件、书写方式、分页组件、环境搭建
2.
总结:本文介绍了 Vue Vine 这一全新的 Vue 组件书写方式,它集合了 SFC 和 JSX 的优点,还讲解了其环境搭建、组件定义与使用,包括创建分页组件的示例,并提供了更多参考信息。
3.
主要内容:
– Vue Vine 简介
– 让在一个文件中通过函数方式定义多个 Vue 组件,并使用 Vue 模板特性
– 与 SFC 和 JSX 的对比
– SFC 单文件只能定义一个组件,相关组件需创建文件夹分别存放
– JSX 函数定义组件可多组件但无法享受 Vue 模板语法和编译优化
– Vue Vine 环境搭建
– 安装依赖 `npm i -D vue-vine`
– 在 `vite.config.ts` 中导入 `VineVitePlugin` 插件
– 在 `tsconfig.json` 中配置 `macro` 类型
– 组件定义与使用示例
– 定义单个组件并在 `App.vue` 中引入
– 定义多个组件并引入外部组件
– 用 Vue Vine 方式写分页组件和列表组件并在 `App.vue` 中使用
– 注意点:定义组件 `props` 和 `emit` 的方式
– 参考与联系
– Vue Vine 官网
– GitHub、官网、B 站、个人博客、小助手微信、公众号
思维导图: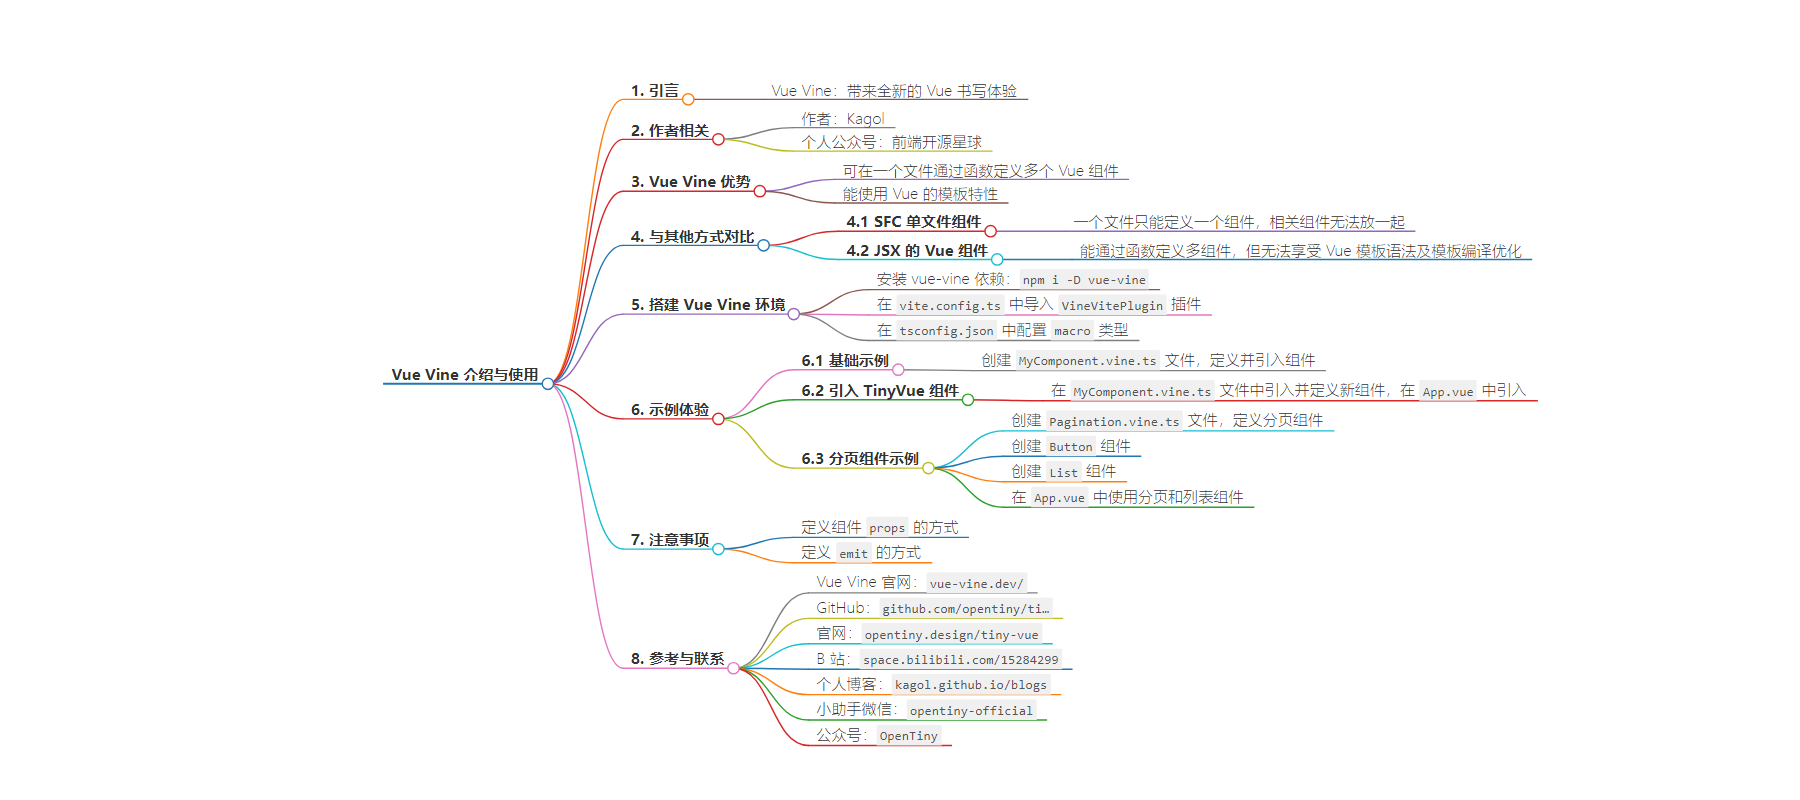
文章地址:https://juejin.cn/post/7399273700102635570
文章来源:juejin.cn
作者:Kagol
发布时间:2024/8/4 14:00
语言:中文
总字数:1550字
预计阅读时间:7分钟
评分:86分
标签:Vue 组件开发,前端技术,开发工具,Vue Vine,TinyVue
以下为原文内容
本内容来源于用户推荐转载,旨在分享知识与观点,如有侵权请联系删除 联系邮箱 media@ilingban.com
你好,我是 Kagol,个人公众号:前端开源星球。
上个月和 TinyVue 的小伙伴们一起参加了 VueConf 24 大会,有幸认识沈青川大佬,并了解了他的 Vue Vine 项目,Vue Vine 让你可以在一个文件中通过函数方式定义多个 Vue 组件,同时可以使用所有 Vue 的模板特性。
听起来是不是很酷!
之前我写过 SFC,也写过 JSX 的 Vue 组件,两者各有缺点。
- SFC 顾名思义单文件组件,只能在一个文件中定义一个组件,如果有几个相关的组件想放一起,对不起,不行!你只能创建一个文件夹,把一堆相关组件一个一个文件放里面。
- JSX 虽然能通过函数方式定义组件,并且可以在一个文件中定义多个相关的组件,但是没法享受 Vue 模板语法,以及模板编译相关的优化。
Vue Vine 通过把两者的优点集合在一起,创造了一种全新的 Vue 组件书写方式。
我们来一起体验下吧!
搭建 Vue Vine 环境
假设你已经有一个 Vite + Vue3 项目。
只需要以下步骤,就可以搭建 Vue Vine 环境:
- 安装 vue-vine 依赖:
npm i -D vue-vine - 在
vite.config.ts中导入VineVitePlugin插件
import { VineVitePlugin } from 'vue-vine/vite'export default defineConfig({ plugins: [ VineVitePlugin() ],})
- 在
tsconfig.json中配置 macro 类型
{ "compilerOptions": { "types": ["vue-vine/macros"] }}愉快地体验下 Vue Vine 吧
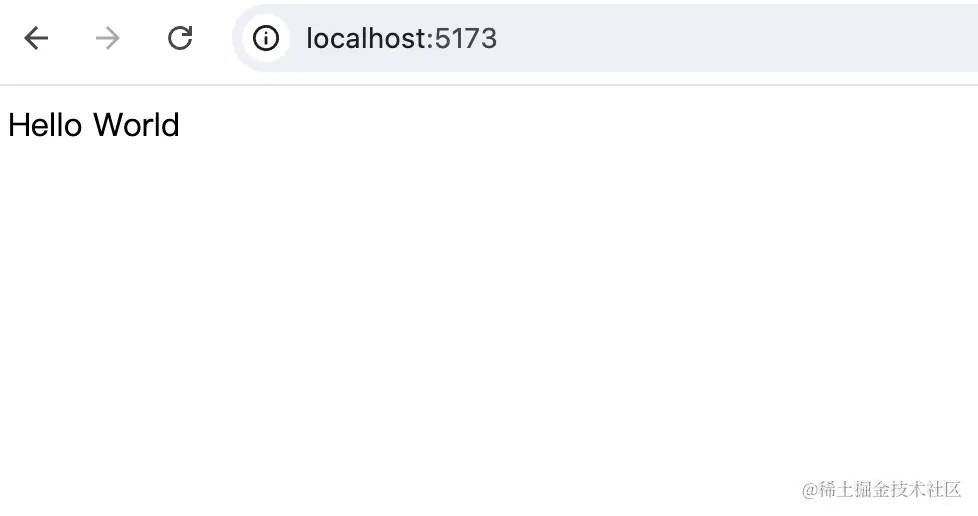
我们创建一个 MyComponent.vine.ts 文件,写入以下内容:
export function MyComponent() { return vine` <div>Hello World</div> `}然后在 App.vue 中引入这个组件。
<script setup lang="ts">import { MyComponent } from './components/MyComponent.vine'</script><template> <MyComponent /></template>可以看到显示了一个 Hello World。
再定义一个组件,并引入 TinyVue 的组件试试。
MyComponent.vine.ts 文件,写入以下内容:
+ import { TinyButton, TinyAlert } from '@opentiny/vue'export function MyComponent() { return vine` <div>Hello World</div> `}+ export function ComponentDemo() {+ return vine`+ <tiny-button type="primary">确定</tiny-button>+ <tiny-alert description="这是一段描述"></tiny-alert>+ `+ }在 App.vue 中引入这个组件。
<script setup lang="ts">- import { MyComponent } from './components/MyComponent.vine'+ import { MyComponent, ComponentDemo } from './components/MyComponent.vine'</script><template> <MyComponent />+ <ComponentDemo /></template>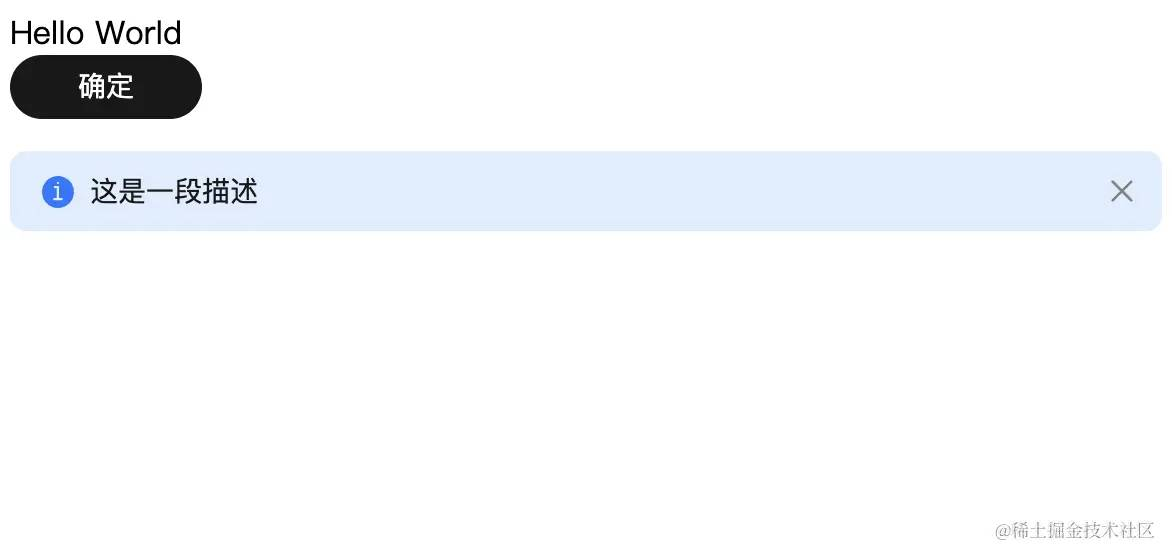
用 Vue Vine 方式写一个简单的分页组件
之前在我的博客写过一篇文章:手把手教你使用 Vue / React / Angular 三大框架开发 Pagination 分页组件
我们现在用 Vue Vine 方式重写一遍。
创建 Pagination.vine.ts 文件,写入以下内容:
import { ref } from 'vue'export function Pagination(props: { defaultCurrent: number, defaultPageSize: number, total: number,}) { const emit = vineEmits<{ change: [current: number] }>() const current = ref(props.defaultCurrent) const totalPage = ref(Math.ceil(props.total / props.defaultPageSize)) const setPage = (page: number) => { if (page < 1) return if (page > totalPage.value) return current.value = page emit('change', current.value) } return vine` <div class="x-pagination"> <Button class="btn-prev" @click="setPage(current - 1)"><</Button> {{ current }} <Button class="btn-next" @click="setPage(current + 1)">></Button> </div> `}export function Button() { const emit = vineEmits<{ click: [] }>() return vine` <button type="button" @click="emit('click')"><slot></slot></button> `}再定义一个 List 列表组件,用来模拟分页数据。
List.vine.ts
import { ref, watch } from 'vue'export function List(props: { dataSource: { id: number name: string }[]}) { const lists = ref(props.dataSource) watch(() => props.dataSource, (newVal) => { lists.value = newVal }) return vine` <ul> <li v-for="list in lists" :key="list.id"> {{ list.name }} </li> </ul> `}在 App.vue 中使用 Pagination 和 List 组件。
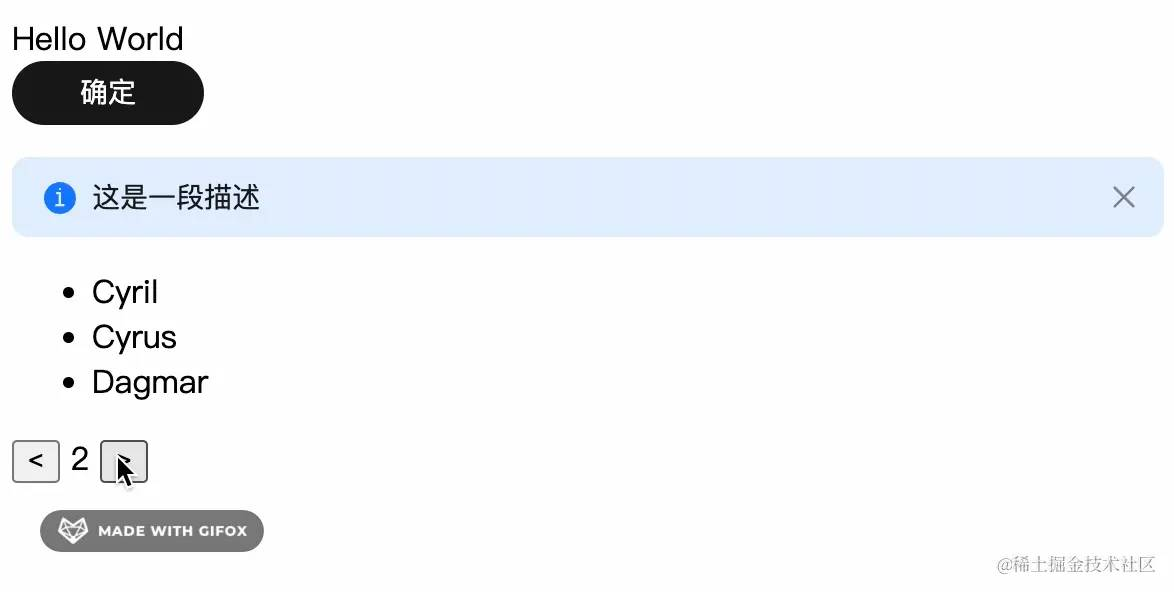
<script setup lang="ts">+ import { ref } from 'vue'+ import chunk from 'lodash-es/chunk'import { MyComponent, ComponentDemo } from './components/MyComponent.vine'+ import { Pagination } from './Pagination.vine'+ import { List } from './List.vine'++ // 数据源+ const lists = [+ { id: 1, name: 'Curtis' },+ { id: 2, name: 'Cutler' },+ { id: 3, name: 'Cynthia' },+ { id: 4, name: 'Cyril' },+ { id: 5, name: 'Cyrus' },+ { id: 6, name: 'Dagmar' },+ { id: 7, name: 'Dahl' },+ { id: 8, name: 'Dahlia' },+ { id: 9, name: 'Dailey' },+ { id: 10, name: 'Daine' },+ ]++ // 列表当前展示的数据+ const dataList = ref<{+ id: number+ name: string+ }[]>([])++ const defaultCurrent = 1+ const defaultPageSize = 3+ const total = lists.length++ // 设置当前列表数据+ const setList = (current: number, pageSize: number) => {+ dataList.value = chunk(lists, pageSize)[current - 1]+ }++ setList(defaultCurrent, defaultPageSize)++ const onChange = (current: number) => {+ setList(current, defaultPageSize)+ }</script><template> <MyComponent /> <ComponentDemo />+ <List :data-source="dataList" />+ <Pagination :default-current="defaultCurrent" :default-page-size="defaultPageSize" :total="total" @change="onChange" /></template>效果如下:
这里有几个需要注意的点:
- 定义组件 props 的方式,组件函数只有一个唯一的 props 参数,可以定义 props 的类型,和定义 TypeScript 类型一样
export function Pagination(props: { defaultCurrent: number, defaultPageSize: number, total: number,}) { ...}- 定义 emit 的方式,通过 vineEmits 宏而不是 defineEmits 宏进行定义
const emit = vineEmits<{ change: [current: number]}>()emit('change', current.value)更多用法参考 Vue Vine 官网:vue-vine.dev/
你觉得 Vue Vine 风格写 Vue 组件体验如何呢?欢迎在评论区留言讨论。
联系我们
GitHub:github.com/opentiny/ti…(欢迎 Star ⭐)
官网:opentiny.design/tiny-vue
B站:space.bilibili.com/15284299
个人博客:kagol.github.io/blogs
小助手微信:opentiny-official
公众号:OpenTiny