
包阅导读总结
1.
关键词:Linux 安装、硬件要求、虚拟机、图形用户界面、安装步骤
2.
总结:本文介绍了 Linux 的安装过程,包括硬件推荐、选择发行版、安装要求、安装前需准备的信息、图形用户界面特点及常见安装步骤,还提到一些特定的 Linux 发行版,并指出不同发行版安装过程相似。
3.
主要内容:
– 安装 Linux 如今已变得容易,如同安装 Windows 或 macOS
– 有多种发行版,如 Fedora 和 Ubuntu
– 不同发行版适用于不同目的
– 安装要求
– 硬件要求包括 CPU、RAM、存储和网络
– 要注意处理器类型与所选发行版的兼容性
– 虚拟机安装可避免硬件兼容问题
– 安装前准备
– 确定区域/时区、存储分区等信息
– 可能需要特殊设备驱动
– 设置主机名、IP 地址、账户和密码等
– 图形用户界面
– Linux 可自由选择或不使用 GUI
– 这与 Windows 和 macOS 不同
– 安装步骤
– 以 Fedora 为例介绍了虚拟机安装步骤
– 其他发行版步骤类似
思维导图: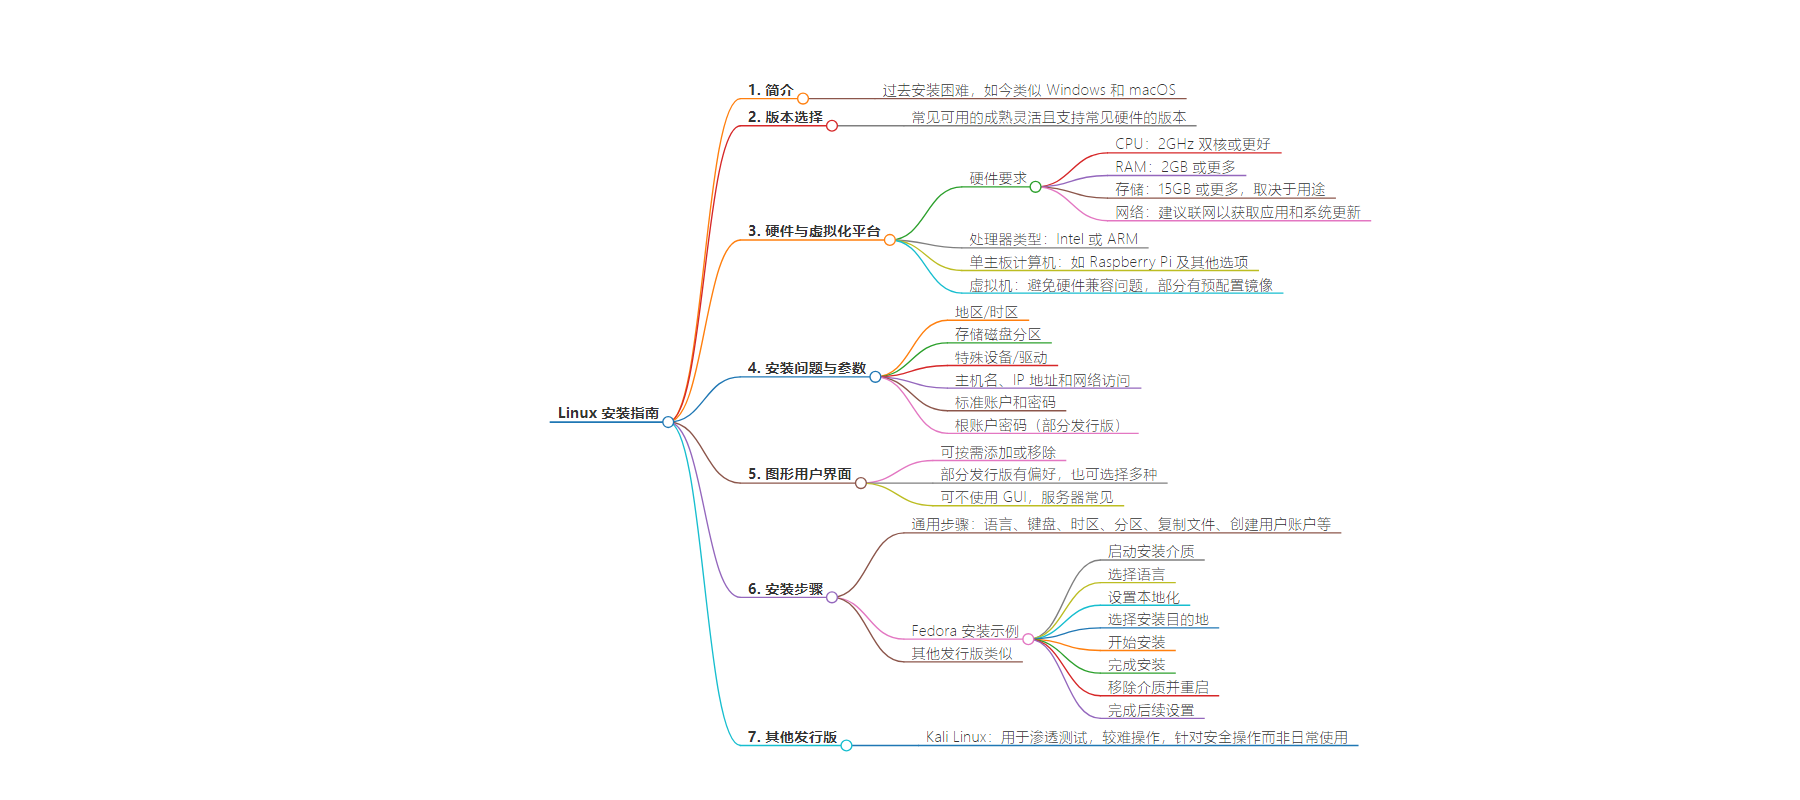
文章地址:https://thenewstack.io/how-to-install-linux/
文章来源:thenewstack.io
作者:Damon M. Garn
发布时间:2024/7/25 15:27
语言:英文
总字数:2121字
预计阅读时间:9分钟
评分:87分
标签:Linux 安装,Linux 发行版,硬件要求,虚拟机,Fedora
以下为原文内容
本内容来源于用户推荐转载,旨在分享知识与观点,如有侵权请联系删除 联系邮箱 media@ilingban.com
Installing Linux used to be a difficult process involving knowing details about hardware configurations and hoping open source drivers would be available. Today, most Linux distributions install as easily as Microsoft Windows or Apple macOS.
This article explains the Linux installation process, including hardware recommendations and the general steps. It demonstrates installing Linux on a virtual machine, though the steps are similar for physical computers.
One thing that makes Linux unique is the number of variations or options available. These versions — called distributions — are purpose-specific combinations of the Linux operating system kernel and software packages. Distributions (sometimes called “distros”) are often specialized for a particular purpose, such as security auditing, server systems, or end-user workstations.
Your first step when installing Linux is selecting which distro you’d like to use. I suggest one of the following because they are mature, flexible, and support common hardware:
Next, select your hardware or virtualization platform. Either is viable, and I’ve provided more details below.
Installation Requirements
You may be able to reuse older hardware for Linux that would not effectively run Microsoft Windows. The hardware should meet the following general specifications:
- CPU: 2 GHz dual-core or better. The more processor power, the better.
- RAM: 2 GB or more. Some distributions can use less, but performance will suffer.
- Storage: Assume 15 GB or more, depending on the computer’s role and the software you intend to install. For example, if you want to use the system for video editing, you’ll need much more storage space for the applications and resulting files.
- Internet access: The Internet is the source for most applications and system updates. While not required, it is assumed.
The exact requirements vary by distribution. Here are the recommendations for Fedora and Ubuntu:
Operating systems are compiled to run on a specific type of processor. For the last couple of decades, that’s been the Intel processor design. However, ARM processors are becoming more popular. For example, Apple has switched its hardware and OS design to fully embrace ARM CPUs. Be aware of this when preparing to install Linux, and be sure to grab a distribution compatible with your CPU.
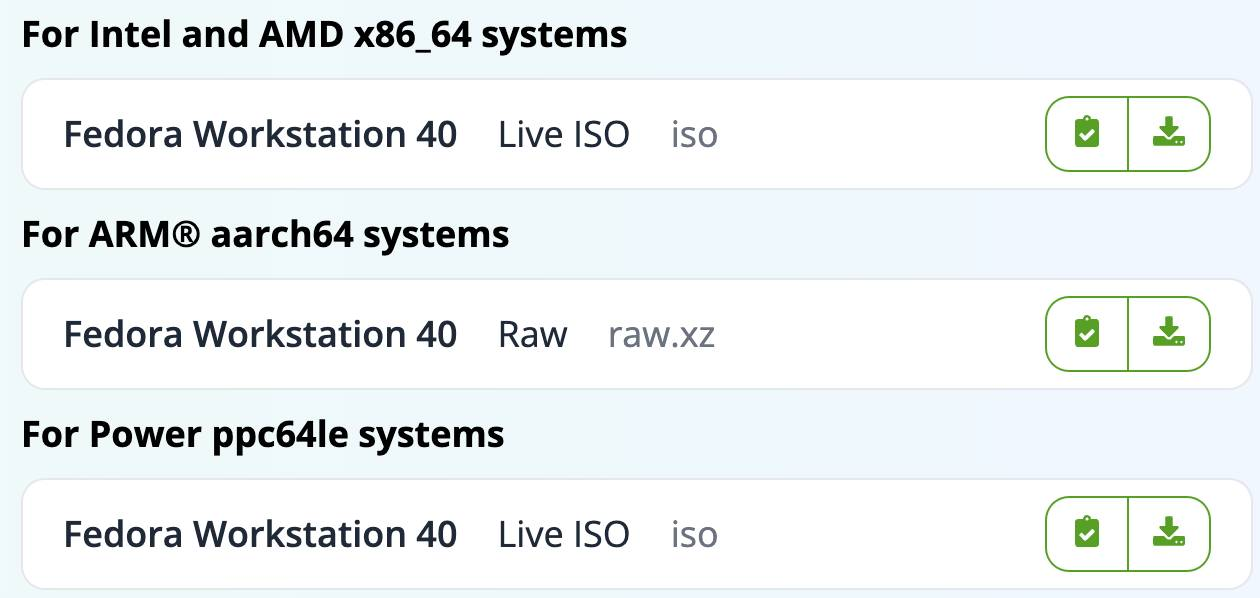
Figure 1: Available Fedora processor options.
Another hardware alternative is the Raspberry Pi, a powerful and inexpensive single-board computer. It runs its own Raspberry Pi OS distribution along with several other distros. Other single-board hardware options also exist for Linux.
A Note About Virtual Machines
Virtualization is a great installation option, and it often avoids the hardware compatibility problems you could experience with bare metal installs. You can do a manual installation on virtual machines (VMs), but some virtualization solutions and distros offer preconfigured images you can download and run. These are even simpler.
If you choose to do a manual installation to a VM, you’ll have the same choices as with bare metal deployments.
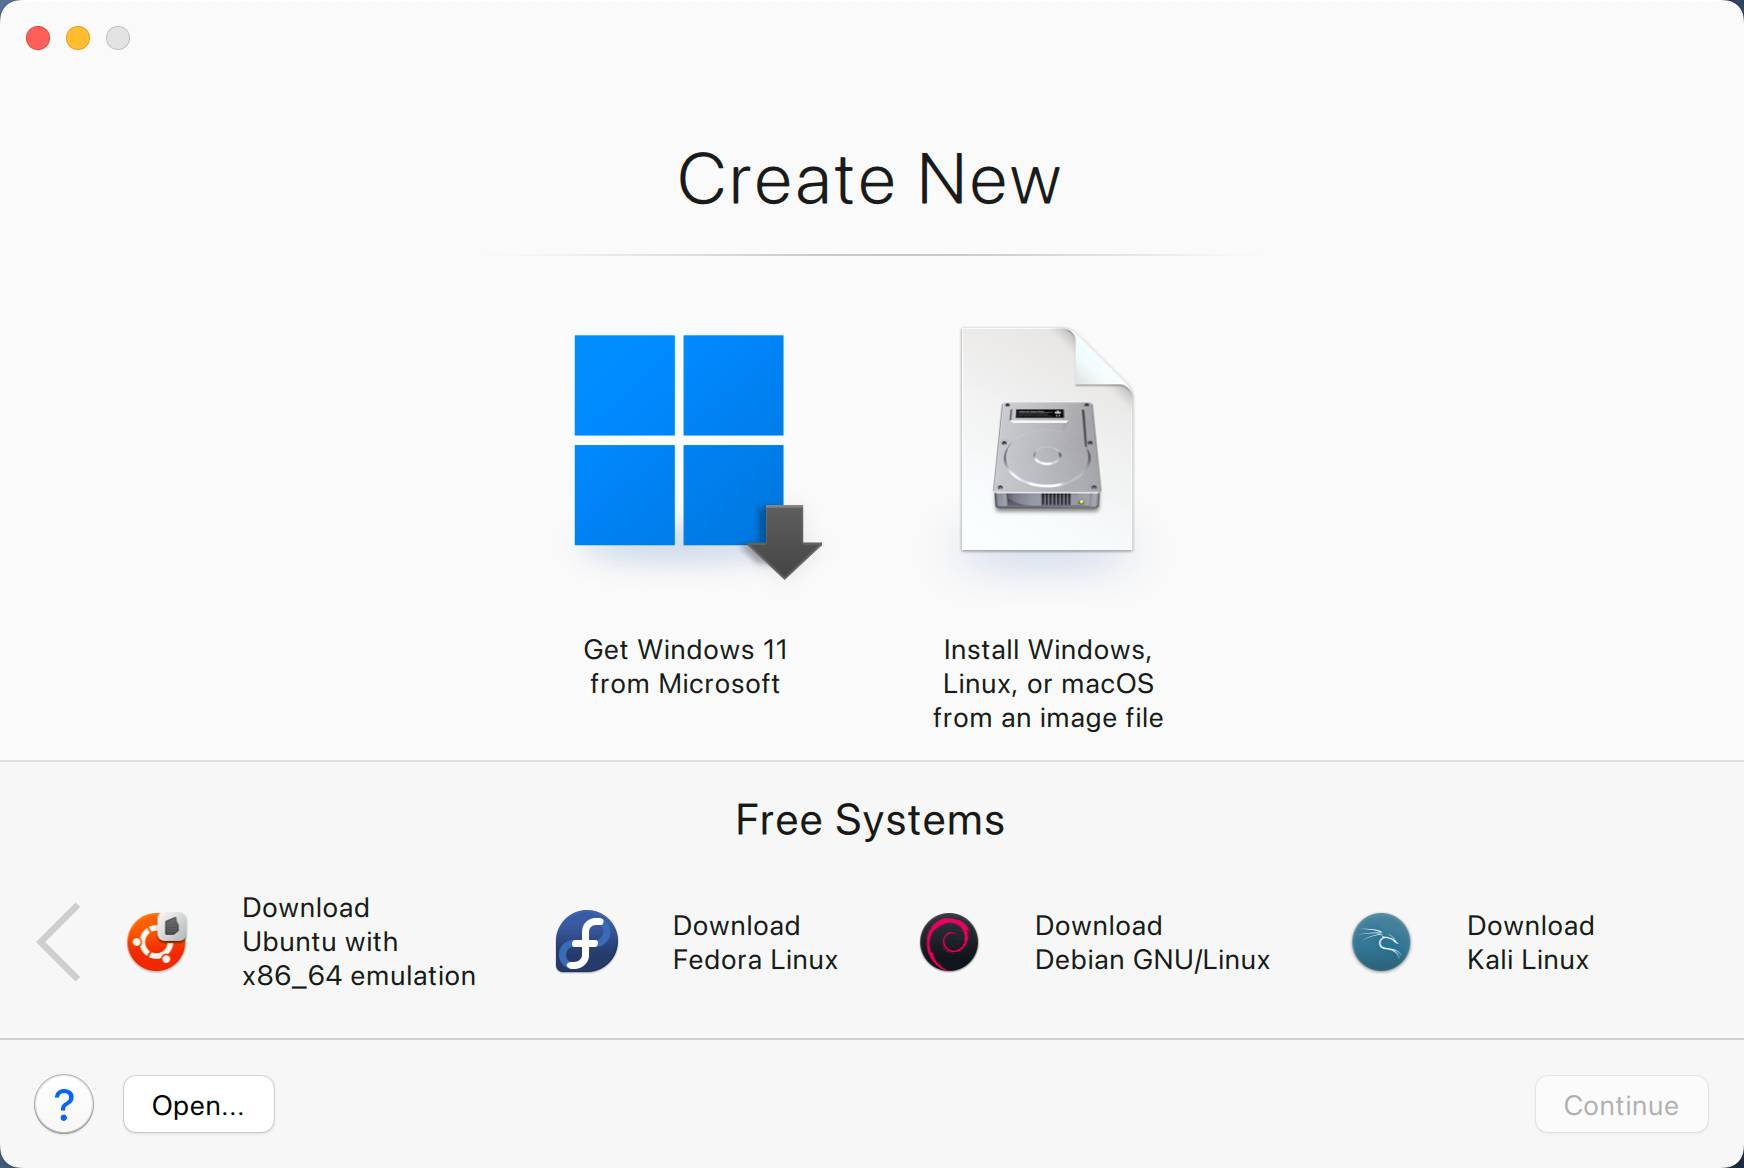
Figure 2: The Parallels virtualization software offers various operating system images.
Installation Questions and Parameters
You’ll need some basic information before beginning the installation. Expect the installer application to ask you about the following settings:
- Region/time zone: Select your preferred time zone for clock synchronization.
- Storage disk partitioning.
- Special devices/drivers (usually video or NICs): Linux’s device driver library is pretty complete these days, but if you have custom, extremely new, or odd hardware, you may need to provide drivers.
- Hostname, IP address, and Internet access: Network identification and IP address for network and Internet access. IP address configuration may be automatic.
- Standard account and password: The user account you’ll sign in to for day-to-day tasks like email, web browsing, presentations, etc.
- Root account password (depending on the distro): A password for the Linux administrator account.
The root user requires special attention. Users can log on as root and exercise complete administrative control of the system. However, the account is far more privileged than the seemingly equivalent Administrator account in Windows.
Parts of the Linux operating system also use the root account to function. If you make a mistake while logged on as root, it can have catastrophic consequences; far more damage than can be done by the Windows Administrator account and with fewer safety features. The same goes for security exploits that may run based on your root login.
You may not be asked to configure a root account password. Some distributions disable the root user for security reasons, so the installation process includes creating a standard account with admin privileges. If so, you’ll use the sudo command to elevate your privileges to issue administrative commands (such as creating new users or installing software).
Graphical User Interfaces
Another facet of Linux that differs from Windows and macOS is the graphical user interface (GUI). Microsoft and Apple offer one GUI for their operating systems — no choices exist. With Linux, you can add and remove GUIs as you see fit. Many organizations create interchangeable user interfaces. Some distributions prefer one GUI over another, but others offer their OS with a selection of interfaces. You may notice this when you choose and download a Linux distro.
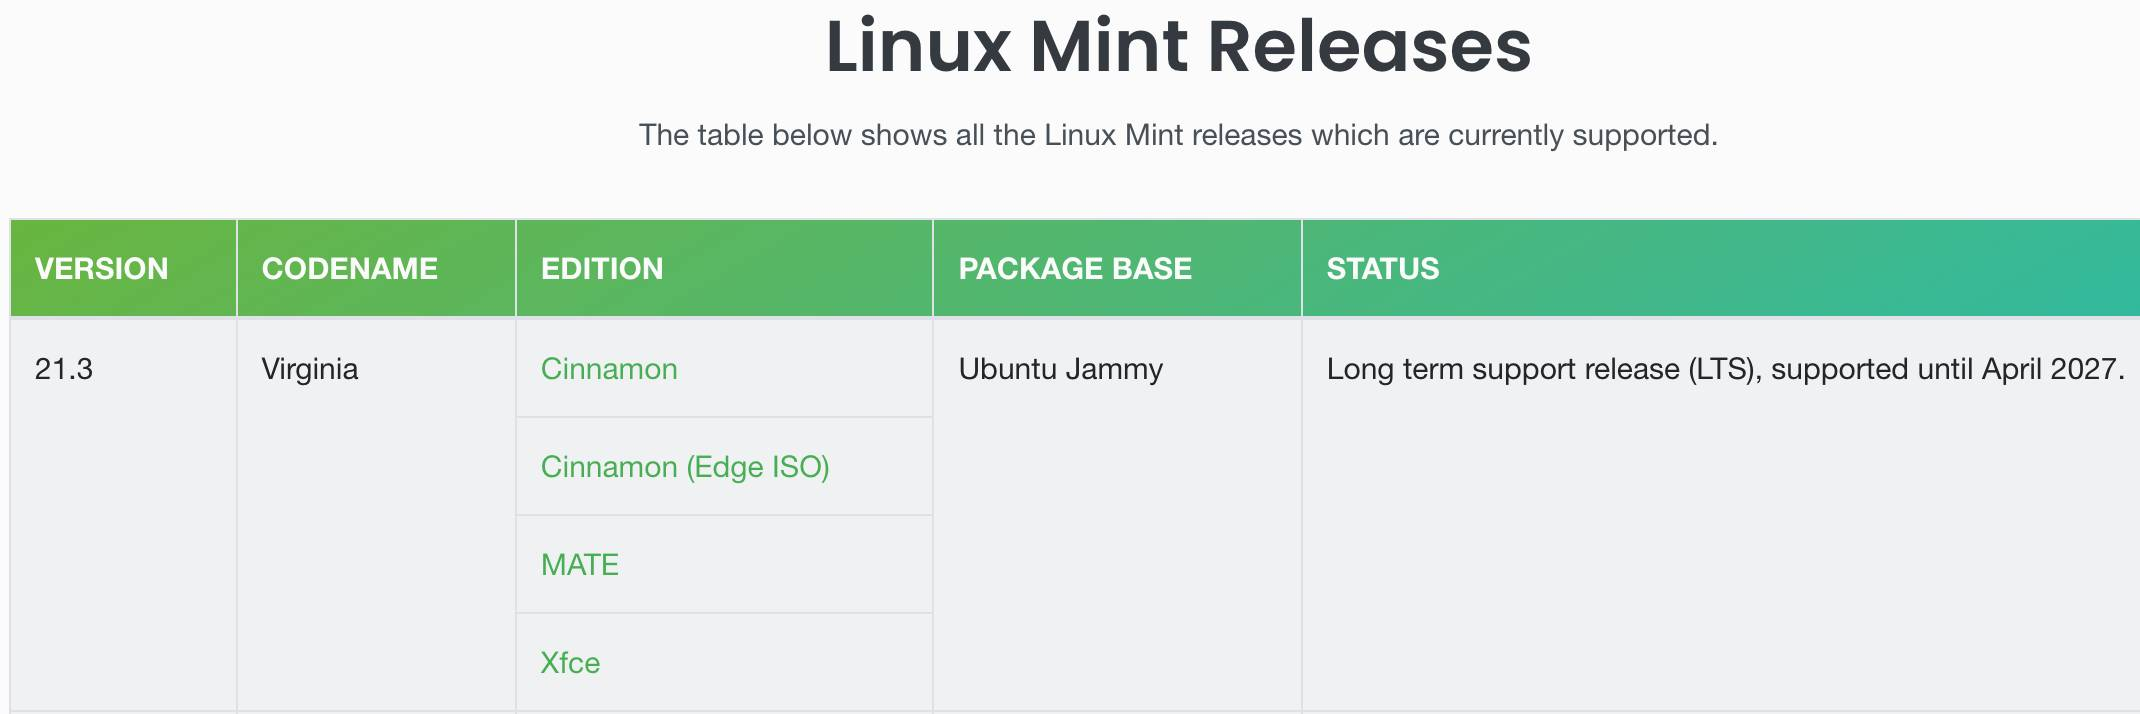
Figure 3: Linux Mint offers several preconfigured graphical user interface choices, including Cinnamon, MATE, and Xfce.
Perhaps even more surprising than Linux’s multiple GUI options is the concept that a GUI isn’t required at all. Many Linux systems run entirely from the command line with no graphical or mouse-driven interface at all. These installations are usually much more secure and put less of a strain on the hardware. It’s common for Linux servers in enterprise environments to do without a GUI.
Installation Steps
All distributions follow the same general steps. Most of these are standard for any operating system, so if you’ve ever installed Windows or macOS, you’ll see familiar options.
Your primary choices include language and keyboard preferences, time zone information and hard drive partitioning settings. The installations wrap up with a big copy of essential OS and application files.
You must create a user account and set other options in the post-installation steps.
Fedora Installation Steps
I’ll demonstrate the Fedora Linux installation process on a virtual machine.
- Boot to the installation media. This will vary depending on your configuration (virtual machine, physical computer, etc.).
- Fedora boots to the Fedora Live image and offers an option to Install Fedora.
- The installation process begins with a Welcome screen that includes language choices.
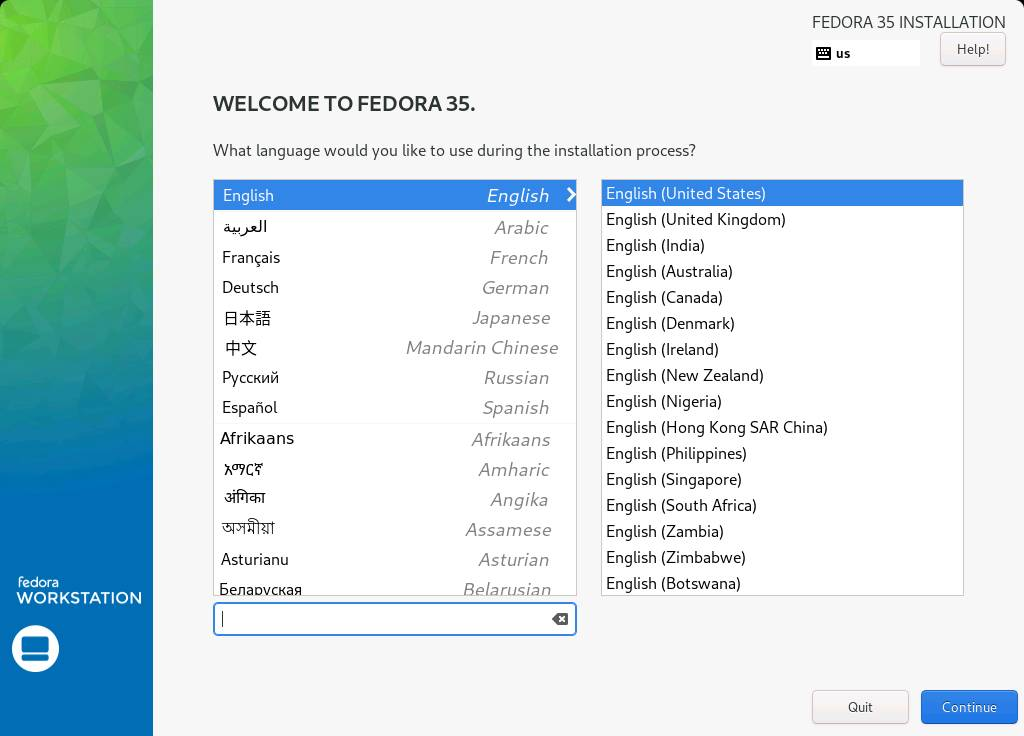
Figure 4: Select your preferred language on the Welcome screen.
- The Localization screen lets you set your preferred keyboard layout and time zone. The most important setting is the Installation Destination option. Select that button.
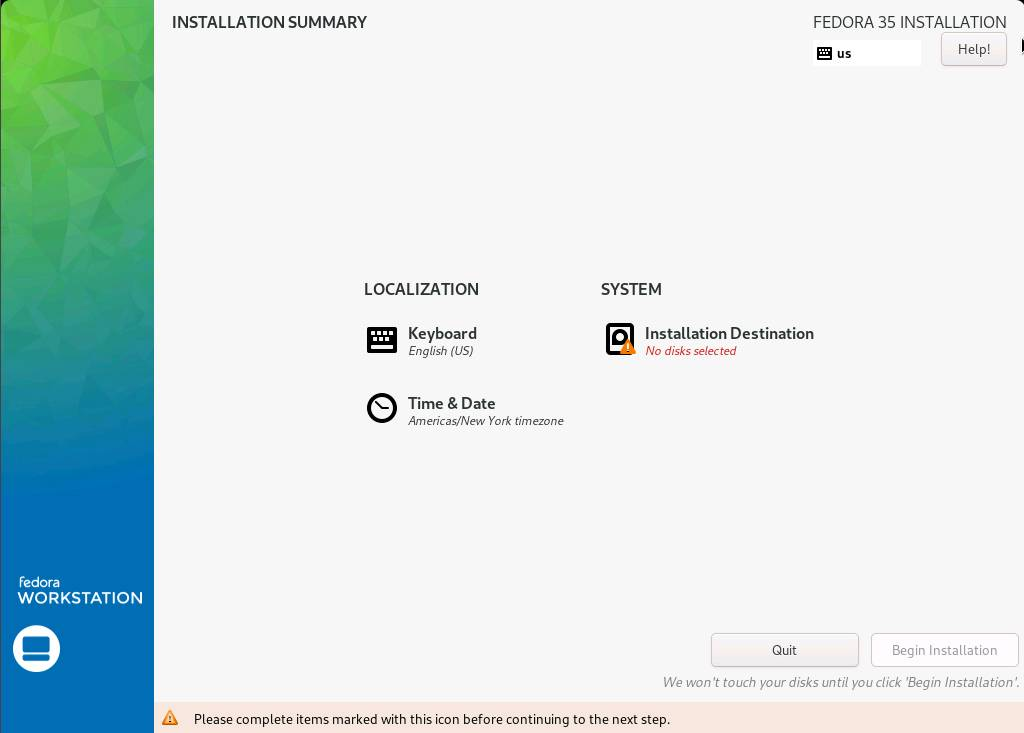
Figure 5: Set localization options and choose the Installation Destination button.
- On the Installation Destination page, select the local disk. You can modify the partitions or leave them at the default. I suggest leaving them at the default for those new to Linux. Select Done after you select the local drive.
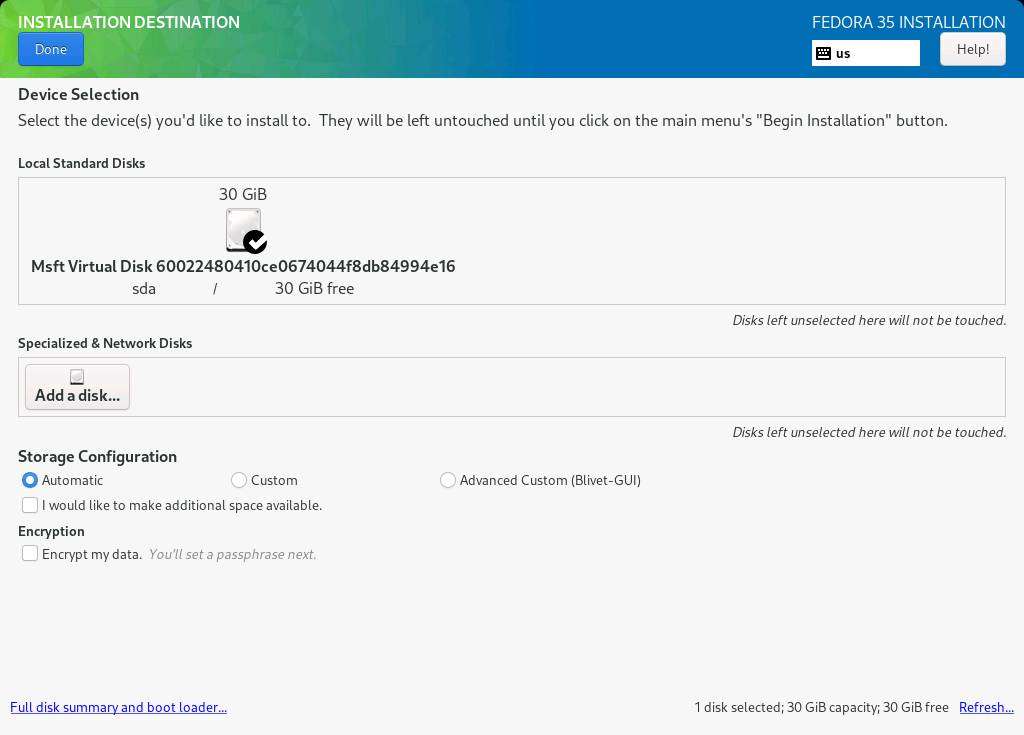
Figure 6: Select the local disk. This example includes a 30 GiB virtual disk.
- Select the Begin Installation button. This step initiates a major transfer of operating system and application files. It can be time-consuming depending on your hardware.
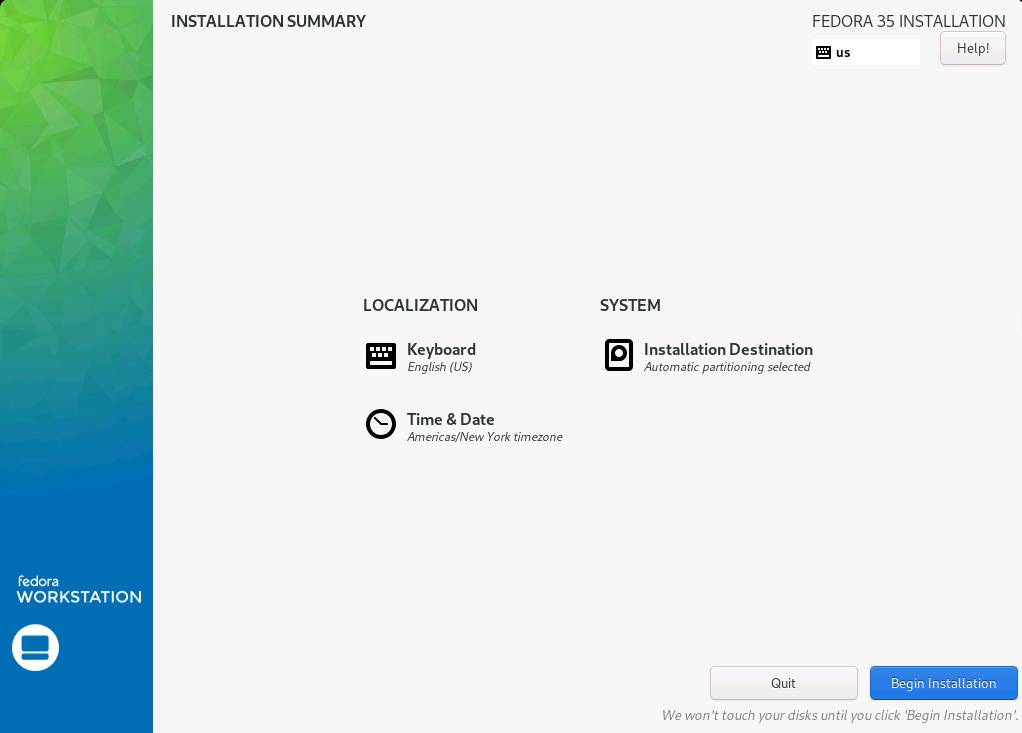
Figure 7: Once the installation destination is set, select Begin Installation.
- You’ll see a Complete! message on the screen once the file transfer finishes. Select the Finish Installation button to wrap up the process.
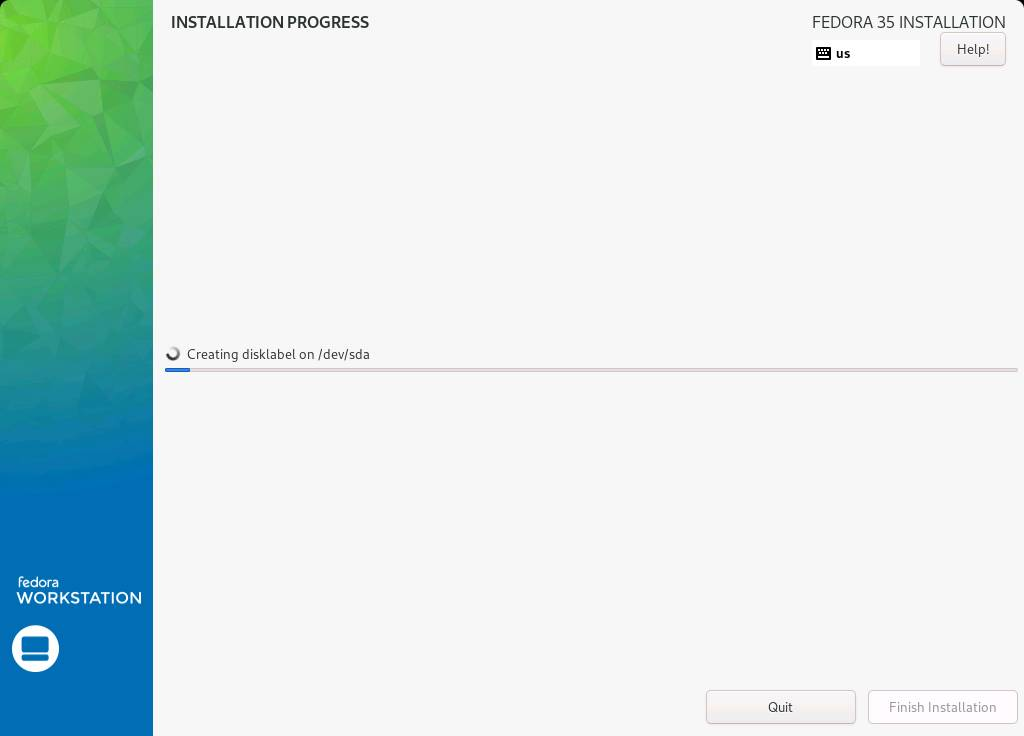
Figure 8: Transferring the OS files may take some time.
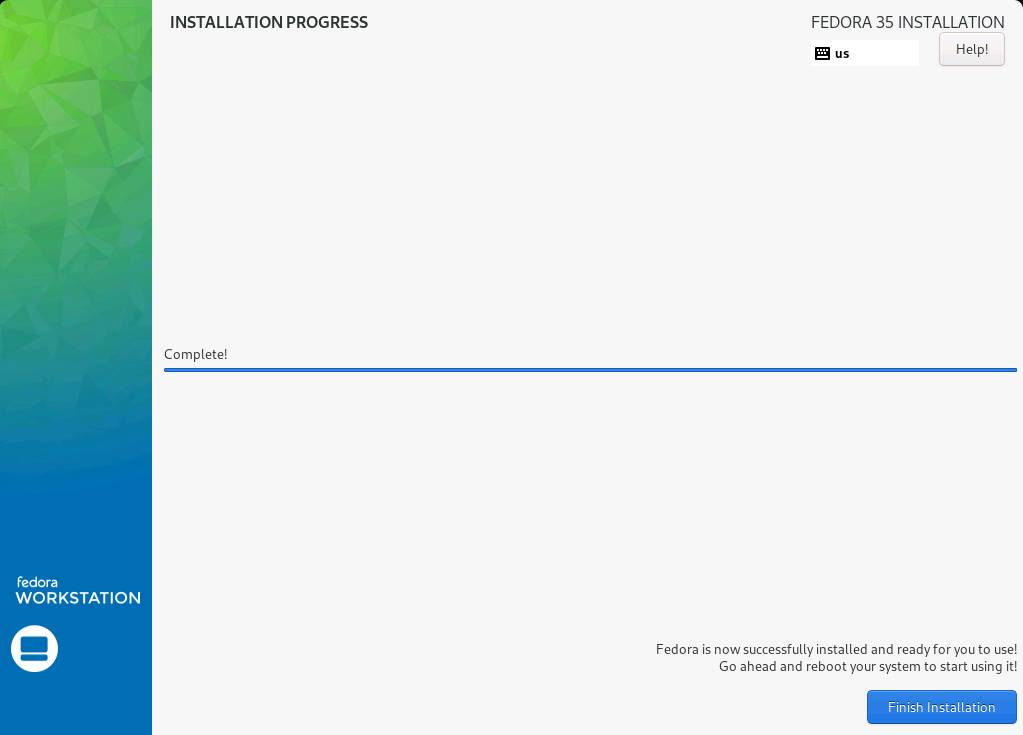
Figure 9: You’re prompted to finish the installation once the file transfer completes.
- Remove the installation media and reboot the computer.
Once the system reboots, Linux is installed. However, it still requires a few other settings. These post-installation tasks are straightforward. Most distributions have a similar process.
- After the system reboots, it launches a Start Setup wizard to complete the configuration.
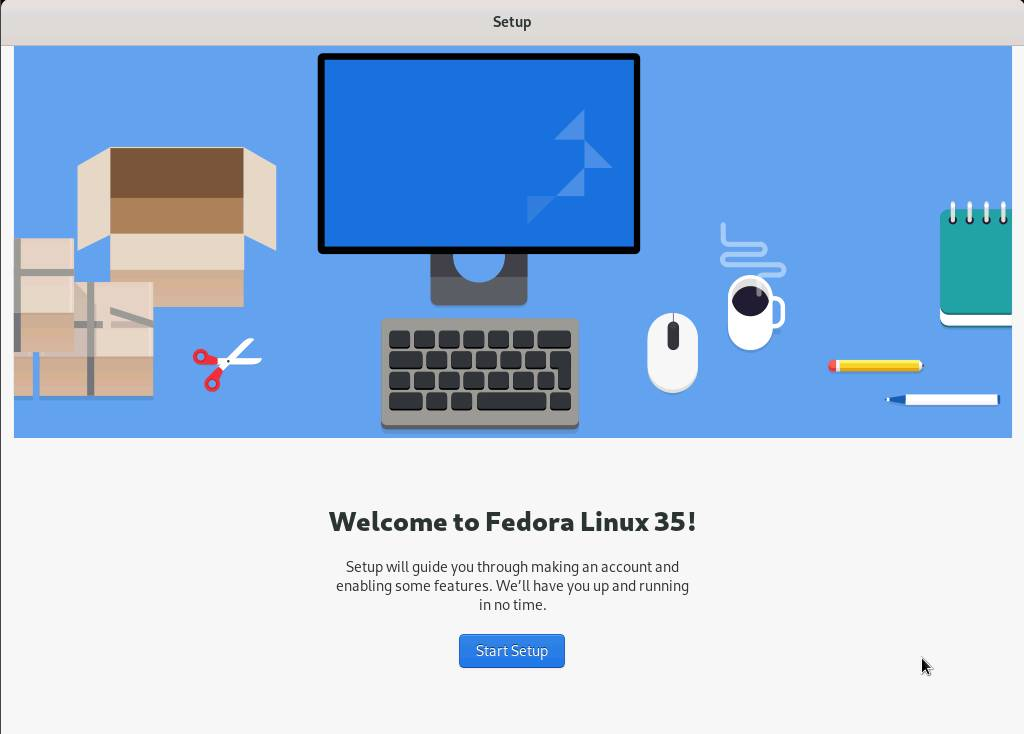
Figure 10: Most distributions include a post-installation setup wizard.
- The Privacy page allows you to change Location Services and Automatic Problem Reporting options.
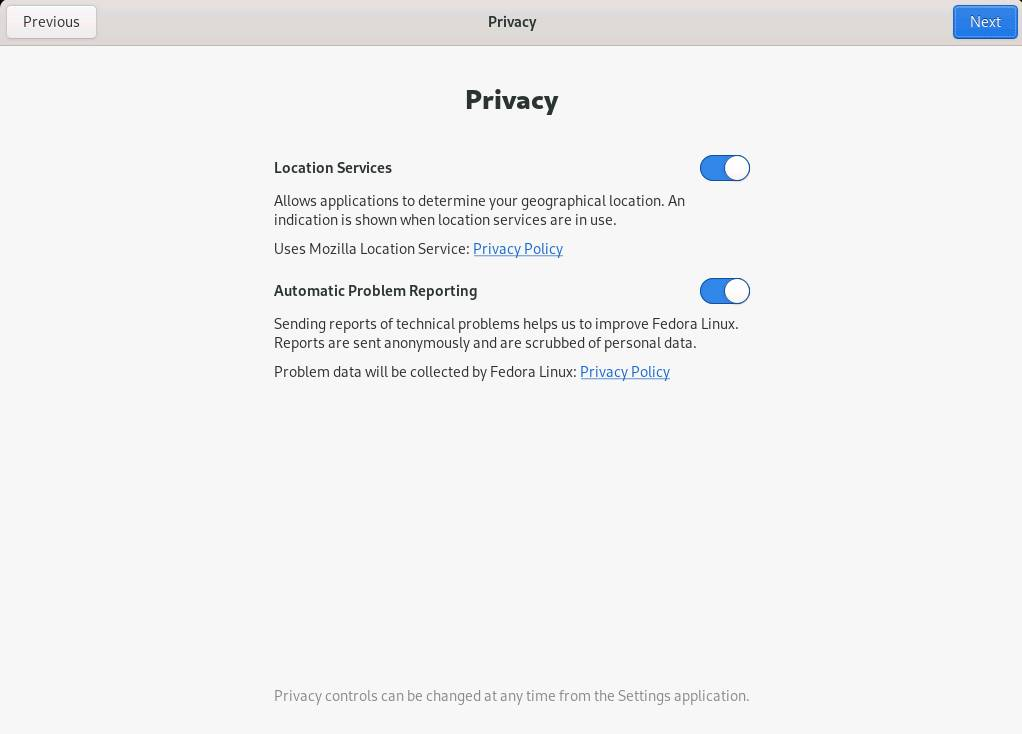
Figure 11: Choose your privacy settings.
- The next screen sets third-party software repositories. These can be convenient for adding new software, but you can enable them later.
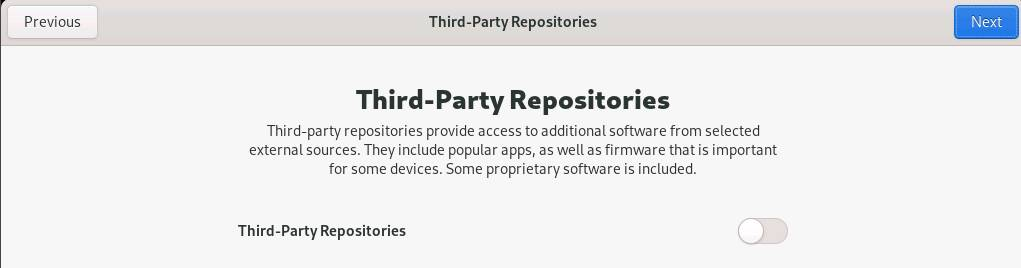
Figure 12: You may configure additional software repositories.
- The About You page prompts you to create a user account, so you can log in to the system. You’ll set your name and user account. You can also select a token to represent your account.
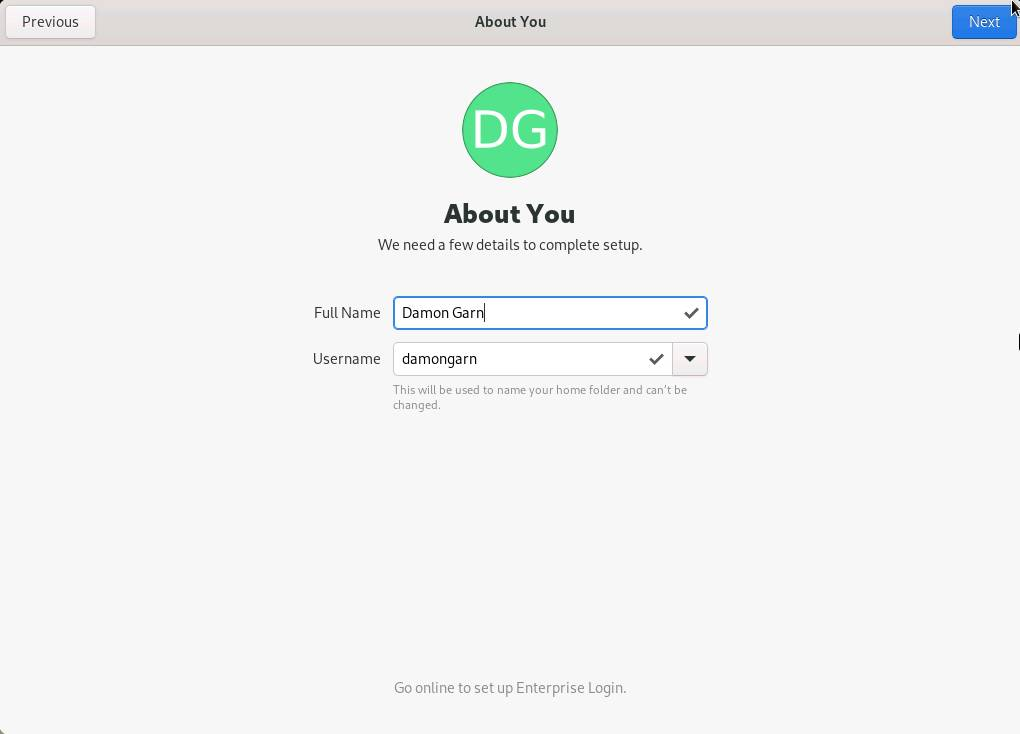
Figure 13: Create a user account.
- Configure an account password on the Password page. You’ll need to enter it twice.

Figure 14: Set an account password.
- The post-installation tasks wrap up with a Start Using Fedora Linux message.
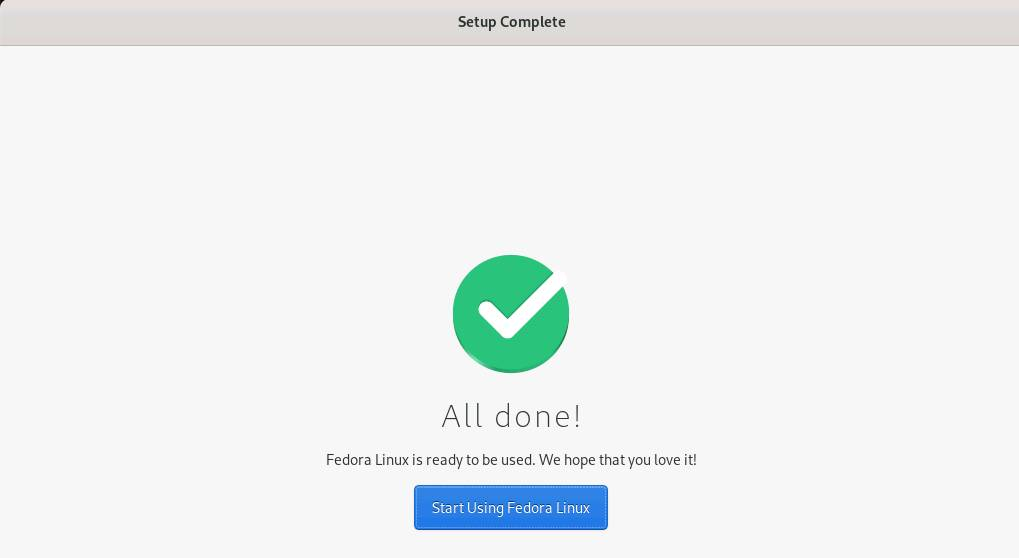
Figure 15: You are prompted to begin using Fedora Linux when the setup wizard is complete.
Other Linux Distros Require Similar Steps
Most other Linux distributions are similar — after all, they generally all need the same information. The interfaces may vary, or the order of the steps may change, but once you’ve completed one Linux install, you’ve basically experienced the whole process, at least for the very standardized versions, such as Ubuntu, Fedora, etc.
Here are some other Linux distributions to be aware of:
- Kali Linux: This penetration testing distribution is harder to work with and is specialized for security operations rather than day-to-day use. Its installation is still pretty straightforward. It originates from the Debian distribution.
- Linux Mint: This is another user-friendly distribution that can be a great choice for beginners. It does not support the new ARM64 processors yet but remains a viable alternative. It is also Debian-based.
- Rocky Linux: This enterprise-ready Linux distribution offers an alternative to Red Hat Enterprise Linux (RHEL) and SUSE Linux Enterprise. Rocky Linux continues to become more popular in business server solutions.
Considerations for Laptop Users
Laptop computers often have more proprietary or unique hardware, making them more difficult for Linux. Some distributions keep track of successful installations to help you choose a laptop. Ubuntu Linux is one of these. Some laptop vendors note whether their systems are Linux-compatible.
Software Management
There are many ways to manage Linux software — far more than found with Windows or macOS. Linux software management is a broad topic, but here are a few general considerations once you complete the installation process.
The software management tools you’ll use are distribution-specific, so you’ll typically have to learn whichever approach your chosen distro prefers.
I’ll begin with the two major approaches.
Red Hat Package Managers
Linux distros that derive from Red Hat use the Red Hat Package Manager (RPM) system. This system originally used therpm command to install, update, and remove software. Additional commands were developed, includingyum anddnf. Today,dnf is the standard command for most Red Hat-oriented distros.
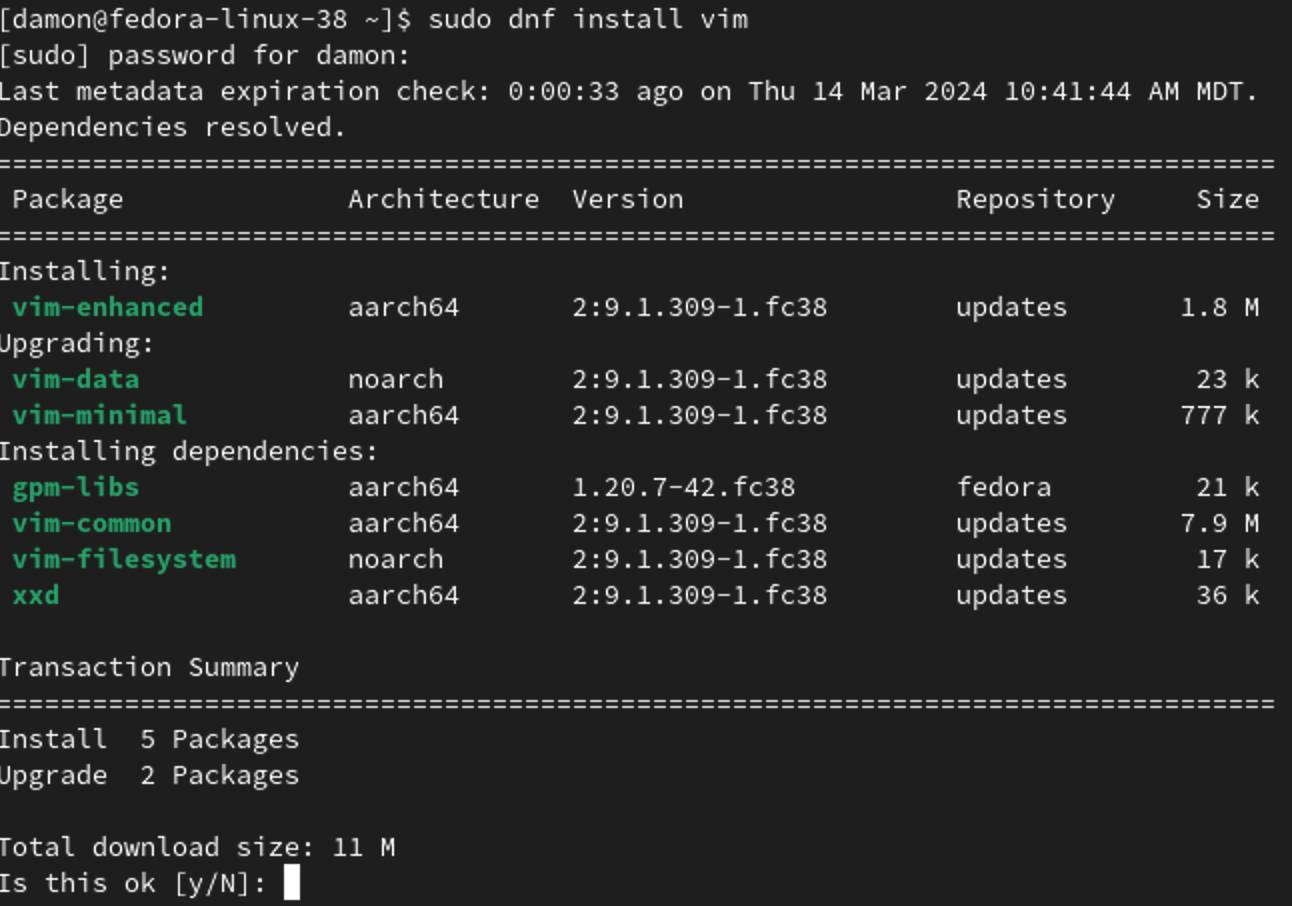
Figure 16: The dnf installation command.
Watch for files with the.rpm extension. These software packages are managed via the DNF package manager.
Debian Package Managers
Many of today’s most popular Linux distributions trace their origins back to Debian Linux, which has its own package manager. The standard command for Debian software management isapt. It accomplishes the same goal as the RPM package manager and operates similarly.
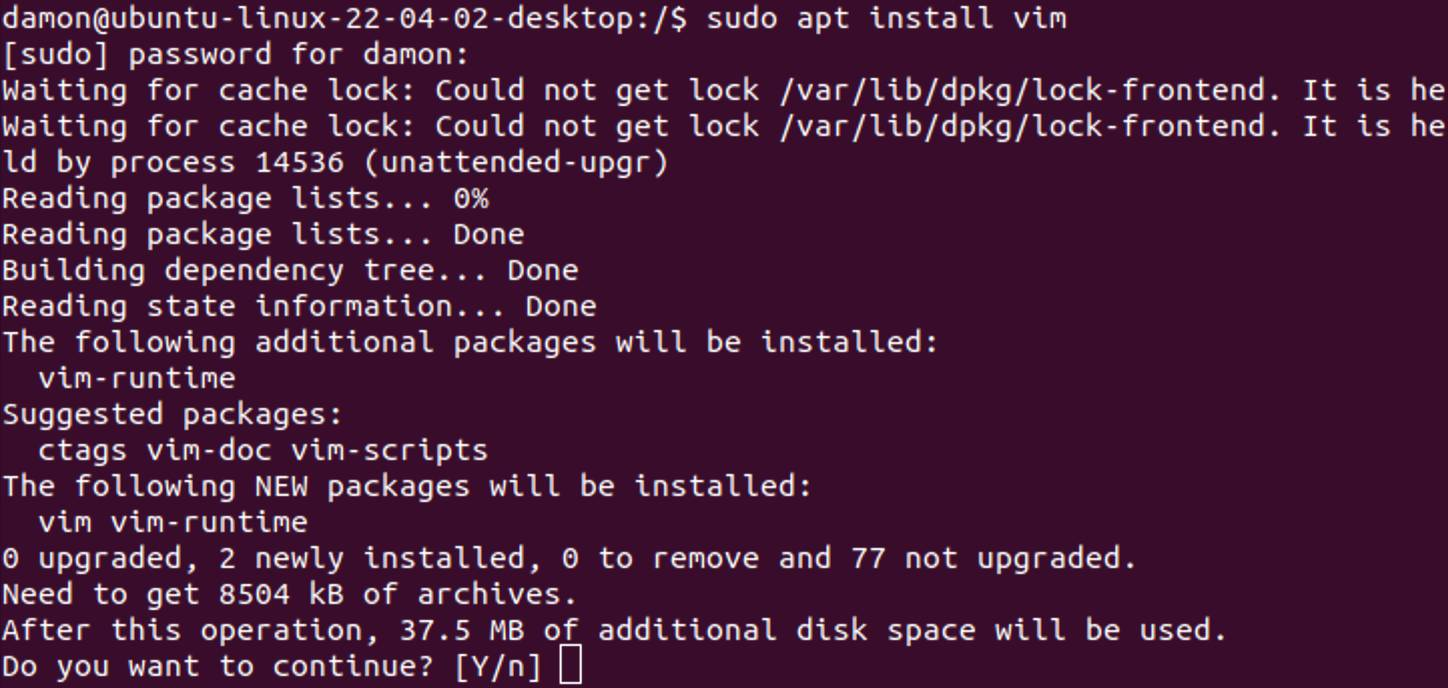
Figure 17: The apt installation command.
Software packaged for the APT package manager uses the.deb file extension.

Figure 18: A sample .deb installation package.
However, several other software management solutions exist.
Graphical Software Management Tools
Many Linux distributions include GUI software management tools that hide the intricacies of these commands to give you a user-friendly, point-and-click approach to installing applications. These tools are a great way to customize your new Linux deployment with the programs you need.
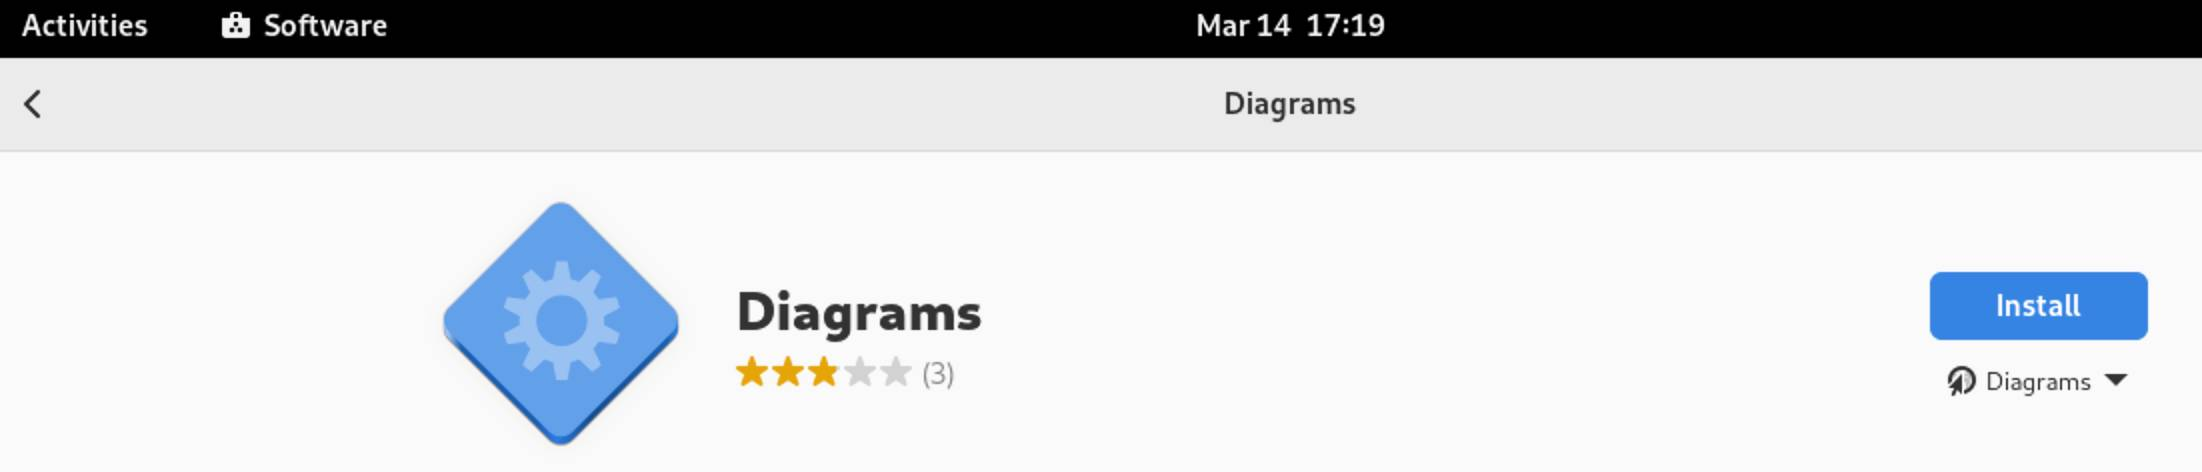
Figure 19: The graphical software installation tool.
These graphical tools for installing software will be familiar to Windows and macOS users.
Wrap Up
Installing Linux used to be far more difficult. Modern Linux distributions are generally as easy to install as Microsoft Windows or Apple macOS. You need some basic information, such as regional preferences and any custom partitioning, but otherwise, the process is straightforward. Most modern distros use a guided installer to walk you through the process.
You must decide whether to deploy Linux on a physical computer or a virtual machine. Linux handles older hardware well because it typically has fewer resource requirements than Windows. You’ll also need to select a distribution that suits your needs. I suggest starting with Ubuntu, Fedora or Mint.
Get started today by installing virtualization software, choosing a distribution, and going through the installation process.
YOUTUBE.COM/THENEWSTACK
Tech moves fast, don’t miss an episode. Subscribe to our YouTubechannel to stream all our podcasts, interviews, demos, and more.