
包阅导读总结
1. 关键词:Linux、GnuPG、加密、安全、密钥
2. 总结:
本文介绍了在 Linux 系统上使用 GnuPG 进行数据加密和签名以增强安全性和隐私性,包括其功能、安装、创建密钥对、文件加密和解密的方法,并指出可查阅官方文档获取更多信息。
3. 主要内容:
– GnuPG 简介:
– 是 Symantec 的 PGP 套件的免费开源替代品,能加密和签名数据。
– 具有多功能密钥管理系统和访问多个公钥目录。
– 为何需要 GPG:
– 确保信息安全传输,加密本地文件和邮件。
– 使用公私钥对,私钥需保密,公钥可分享。
– 安装 GPG:
– 在多数 Linux 发行版的标准库中有,安装简单,不同发行版命令不同。
– 创建密钥对:
– 可通过命令行和 GUI 两种方式。
– 命令行创建需回答一些问题。
– 文件加密与解密:
– 加密:指定输出、接收方等。
– 解密:输入密码,按命令操作。
– 给他人加密需导入对方公钥。
思维导图: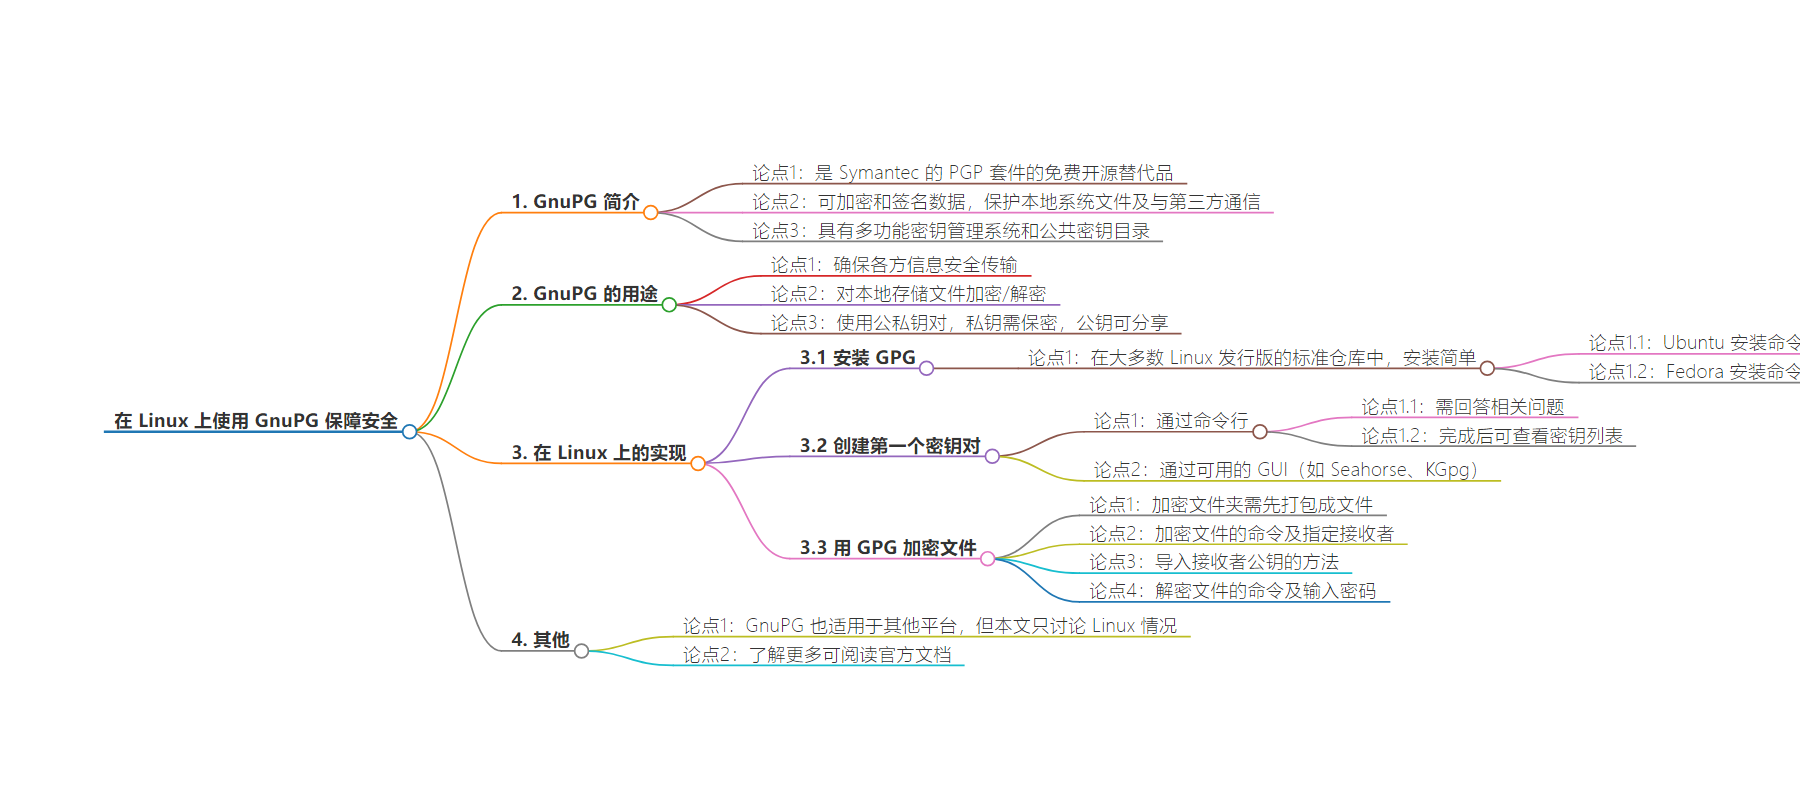
文章地址:https://thenewstack.io/linux-secure-yourself-with-gnupg-on-linux/
文章来源:thenewstack.io
作者:Jack Wallen
发布时间:2024/8/2 18:59
语言:英文
总字数:1071字
预计阅读时间:5分钟
评分:84分
标签:GnuPG,Linux 安全,文件加密,密钥管理,安全通信
以下为原文内容
本内容来源于用户推荐转载,旨在分享知识与观点,如有侵权请联系删除 联系邮箱 media@ilingban.com
GnuPG (aka GNU Privacy Guard) is a free, open source replacement for Symantec’s PGP suite that allows you to encrypt and sign data security. With GnuPG, you can protect files on your local system and even communications with third parties. With a versatile key management system and access to several public key directories, GPG is a must-have for security-minded Linux users.
GnuPG can be used from the command lineand is supported by email apps such as Thunderbird. For anyone who needs to encrypt and sign data on Linux, GnuPG is the way to go.
Let’s dive into this tool and see how you can use it to enhance the security and privacy of the data on your Linux systems. GnuPG is also available for other platforms (such as macOS and Windows) but I’ll limit this discussion to Linux only.
Why Do You Need GPG?
Using GPG ensures the secure transmission of information between parties and offers the ability to encrypt/decrypt files stored on local drives. By using this tool, the information contained within files and emails cannot be read by just anyone.
Of course, GPG uses key pairs to function. Those pairs consist of a public and private key. The private key is retained on your desktop or server and should never leave those machines (or be shared with anyone). The public key is intended to be shared with whoever needs to be able to decrypt your messages.
When using GPG with email, the process looks like this:
- The sender sends a public key to the receiver.
- The receiver sends a public key to the sender.
- The sender encrypts a message to the receiver with the receiver’s public key.
- The receiver receives the message and decrypts it with their private key.
Without the private key, the message cannot be decrypted.
The same thing holds true with local files. You can encrypt a file with GPG, using your keypair. When it comes time to decrypt the file, you’ll run the decryption command and, upon successfully typing the password associated with your key, the file will be accessible.
With that introduction out of the way, let’s see how this is implemented on Linux.
Install GPG
The first thing to do is install GPG. Since GNU PG can be found in the standard repositories of most Linux distributions, the installation is quite simple.
For example, on Ubuntu, the installation command is:
|
sudo apt–get install gnupg –y |
If you’re using a Fedora-based distribution, the command would be:
|
sudo dnf install gnupg –y |
You might find that GPG is already installed on your machine. If so, huzzah! One less step to take.
Creating Your First Key Pair
Now that GPG is installed, you have to generate your first key pair. There are two ways to do this, via the command line and one of the available GUIs (such as Seahorse for GNOME and KGpg for Plasma).
First, let’s create a key pair via the command line. This command will be the same, no matter the distribution you use. Generate your first key pair with:
You’ll be asked to answer a few questions, such as:
- What kind of key you want
- What size key do you want
- How long the key should be valid
Real name - email address
- Comment (optional)
- Password
Whenever possible stick with the defaults (unless you have a reason otherwise). When the creation of the key finishes, you’ll be presented with the details, which you don’t need to save. You can then list your keys with the command:
The list will include all keys you’ve created along with their associated name, email addresses, and creation dates.
If you opt to go the GUI route, the process of creating your first key is very simple. For example, with Seahorse, you only need to click + in the upper left corner, select the GPG key (Figure 1), and then fill out the necessary information.
-

Figure 1: You can create other types of keys and even straight-up passwords with Seahorse.
Encrypt a File With GPG
Now that you have your key ready, let me show you how to encrypt a file with GPG. If you want to encrypt a folder, you would first have to pack it into a file, such as you would with a command like:
|
tar cfz filename.tgz folder |
How do you encrypt a file with GPG? Easy.
Let’s say the file in question is newstack.txt and you want to encrypt it with your own GPG key. To do that, the command would be something like this:
|
gpg —output newstack.tgz.gpg —encrypt —recipient RECEIVER newstack.tgz |
Where RECIEVER is the email address associated with your personal GPG key pair. If you want to encrypt the file to be sent to another user, you would use the receiver’s email address. That, of course, requires you import the receiver’s public key. Here’s how to do that:
- Request the receiver’s GPG public key.
- Save that key to your local drive.
- Import the receiver’s GPG public key with the command (run within the directory housing the receiver’s public key you saved) gpg –import file.gpg (Where file.gpg is the public key file you saved from the receiver).
Now that you’ve imported the receiver’s public key, you can encrypt files using it and send the files to them, knowing only the holder of the private key that matches the public encryption key you used can open the file.
To decrypt a file encrypted with GPG, the command would be:
|
gpg —output newstack.tgz —decrypt newstack.tgz.gpg |
The receiver of the file will be asked to enter the password for their key pair. Upon successful authentication, the command creates a new file with the name given after the –output option. Once the file has been decrypted, you can unpack it (if it’s a tgz or zip file) and view the contents.
And that’s the basics of using GPG on Linux. To find out more about how this tool works, be sure to read the official documentation, where you can read through the howtos, manuals, man pages, user guides, and more.
YOUTUBE.COM/THENEWSTACK
Tech moves fast, don’t miss an episode. Subscribe to our YouTubechannel to stream all our podcasts, interviews, demos, and more.