
包阅导读总结
1. 关键词:Flask、HTMX、Instant Search、Web Applications、Database
2. 总结:
本文介绍了如何使用 Flask 和 HTMX 实现即时搜索功能,包括环境设置、数据库配置、基本路由和 HTML 搭建等,阐述了即时搜索的优势和所用到的技术,强调其能提升用户体验和应用交互性。
3. 主要内容:
– 即时搜索简介
– 即时搜索的特点和优势,如快速反馈、减少点击和页面加载、提高用户参与度。
– 使用的技术
– Flask:简单轻量的 Python Web 框架。
– HTMX:强大的 JavaScript 库,无需大量 JavaScript 代码即可创建动态网页。
– 环境设置
– 安装 Flask、Flask-SQLAlchemy、Flask-Migrate 等。
– 创建虚拟环境。
– 搭建项目结构,包括 `core` 目录、`config.py`、`main.py` 等文件。
– 数据库设置
– 创建用于搜索数据的模型。
– 使用 Flask-Migrate 进行数据库迁移。
– 向数据库中添加数据。
– 基本路由和 HTML
– 设置根路由并渲染 `index.html` 模板。
– 创建 `index.html` 模板。
思维导图: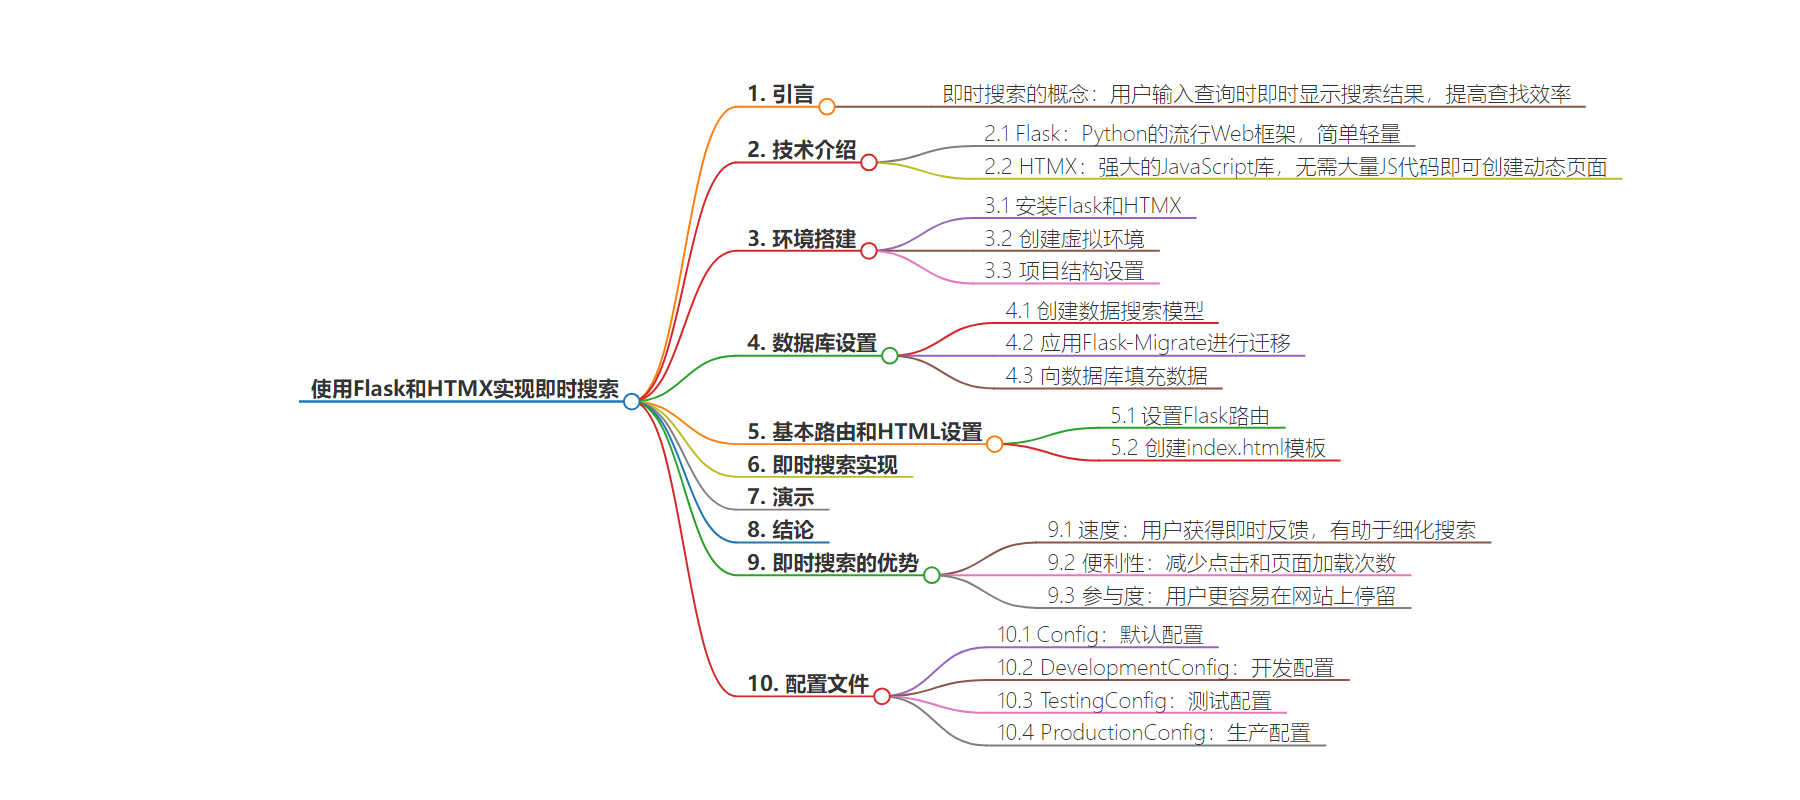
文章地址:https://www.freecodecamp.org/news/how-to-implement-instant-search-with-flask-and-htmx/
文章来源:freecodecamp.org
作者:Ashutosh Krishna
发布时间:2024/7/22 11:36
语言:英文
总字数:2315字
预计阅读时间:10分钟
评分:86分
标签:Flask,HTMX,实时搜索,Web 开发,Python
以下为原文内容
本内容来源于用户推荐转载,旨在分享知识与观点,如有侵权请联系删除 联系邮箱 media@ilingban.com
Instant search is a feature that shows search results as users type their query. Instead of waiting for a full page reload or submitting a form, results appear instantly, allowing users to find what they are looking for quickly. For example, when you start typing in a search box, suggestions or matching items will appear immediately, making the process smoother and more efficient.
In this tutorial, you’ll learn how to create a simple instant search feature using Flask and HTMX. This will help you build interactive web applications with better user experience.
Table of Contents:
- How to Set Up the Environment
- How to Set up the Database
- How to Set Up Basic Routing and HTML
- How to Add HTMX for Instant Search
- Demo
- Conclusion
Why Use Instant Search?
- Speed: Users get immediate feedback, which helps them refine their search.
- Convenience: It reduces the number of clicks and page loads, leading to a more seamless experience.
- Engagement: Users are more likely to stay on your site if they can find what they need easily.
Technologies Used
To implement this instant search feature, we’ll use two main technologies:
- Flask: Flask is a popular web framework for Python. It is simple and lightweight, making it easy to set up and start building web applications quickly. Flask lets you to create routes, handle requests, and serve HTML templates with minimal setup.
- HTMX: This is a powerful JavaScript library that lets you to create dynamic web pages without having to write a lot of JavaScript code. With HTMX, you can update parts of a page based on user actions, like typing in a search box. It makes it easy to load data from the server and display it on the page without a full reload.
How to Set Up the Environment
In this section, we’ll set up the environment for our Flask project, including installing the necessary packages and organizing the project structure.
1. How to Install Flask and HTMX
First, you need to install Flask, Flask-SQLAlchemy, and Flask-Migrate. You can do this using pip. Open your terminal and run:
pip install Flask Flask-SQLAlchemy Flask-MigrateFor HTMX, we’ll include it in our HTML template directly from a CDN.
2. How to Create a Virtual Environment
It’s a good practice to create a virtual environment for your projects to manage dependencies. Here’s how to create one:
python -m venv venvNext, activate the environment:
venv\Scripts\activatesource venv/bin/activate3. How to Set Up the Project Structure
Now, set up your project structure as follows:
my_flask_app/├── core/│ ├── __init__.py│ ├── models.py│ └── routes.py├── config.py└── main.pyLet us start with creating the first file: core/init.py. This file is the initialization script for the core module of our Flask application. It sets up the Flask app instance and configures it using the settings from the DevelopmentConfig class, and initializes the database and migration system.
from flask import Flaskfrom flask_sqlalchemy import SQLAlchemyfrom flask_migrate import Migratefrom config import DevelopmentConfigapp = Flask(__name__)app.config.from_object(DevelopmentConfig)db = SQLAlchemy(app)migrate = Migrate(app, db)from core import routesNext, we will create the config.py file from where we’ll import the DevelopmentConfig class. This file contains configuration settings for different environments (development, testing, production). These settings help manage different behaviors and configurations based on where your app is running.
class Config(object): DEBUG = False TESTING = False CSRF_ENABLED = True SECRET_KEY = "guess-me" SQLALCHEMY_DATABASE_URI = "sqlite:///db.sqlite" SQLALCHEMY_TRACK_MODIFICATIONS = False BCRYPT_LOG_ROUNDS = 13 WTF_CSRF_ENABLED = True DEBUG_TB_ENABLED = False DEBUG_TB_INTERCEPT_REDIRECTS = Falseclass DevelopmentConfig(Config): DEVELOPMENT = True DEBUG = True WTF_CSRF_ENABLED = False DEBUG_TB_ENABLED = Trueclass TestingConfig(Config): TESTING = True DEBUG = True SQLALCHEMY_DATABASE_URI = "sqlite:///testdb.sqlite" BCRYPT_LOG_ROUNDS = 1 WTF_CSRF_ENABLED = Falseclass ProductionConfig(Config): DEBUG = False DEBUG_TB_ENABLED = FalseConfig: The base configuration class with default settings.DevelopmentConfig: Inherits fromConfigand overrides development settings.TestingConfig: Inherits fromConfigand overrides settings for testing.ProductionConfig: Inherits fromConfigand overrides production settings.
Finally, we’ll create the main.py file. This is the entry point of our application. When we run this file, it starts the Flask web server.
from core import appif __name__ == '__main__': app.run(debug=True)if __name__ == '__main__': This ensures that the Flask app runs only if the script is executed directly (not imported as a module).app.run(debug=True): Starts the Flask development server with debug mode enabled, which provides detailed error messages and auto-reloading.
Now that you understand the project files, we can proceed with implementing the instant search functionality. This will involve creating the models and search route, setting up the HTMX-powered front-end, and connecting everything to fetch and display search results dynamically.
How to Set up the Database
In this section, we will set up the database for our Flask application. We will use SQLite for simplicity. We will create a model for the data we want to search and seed the database with sample data.
SQLite is a lightweight, disk-based database that doesn’t require a separate server process. It’s an excellent choice for development and small projects because it is easy to set up and use.
How to Create a Model for the Data to Be Searched
We will create a Book model to represent the data in our database. This model will include fields like the book title and author.
Let’s create the core/models.py file and add the model there:
from core import dbclass Book(db.Model): id = db.Column(db.Integer, primary_key=True) title = db.Column(db.String(100), nullable=False) author = db.Column(db.String(100), nullable=False)How to Apply Migrations Using Flask-Migrate
Before we can seed our database, we need to set up database migrations using Flask-Migrate. This tool helps us manage database changes, such as creating tables and altering schemas, systematically.
Initialize the migrations folder by running the following command in your project directory:
flask db initThis command creates a migrations directory in our project, which will store migration scripts.
Generate a migration script that creates the necessary database tables based on your models:
flask db migrate -m "Initial migration"This command scans your models and generates a new migration script in the migrations folder.
Apply the migration to create the tables in your database:
flask db upgradeThis command executes the migration script, creating the tables defined by your models in the database. Post this step, you will see an instance/db.sqlite file created.
How to Seed Data Into Your Database
Now that we have set up the database and applied the migration, we can proceed with seeding the database. Create a file named seeder.py with the following content:
import csvfrom sqlalchemy.exc import IntegrityErrorfrom core import db, appfrom core.models import Bookdef seed_data(): with app.app_context(): with open("data.csv", newline='', encoding='utf-8') as csvfile: reader = csv.DictReader(csvfile) for row in reader: book = Book( title=row['Book Name'], author=row['Author Name'] ) db.session.add(book) try: db.session.commit() print("Books added successfully.") except IntegrityError as e: db.session.rollback() print(f"Error occurred: {e}")if __name__ == "__main__": seed_data()The seeder script is responsible for populating the database with initial data. This is useful for testing and development purposes, allowing you to work with a set of sample data. This script reads data from data.csv, and processes it to insert it into the database.
Note: You can download the data.csv file from here.
To use this script, ensure your data.csv file exists in the same directory as seeder.py. Run the script using Python:
python seeder.pyHow to Set Up Basic Routing and HTML
In this section, we’ll set up a basic route in Flask to serve an index page (index.html) where users can search and display books.
How to Set Up Flask Route
Let’s set up a Flask route (/) to render an index.html template and display books. For that, create a core/routes.py file and add the following route:
from flask import render_templatefrom core import appfrom core.models import Book@app.route('/')def index(): books = Book.query.limit(20).all() return render_template("index.html", books=books)The Flask application handles routing through the @app.route('/') decorator, which directs requests to the root URL (/). When a user visits the homepage, the index() function is invoked.
Inside this function, we query the Book model using SQLAlchemy to fetch the first 20 books from the database. These books are then passed as a parameter (books) to the render_template function, which renders the index.html template.
How to Creating the index.html Template
Create a file named index.html inside a templates directory in your project. The templates directory will lie in the core package. This file will contain the HTML structure for our book search page.
<!DOCTYPE html><html lang="en"><head> <meta charset="UTF-8" /> <meta name="viewport" content="width=device-width, initial-scale=1.0" /> <title>Book Search</title> <link rel="stylesheet" href="https://cdn.jsdelivr.net/npm/bulma@0.9.4/css/bulma.min.css" /></head><body> <section class="section"> <div class="columns"> <div class="column is-one-third is-offset-one-third"> <input type="text" class="input" placeholder="Search" name="query" /> </div> </div> <table class="table is-fullwidth"> <thead> <tr> <th>ID</th> <th>Book Title</th> <th>Book Author</th> </tr> </thead> <tbody id="results"> {% for book in books %} <tr> <td>{{ book.id }}</td> <td>{{ book.title }}</td> <td>{{ book.author }}</td> </tr> {% endfor %} </tbody> </table> </section></body></html>This HTML file uses the Bulma CSS framework for styling and includes elements such as an input field for user searches and a table to display book details fetched from the database.
The index.html template utilizes Jinja2 templating to dynamically populate the table rows (<tr>) with book data retrieved from the Flask backend. Each book’s ID, title, and author are displayed in the table rows using {{book.id}}, {{ book.title }}, and {{book.author}} respectively.
How to Run the Application
Let’s run the application using the following command:
flask runOnce your application is up and running, this what how it should look like:
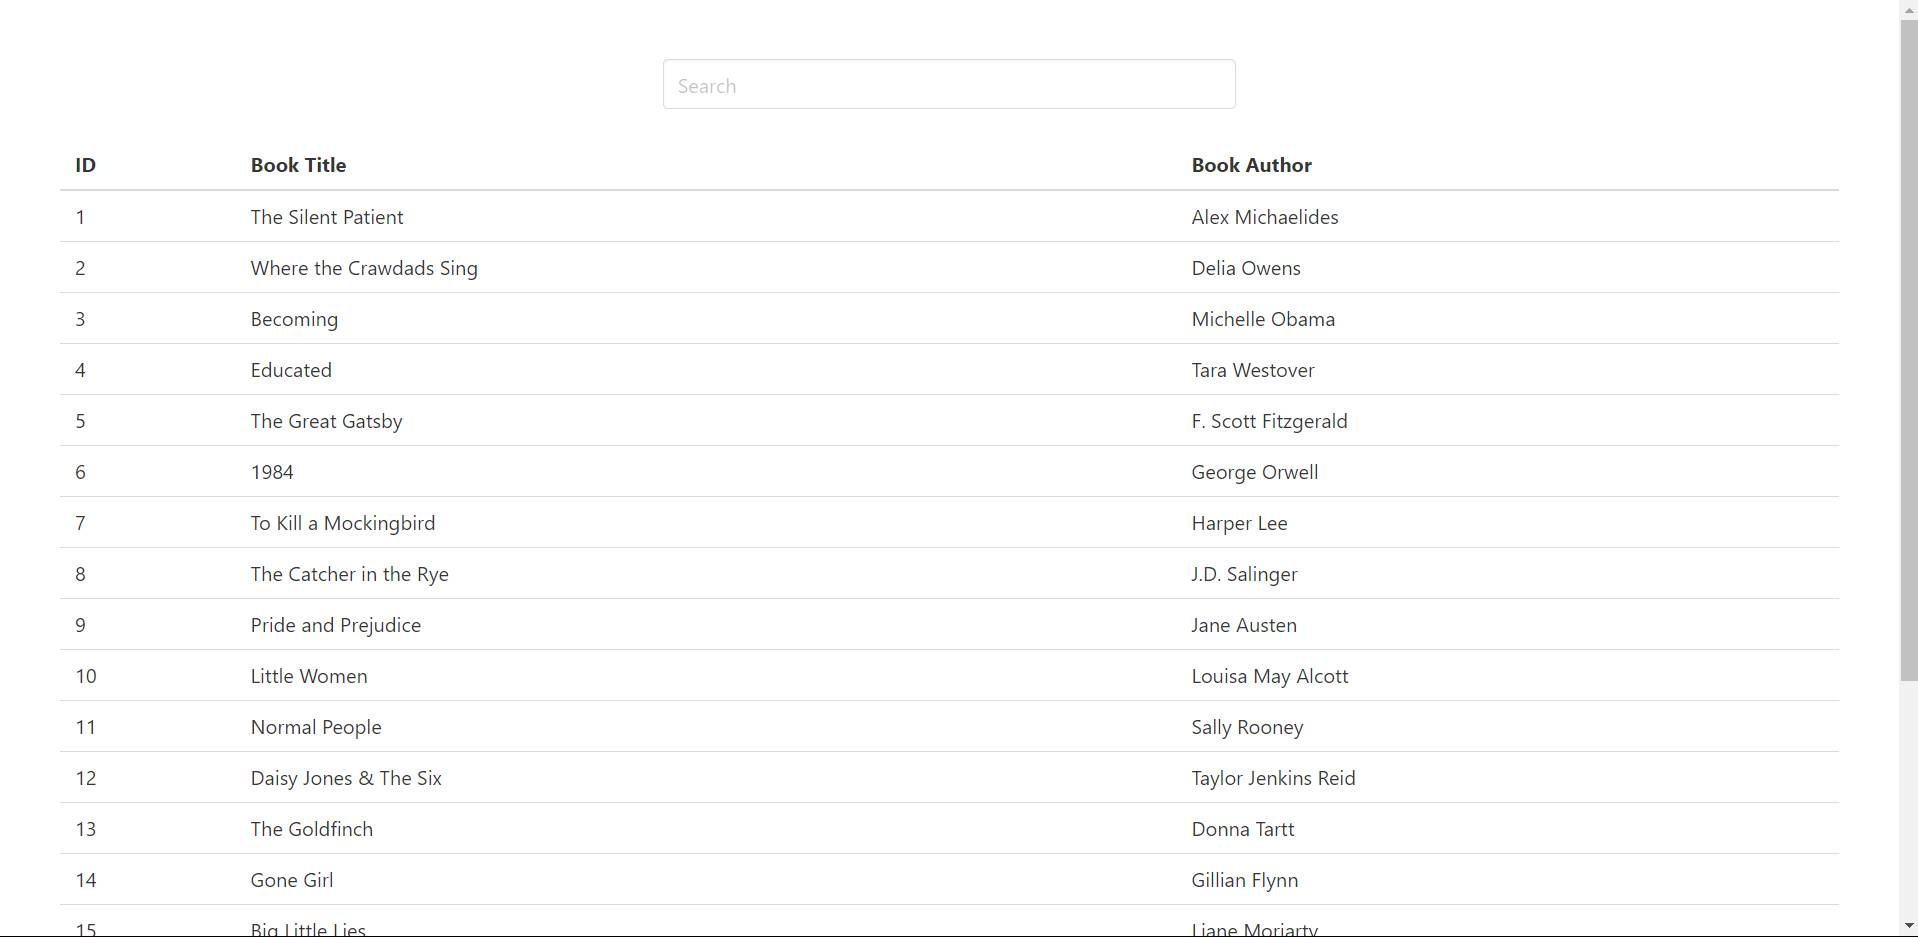 web page with ID, book titles, and book authors
How to Add HTMX for Instant Search
Finally, we’ll add HTMX to enhance our Flask application with dynamic search capabilities. For this, we’ll introduce a new route and modify existing HTML template.
How to Create the Search Route
First, create a new route /search in your Flask application to handle book searches based on user input:
from flask import render_template, requestfrom core import appfrom core.models import Book@app.route('/search')def search(): query = request.args.get("query") if query: results = Book.query.filter(Book.title.ilike(f"%{query}%") | Book.author.ilike(f"%{query}%")).limit(10).all() else: results = Book.query.limit(20).all() return render_template("search_results.html", results=results)This route listens for GET requests to /search. It retrieves the search query from the URL parameter using request.args.get("query").
If a query parameter is present, it uses SQLAlchemy’s ilike method to perform a case-insensitive search across the title and author columns of the Book table, fetching up to 10 results.
If no query parameter is provided, it defaults to fetching the first 20 books from the database. The results are passed to a new search_results.html template for rendering.
How to Modify index.html to Add HTMX
<!DOCTYPE html><html lang="en"><head> <meta charset="UTF-8" /> <meta name="viewport" content="width=device-width, initial-scale=1.0" /> <title>Book Search</title> <link rel="stylesheet" href="https://cdn.jsdelivr.net/npm/bulma@0.9.4/css/bulma.min.css" /> <script src="https://cdn.jsdelivr.net/npm/htmx.org/dist/htmx.min.js"></script></head><body> <section class="section"> <div class="columns"> <div class="column is-one-third is-offset-one-third"> <input type="text" class="input" placeholder="Search" name="query" hx-get="/search" hx-trigger="keyup changed delay:500ms" hx-target="#results" /> </div> </div> <table class="table is-fullwidth"> <thead> <tr> <th>ID</th> <th>Book Title</th> <th>Book Author</th> </tr> </thead> <tbody id="results"> {% for book in books %} <tr> <td>{{ book.id }}</td> <td>{{ book.title }}</td> <td>{{ book.author }}</td> </tr> {% endfor %} </tbody> </table> </section></body></html>The <script> tag imports the HTMX library from a CDN, enabling client-side interactions without requiring complex JavaScript. In addition to that, we enhanced the <input> element with HTMX attributes:
hx-get="/search": Specifies the endpoint (/search) to send GET requests when the user types in the input field.hx-trigger="keyup changed delay:500ms": Triggers the search action after a 500ms delay when the user types (keyup) or changes the input (changed).hx-target="#results": Updates the content of the element withid="results"with the response from the/searchendpoint.
How to Create the search_results.html Template
Next, we will create a new template search_results.html to display search results:
{% for result in results %}<tr> <td>{{ result.id }}</td> <td>{{ result.title }}</td> <td>{{ result.author }}</td></tr>{% endfor %}This template iterates over results, which are passed from the /search route. For each book in results, generates a table row (<tr>) that displays the book’s ID, title, and author.
Demo
Finally, we have implemented instant search with HTMX in our Flask application. Here’s what our final application should look like:
VIDEO
You’d notice a delay in the search results. This is called debouncing. It is a technique used in programming and web development to limit the rate at which a function or event handler is executed. It ensures that a function is only executed after a certain amount of time has passed since the last invocation of the function.
In our case, we set the delay to 500ms before it calls the /search API again. This ensures that we do not hit the API for every character the user types.
Conclusion
In this tutorial, you learned how to implement instant search using Flask and HTMX, focusing on enhancing user interaction and performance. By integrating HTMX for AJAX interactions, we enabled dynamic updates to search results without refreshing the entire page.
This approach not only improves user experience by providing real-time feedback but also optimizes server load by debouncing search queries.
By mastering these techniques, you’re equipped to build responsive web applications that deliver seamless search experiences, combining the flexibility of Flask with the interactivity of HTMX to meet diverse user needs efficiently and effectively.
You can find the code for this tutorial in this repository: https://github.com/ashutoshkrris/instant-search-with-flask-htmx